

Gardening Tips for Garden Shed: Create Your Perfect Green Haven
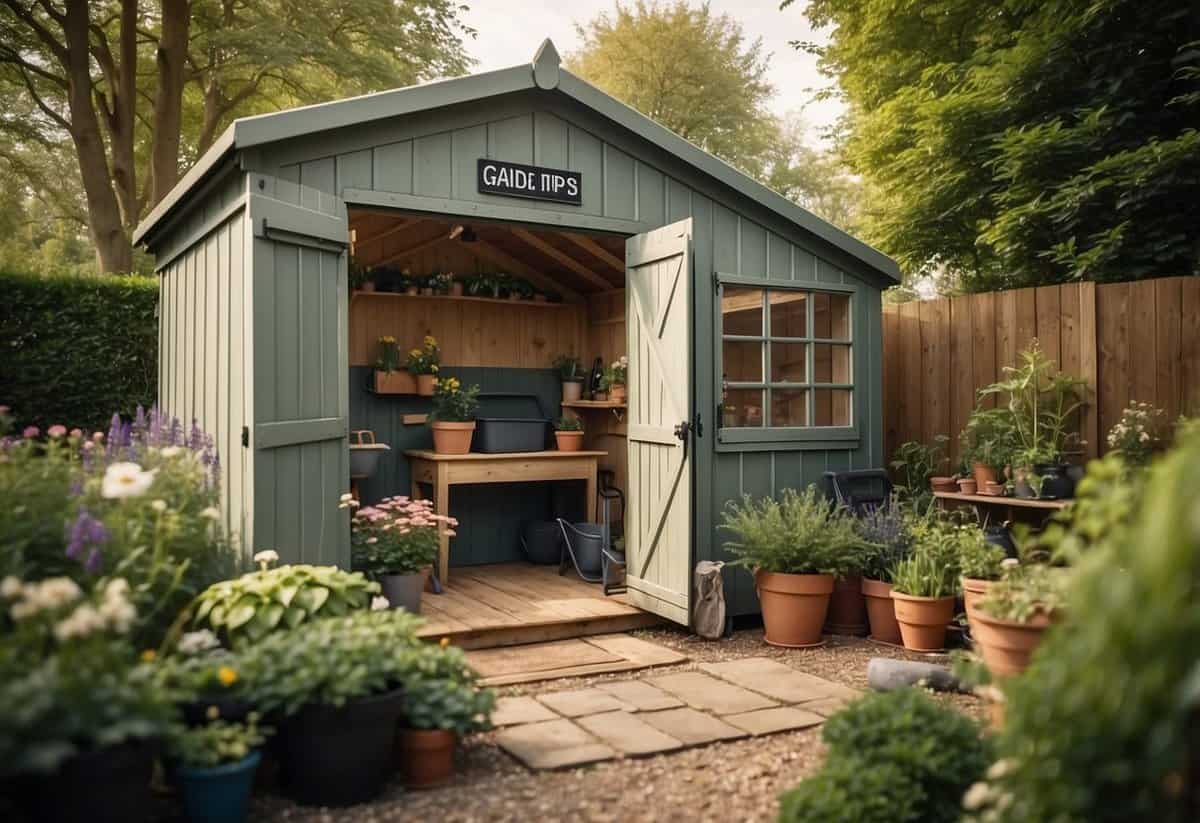
Having a garden shed in your backyard opens up a world of possibilities for your gardening activities. Whether you use it for storage, a workspace, or a cozy retreat, a well-maintained shed can significantly enhance your gardening experience. A garden shed helps you keep all your tools organized and easily accessible, making your gardening tasks more efficient.

By transforming your garden shed with thoughtful design choices and practical tips, you can create a functional and inviting space. It not only serves your immediate needs but also adds charm and value to your backyard. There’s a lot you can do to make your garden shed a true extension of your home and garden.
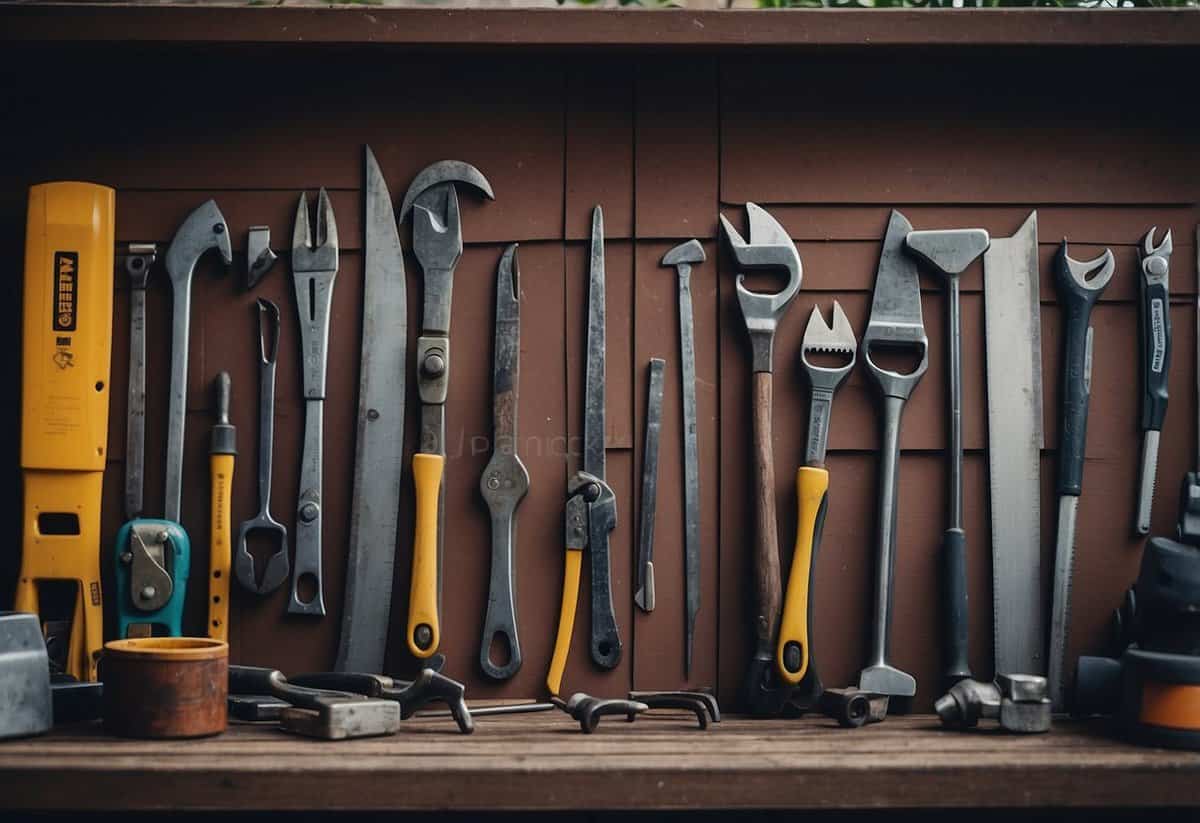
1) Use Pegboards for Tool Storage

Pegboards are an excellent way to organize your garden shed. They help you keep small tools like shovels, cultivators, and weeders in one place. You can quickly see and grab what you need.
Pegboards can be customized with hooks and holders. This makes them versatile for different tools. Add keyring hangers or screwdriver holders for even more organization. Learn more about using pegboards from this guide.
2) Install Shelving for Increased Space

Shelving is a great way to maximize the space in your garden shed. Use a measuring tape to determine the desired height, width, and depth for your shelves. Make sure the shelves fit all the items you plan to store.
Consider adding floating shelves to free up floor space. These can store items like tools, cleaning supplies, and planters. By installing shelving, you keep the shed organized and create more room for your gardening tasks.
3) Label Everything
Labeling is a simple way to keep your shed organized. Use labels to mark drawers, boxes, and shelves. This makes it easy to find things when you need them.
Consider using waterproof or laminated labels. This ensures they last longer, even in humid conditions. You can even color-code your labels for different categories.
Having everything labeled helps keep your shed tidy and efficient. It’s a small step that makes a big difference in your gardening routine. For more detailed tips, you can check out these suggestions.
4) Maximize Vertical Space
Using vertical space in your shed can make a big difference. Install shelves to keep tools and supplies off the floor. This frees up more room for you to move around.
Hanging tools like rakes and shovels on the walls is another great way to use vertical space. Hooks or saddle brackets work well for this.
Try adding pegboards to keep smaller items organized. This will help you find everything quickly and keep your shed tidy.
5) Create a Potting Bench
A potting bench is a great addition to any garden shed. It gives you a dedicated space for repotting plants and storing tools.
You can choose from many DIY potting bench plans. Pick one that fits your space and needs.
For more functionality, consider adding a sink or shelves. A potting bench with a sink makes watering plants easy.
Think about vertical storage to keep your space organized. Install shelves above the bench for extra storage. This helps you use the space more efficiently.
6) Use Transparent Bins for Small Items

Using transparent bins to store small items is a great way to keep your garden shed organized. Clear bins let you see what’s inside without opening them, saving you time when looking for tools.
Store items like screws, seeds, and small hand tools in these bins. You can label them for even easier access. This method reduces clutter and keeps everything in its place.
For more ideas, you can check out garden shed storage tips from Shedstore.
7) Hang a Whiteboard for Notes
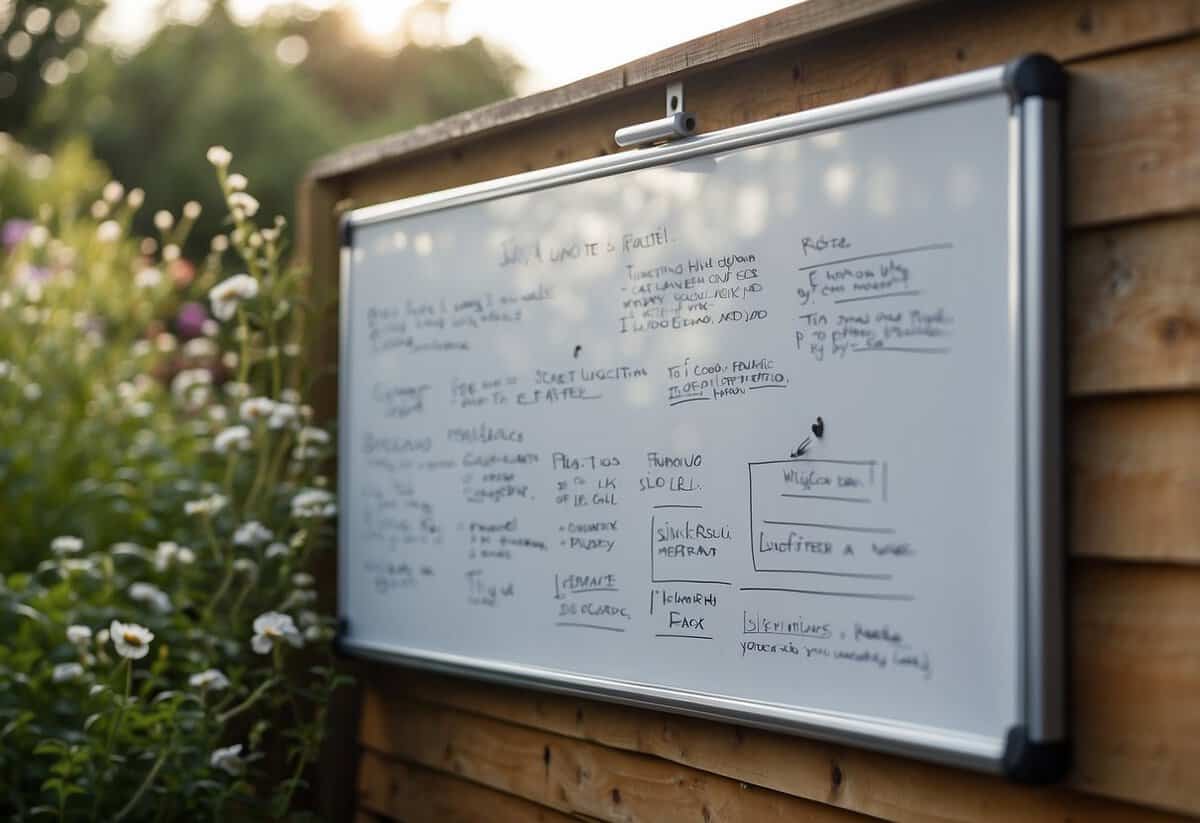
Hanging a whiteboard in your garden shed is a great way to keep track of your gardening tasks. You can jot down what needs to be done, like watering plants or pruning.
It’s also handy for noting dates for planting or harvesting. This keeps your schedule organized and ensures you don’t miss important tasks.
Additionally, you can use the whiteboard to list any supplies you need to buy. This way, you won’t forget essential tools or materials when you head to the store.
8) Add Lighting for Evening Gardening

Adding lighting to your garden shed allows you to extend your gardening time into the evening. LED string lights are energy-efficient and easy to install. They provide a soft glow that’s perfect for working late.
You might also consider using battery-powered lights. They don’t require wiring and are simple to set up. For a more eco-friendly option, solar shed lighting can harness the sun’s power to light up your shed at night. Install these lights to keep your garden activities going after the sun sets. Check out more lighting ideas for your garden shed.
9) Utilize Magnetic Strips for Metal Tools
Magnetic strips are a great way to organize your metal tools in your garden shed. They can hold various items like screwdrivers, wrenches, and pliers.
You can affix magnetic tool strips to the walls. This gives you easy access to frequently used tools.
Magnetic strips are easy to install and keep your tools visible and within reach, making your gardening tasks more efficient.
10) Install a Small Workbench

Adding a small workbench to your garden shed can make a big difference. It provides you with a dedicated space to work on your gardening projects. You can pot plants, fix tools, and even start your seeds there.
When choosing a workbench, opt for one that fits your shed size without taking up too much space. Consider a foldable or wall-mounted bench to save even more room. This way, you can have a functional space without compromising on storage.
Creating the Perfect Environment

When creating the perfect environment for your garden shed, focus on lighting and controlling the climate inside. Proper lighting helps plants grow better and creates a comfortable space for you. Managing temperature and humidity ensures plants stay healthy.
Lighting Considerations
Natural light is key in a garden shed. Windows and skylights provide ample sunlight, promoting plant growth. Large windows on the south side are great for capturing sunlight throughout the day. Skylights can be positioned on the roof to bring in overhead light.
Install LED grow lights if natural light is limited, especially during winter. These lights mimic sunlight and support plant growth. Choose energy-efficient models to save on electricity bills.
Reflective surfaces like white walls or mirrors can help distribute light more evenly throughout the shed. This technique boosts the effects of your natural and artificial lighting, ensuring every corner gets the necessary light.
Temperature and Humidity Control
Maintaining the right temperature is crucial. Insulate your shed well, using materials like foam boards or fiberglass insulation to keep it warm in winter and cool in summer. Proper insulation also helps in maintaining consistent humidity levels.
A small heater or cooling fan can regulate temperature as needed. Thermostats allow you to set and maintain the desired temperature automatically.
Humidity is equally important. Use a humidifier to add moisture during dry periods or winter. Conversely, a dehumidifier can reduce excess moisture in the air during humid summers. Ventilation fans or vents will help manage airflow, preventing mold and mildew.
Combine these tools to create a stable environment for your plants and a comfortable workspace for you.
Soil and Fertilization Techniques

Great soil and the right fertilization can transform your garden. Let’s look into how to choose the best soil and ways to effectively fertilize your plants to ensure their health and growth.
Choosing the Right Soil
Picking the right soil is crucial for a thriving garden. Most garden plants prefer well-draining soil that is rich in nutrients. You can test your soil’s quality by performing a moisture test or a ribbon test. For the moisture test, squeeze a handful of moist soil; sandy soil will crumble, while clay-heavy soil will hold its shape.
Another important factor is soil pH. Most plants grow best in soil with a pH between 6.0 and 7.0. If your soil is too acidic, adding garden lime can help raise the pH. On the other hand, if your soil is too alkaline, adding powdered sulfur can lower it. Regularly amend your soil with organic matter like compost to keep it fertile and well-structured.
Effective Fertilization
Fertilizing your garden properly ensures that your plants get the nutrients they need to grow strong and healthy. There are different types of fertilizers including organic options like compost and manure, as well as chemical fertilizers. Each has its benefits. Organic fertilizers release nutrients slowly and improve soil health over time, while chemical options give immediate nutrient boosts.
Mulching is another critical technique. Adding mulches such as chopped comfrey helps retain moisture, prevent weed growth, and enrich the soil as it decomposes.
Regular testing of your soil can help determine what nutrients are lacking. Based on the results, you can select the appropriate fertilizer to address those deficiencies. Always follow the recommended application rates to avoid over-fertilizing, which can harm your plants.


