

Jerrycan Garden Ideas: Creative Ways to Upscale Your Outdoor Space
Have you ever considered turning those old jerry cans lying around into something useful for your garden? You might be surprised by how many creative and simple ways there are to repurpose them into handy garden tools or decorations.

Discovering jerrycan garden ideas can give your outdoor space a unique and eco-friendly touch. From planters to storage units, these repurposed items not only save space but also add a unique character to your garden.
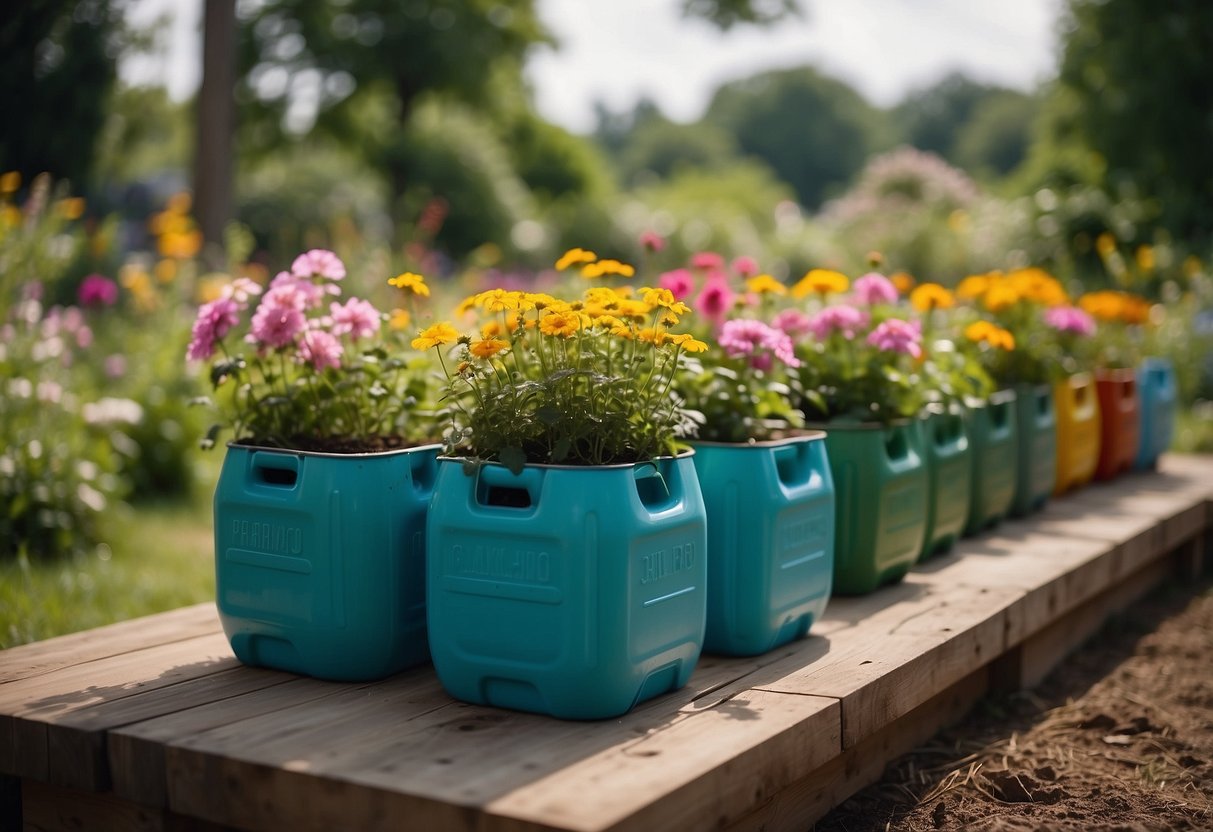
1) Plant Holder

One cool idea for a jerrycan is turning it into a plant holder.
Cut the top off a clean jerrycan and use it as a pot. Fill it with soil and your favorite plants.
For an extra touch, paint the outside in bright colors or patterns. It can bring a fun, unique look to your garden or porch.
2) Bird Feeder
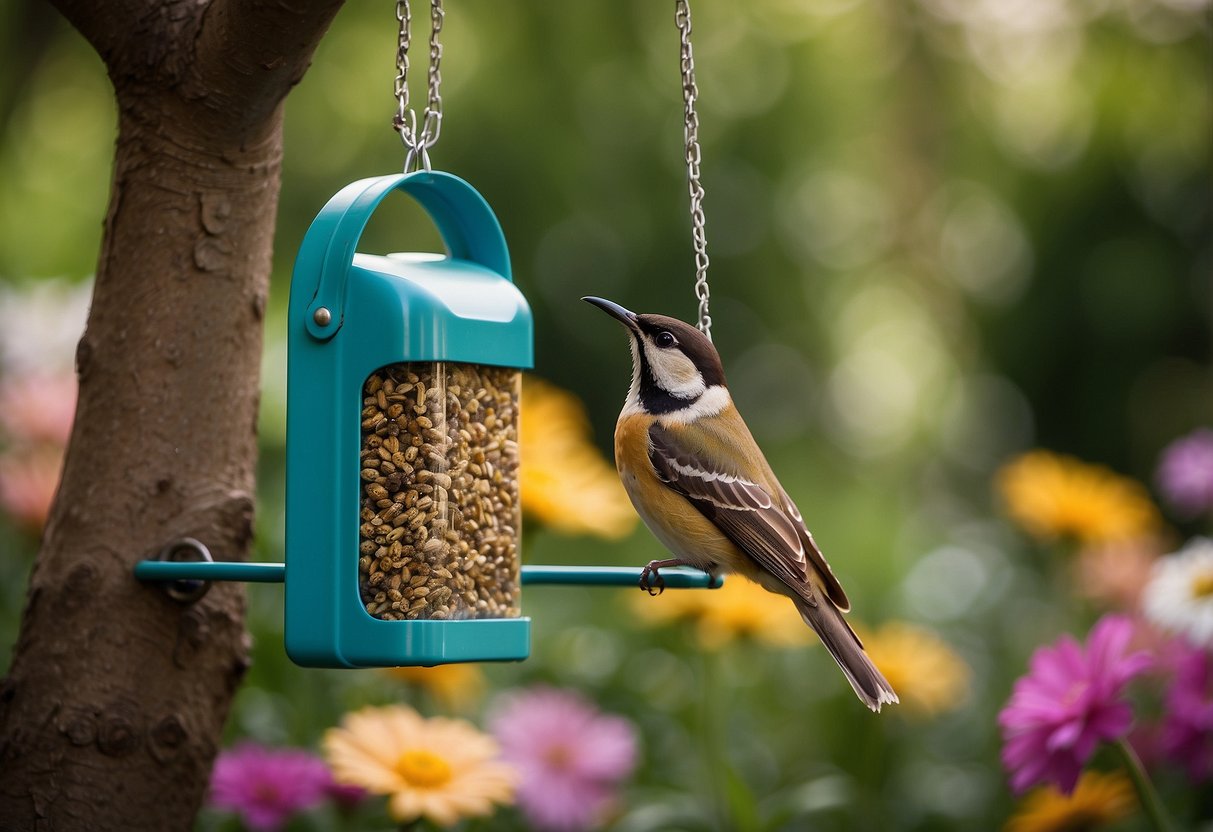
You can turn a jerrycan into a charming bird feeder with just a few steps. Cut out a small opening on one side to allow birds to access the seeds.
Paint the jerrycan in bright, bird-friendly colors to attract feathered friends. Hang it securely from a tree or post in your garden.
For added creativity, consider using mosaic tiles to decorate your feeder and make it stand out. This will not only look great but also provide a fun spot for birds to gather.
3) Tool Storage
Using jerrycans for tool storage can be both practical and unique. You can cut them open and add some dividers to keep your tools organized.
Mount these customized jerrycans on the wall for easy access. They are perfect for garages, sheds, or even garden walls.
For added convenience, label each jerrycan based on the tools stored inside. This makes it easier to find what you need when working in your garden.
4) Water Fountain
Transform your jerrycan into a charming water fountain. Using a small submersible pump, you can create a gentle flow of water spilling from the spout.
Paint the jerrycan to match your garden’s theme. Place it on a small pedestal or rocks for added height and drama.
Add some pebbles or aquatic plants around the base for a natural look. For ideas, consider checking out DIY water fountain ideas.
5) Light Fixture
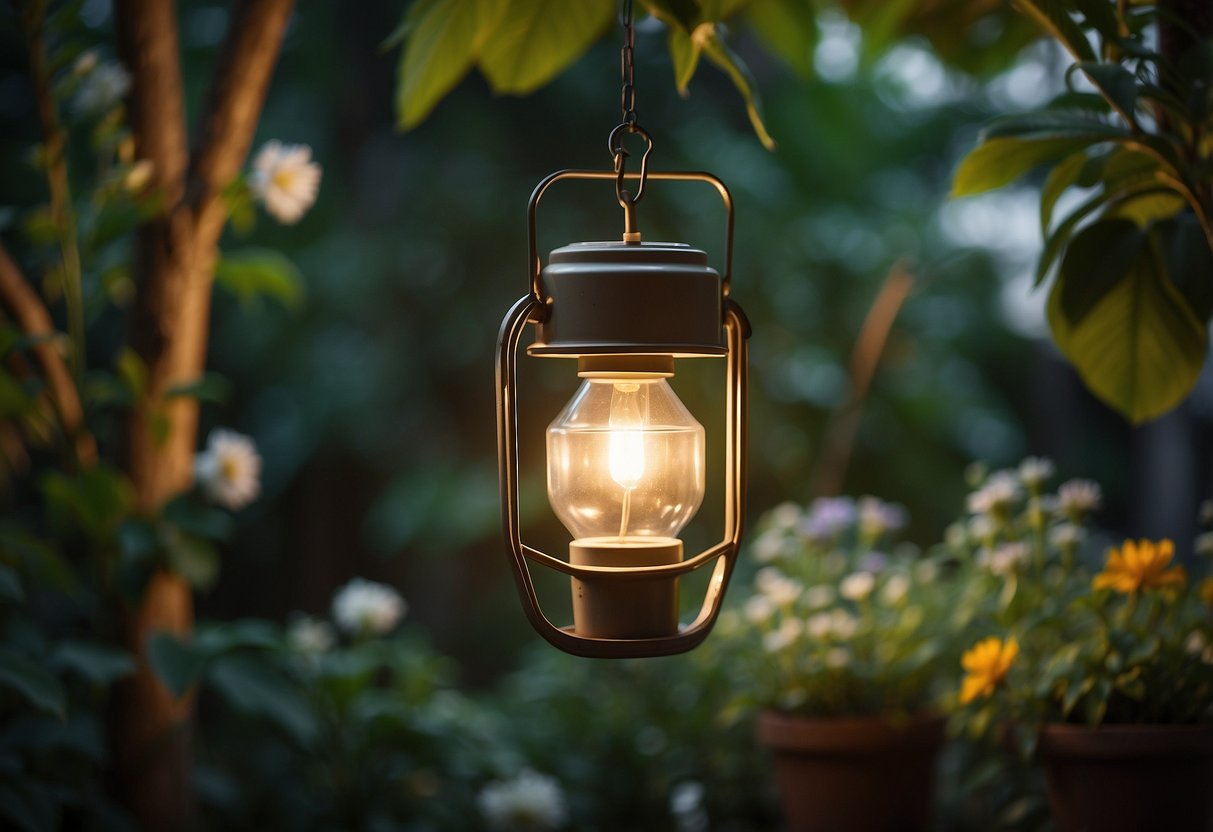
Transform a jerrycan into a unique garden light fixture. Cut out areas of the jerrycan to create patterns that let light through.
Place a solar light inside the jerrycan. This will create a cozy glow at night and add charm to your garden.
For a magical touch, consider using fairy lights inside the jerrycan.
6) Storage Container

If you have a storage container lying around, it can make a great planter for your garden.
Use a plastic or metal storage container, drill some holes in the bottom for drainage, and fill it with soil.
Now you can plant flowers, veggies, or herbs easily and move them around as needed.
7) Fairy Garden
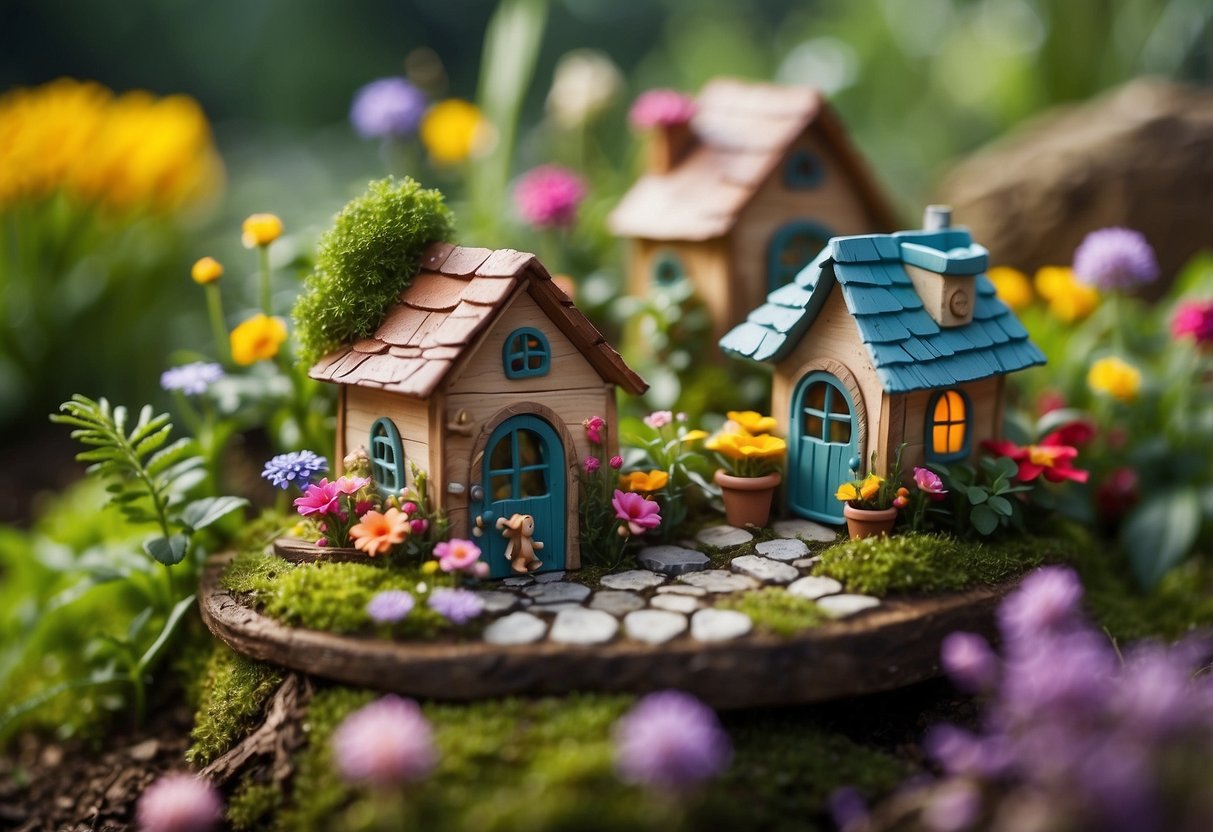
Transform a jerrycan into a charming fairy garden. Add tiny accessories like small houses, figurines, or woodland creatures to create a magical scene.
Use moss, pebbles, and miniature plants to give it a whimsical feel. To make it even more enchanting, incorporate vining plants and colorful flowers for vibrant visual appeal.
A fairy garden in a jerrycan offers a delightful and imaginative touch to your outdoor space.
8) Bee Sanctuary
Creating a bee sanctuary in your garden can be both fun and beneficial. Start by planting flowers that produce lots of nectar and pollen. For example, lavender is a great choice for its fragrance and appeal.
Add native plants to attract local bee species. Grouping these plants together makes them easier for bees to find.
Install plants with hollow stems like sunflowers or asters to provide nesting places. Position your bee-friendly plants in sunny areas since bees love the sun.
You can find more creative bee garden ideas online.
9) Planter Box

Using a planter box is a perfect way to grow your green space with style. You can build one easily with some wood, screws, and a bit of elbow grease.
Planter boxes fit nicely on decks or balconies. They add a touch of charm and create a tidy, organized look.
Consider adding ornamental grasses or colorful flowers to make your planter pop.
10) Compost Bin
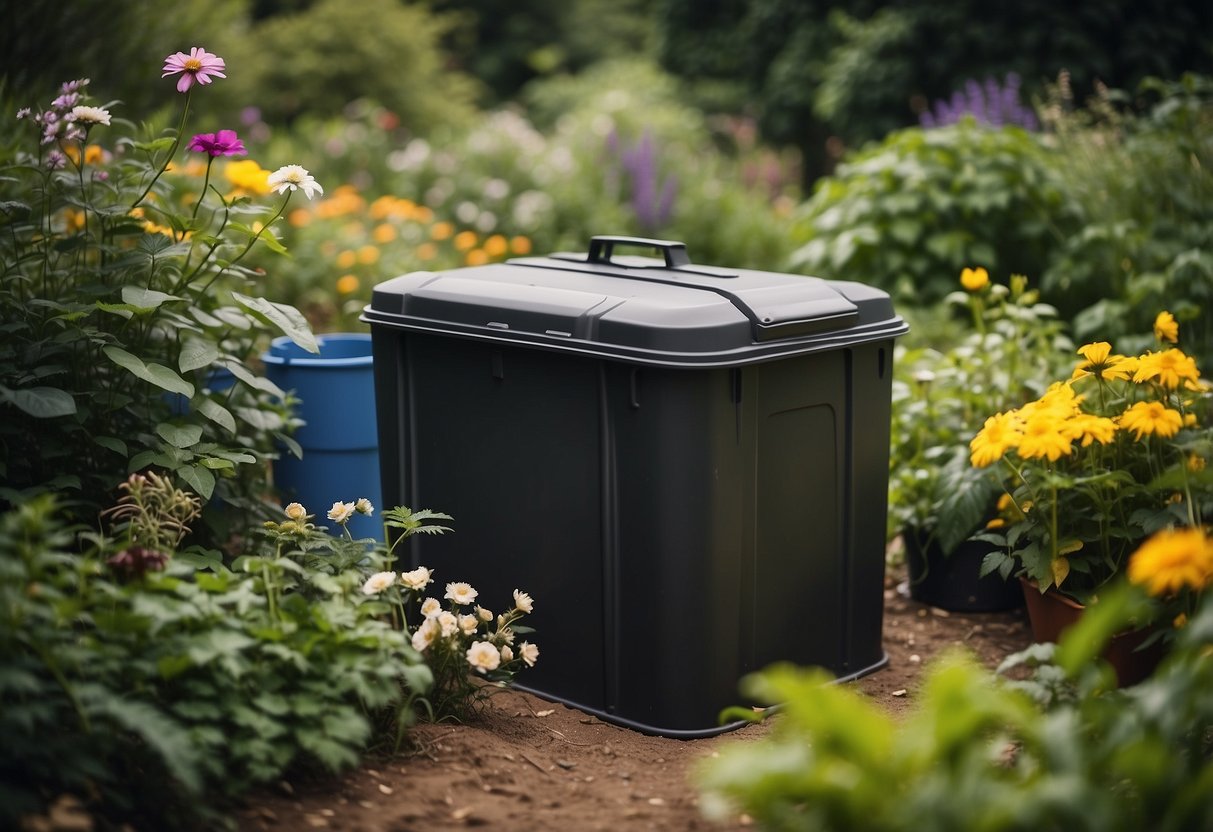
Using a jerrycan to create a compost bin is a brilliant idea for small spaces. You can easily set up one in your backyard or even on a balcony.
Cut a large opening on one side of the jerrycan for easy access. Ensure there are small holes on the bottom for drainage and airflow.
Add your kitchen scraps and yard waste, then let the composting process begin. Stir occasionally to speed up decomposition. This compact and efficient setup can turn waste into rich compost for your garden.
For more DIY ideas, check out these compost bin plans.
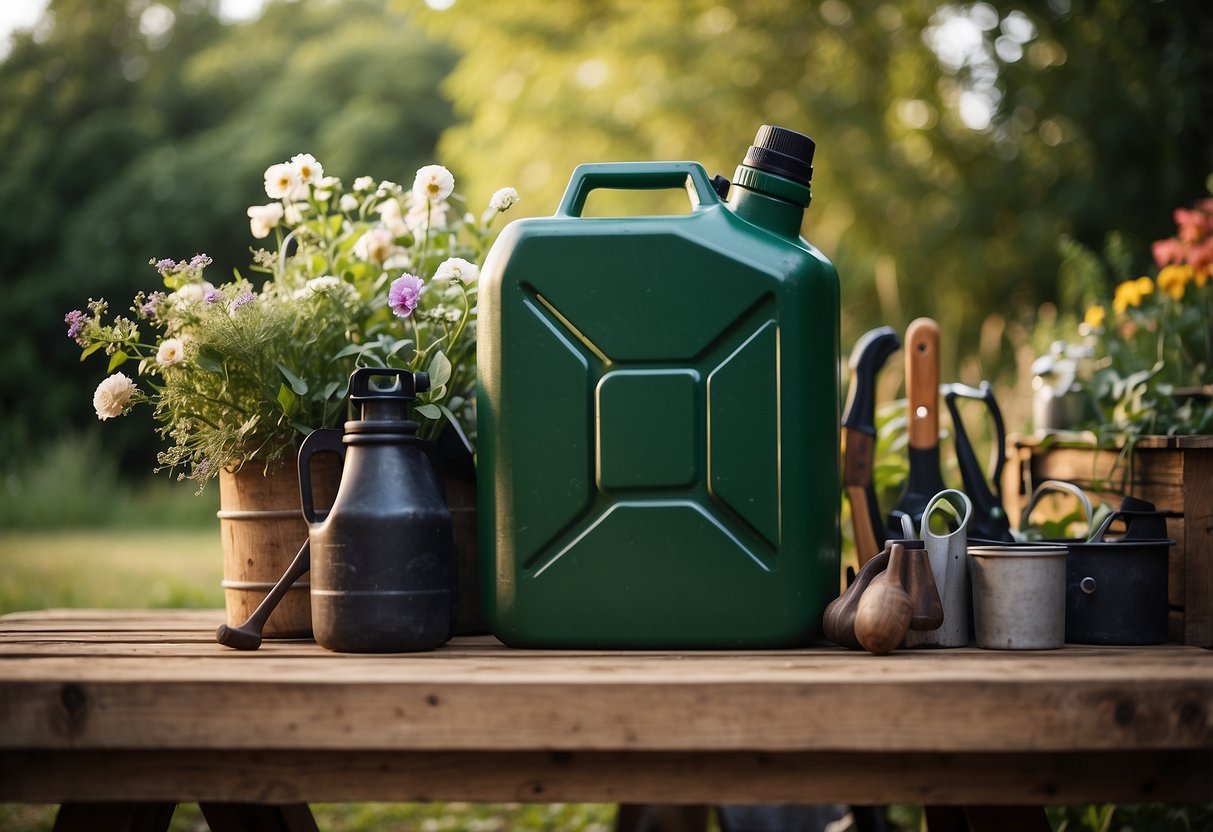
Choosing the Right Jerrycan
Finding the perfect jerrycan for your garden projects depends on several key factors. You’ll want to consider the material, size, and even the color for the best fit.
Considerations for Material
When selecting a jerrycan, think about the material. Plastic and metal are the two main types. Plastic jerrycans are lightweight and resistant to rust, making them easy to carry and handle. They’re also often more affordable and come in a variety of colors.
Metal jerrycans, often made of steel or aluminum, are very durable and can withstand rough handling. They are more resistant to impacts and can last longer. A metal jerrycan might be heavier, but it offers excellent durability. If you expect the can to face a lot of wear and tear, metal could be the better choice. Finally, ensure any material you choose is BPA-free if you’re storing water for plants or other consumable liquids.
Capacity and Size Options
Jerrycans come in various sizes, each suitable for different needs. Common capacities include 5 liters, 10 liters, and 20 liters. For small garden needs or lightweight tasks, a 5-liter jerrycan will suffice. It’s easy to handle and carry.
For more extensive tasks, like watering a larger garden or transporting significant amounts of liquid, consider a 10-liter or 20-liter jerrycan. A larger capacity means fewer trips to refill, saving you time. However, remember that larger jerrycans can be heavy when full, so ensure you’re comfortable lifting and pouring from them.
Tip: Always measure the space where you plan to store the jerrycan to ensure it fits when full and empty.
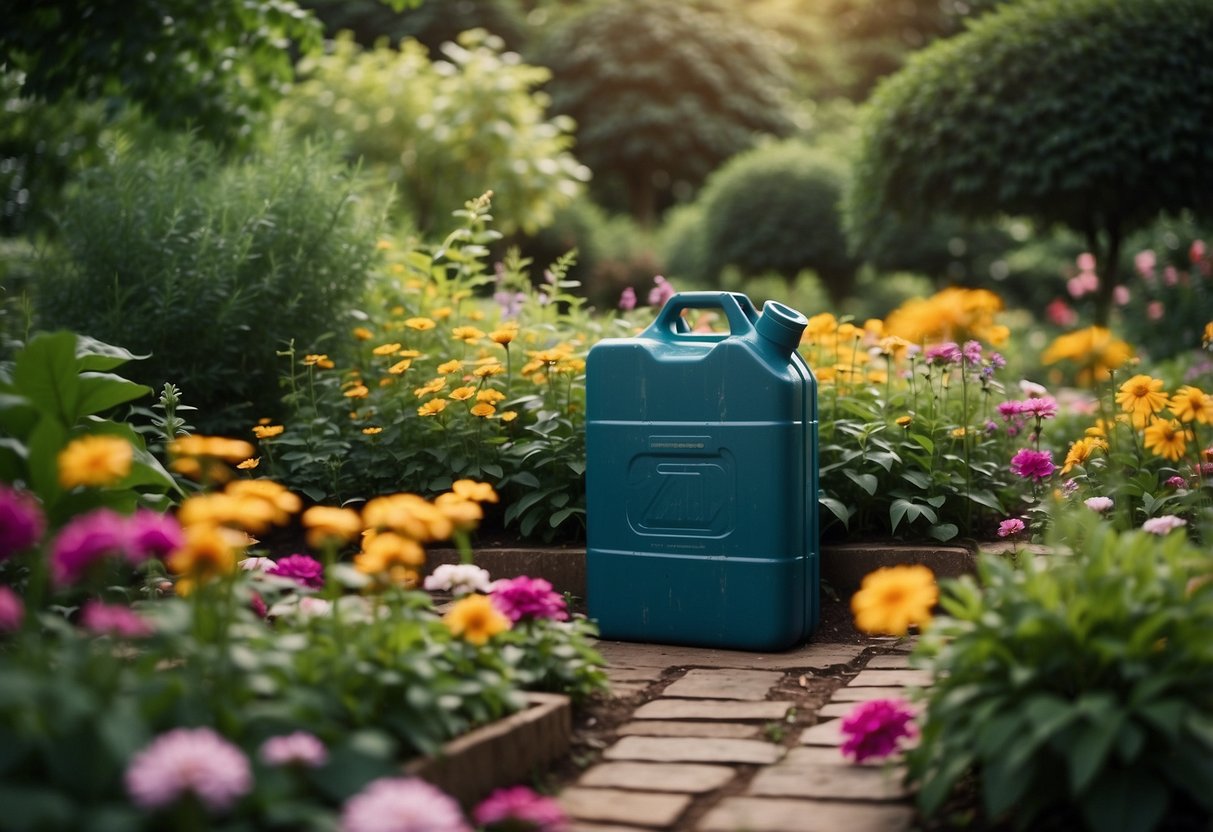
Color and Aesthetic Choices
While functionality is key, color and design can also play a role in your decision. Green and brown are popular choices for garden aesthetics as they blend well with natural surroundings.
In addition to blending in, different colors can signify different contents, helping you quickly identify what each jerrycan holds. For example, blue might be used for water, while red could signify fuel.
Bright colors or labels can also help to spot the jerrycan easily, especially if you have a large garden or storage area. Ultimately, choose a color that not only looks good but serves a practical purpose in helping you stay organized.
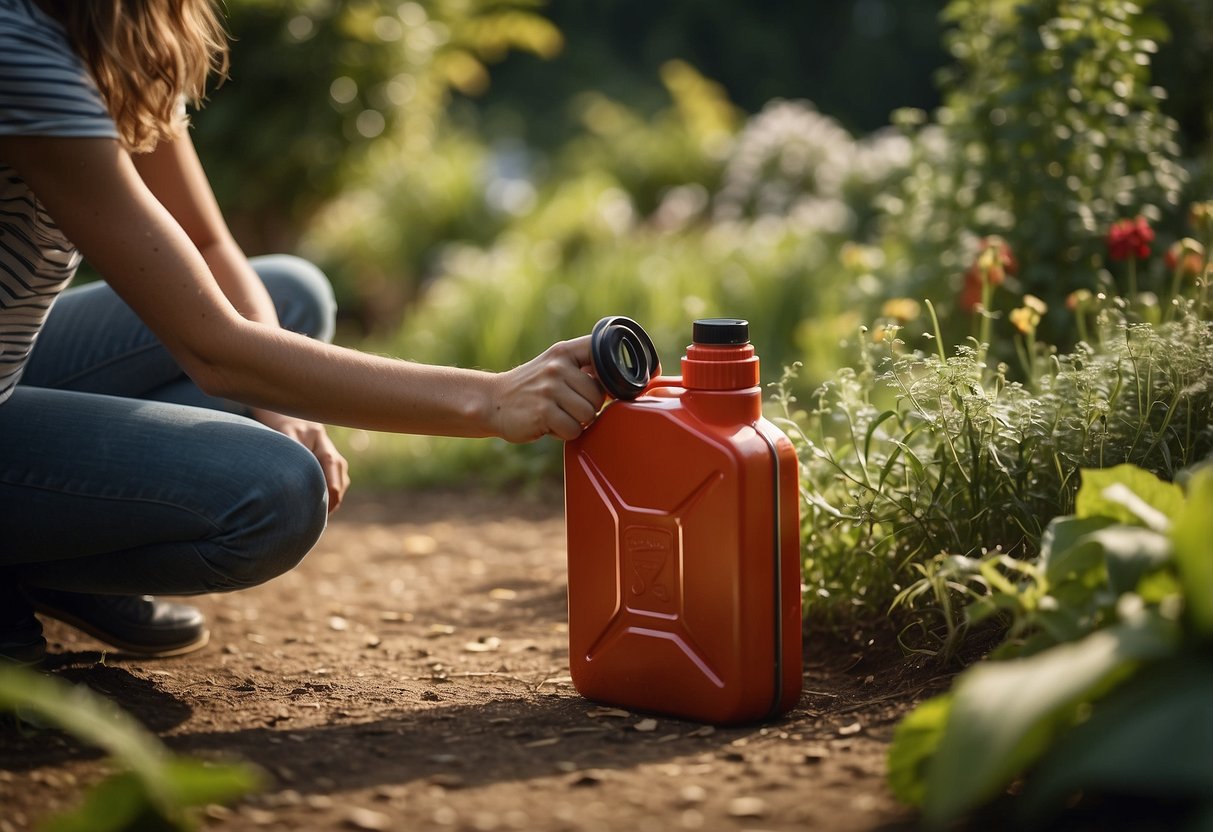
Preparing Your Jerrycan for Gardening

To get started with your jerrycan garden, you need to ensure it is clean and has proper drainage. These steps will help you make your jerrycan the perfect planter.
Cleaning and Sanitizing
First, thoroughly clean and sanitize your jerrycan. Use mild soap and warm water to wash the inside and outside. This removes any dirt, residue, or chemicals.
Rinse well to ensure no soap remains, as residues can harm your plants. Dry the jerrycan completely before moving to the next step. For extra safety, you can sanitize it with a solution of one part bleach to ten parts water. Let it sit for about ten minutes and then rinse thoroughly. Drying is crucial to avoid mold growth.
A clean and sanitized jerrycan ensures healthy plants and promotes better growth.
Adding Drainage Holes
Proper drainage is vital for preventing root rot. Use a drill to make several holes in the bottom of your jerrycan. Aim for evenly spaced holes that are about ¼ inch in diameter. This size is large enough to let water escape but not so big that soil falls out.
If you don’t have a drill, you can use a heated nail to poke holes. Make sure to place something underneath the jerrycan to catch any melted plastic. Clean the edges of the holes to remove any sharp bits.
Adding drainage holes ensures excess water can escape, keeping your plants’ roots healthy and happy.


