

Modeling Clay Garden Ideas: Fun and Creative Projects for Your Backyard
Creating a garden with modeling clay is a fun and creative way to bring a personal touch to your outdoor space. You can design various clay projects that add charm and uniqueness to your garden, making it a beautiful and inviting area.

Have you ever wondered how to make your garden stand out with custom decorations? With modeling clay, you have the freedom to craft decorations that reflect your style and preferences. This guide will help you explore different ideas and projects that you can easily create at home.
1) Clay Fairy Houses

Creating clay fairy houses is a fun way to bring magic into your garden. You can use polymer clay to mold tiny doors, windows, and even roofs for your fairy homes.
Try using an old birdhouse as a base. Transform it with pebbles and popsicle sticks to make it look dreamy and inviting.
Let your imagination guide you, and don’t be afraid to add glitter or paint for a colorful touch. Involve your kids for a joyful family project that sparks creativity.
2) Miniature Clay Garden Gnomes

Creating miniature clay garden gnomes is a fun way to add charm to your outdoor space. These tiny figures can bring smiles and whimsy to your garden.
Using air-dry clay, you can make adorable gnomes that don’t need a kiln. You can find DIY tutorials online to guide you.
Paint your gnomes with bright colors after they dry. Seal them with a spray to protect them from the elements. Get creative and make each gnome unique!
3) Decorative Clay Plant Labels

Decorative clay plant labels can add a personal touch to your garden. By using air-dry or oven-bake clay, you can create unique markers for each plant.
To make these, roll out the clay and cut it into desired shapes. Use stamps or freehand letters to label each marker with the plant’s name.
Not only are these labels functional, but they also enhance the garden’s charm. If you’re looking for inspiration, check out these creative clay plant labels.
For a more detailed guide, visit the tutorial on DIY clay plant markers.
4) Succulent Clay Pots

Succulent clay pots are an excellent way to add beauty to your garden. These pots are perfect for showcasing small, hardy plants like succulents.
You can decorate the clay pots with paint, markers, or even decoupage. This makes each pot unique and personal.
For inspiration, you can explore these creative ideas which offer various ways to enhance your succulent clay pots.
5) Clay Garden Stepping Stones
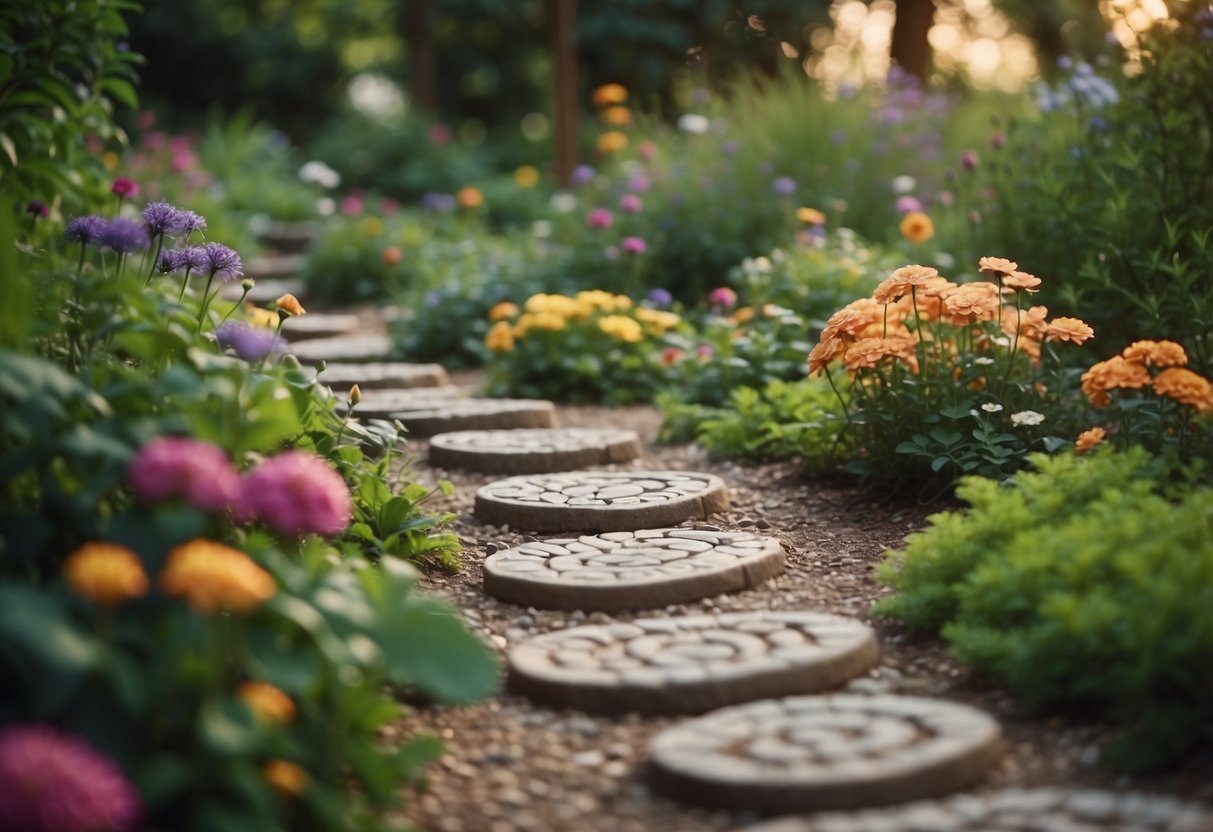
Clay garden stepping stones can add a personal touch to your garden. You can easily make these at home using air dry clay.
Start by shaping the clay into your desired mold. Once you have the shape, let it dry. You can then paint and decorate it however you like with acrylic paint, glitter, or beads.
For more ideas, check out these beautiful DIY clay stepping stones.
6) Clay Bird Baths

Creating a clay bird bath can be a fun and rewarding project for your garden. You start by molding a shallow basin from clay, ensuring it has gentle slopes for the birds’ safety.
Let it dry for 1-3 days depending on thickness. Then, apply an acrylic varnish or ceramic glaze to seal it (see more details here). Once cured, place it on a stable, level platform in a shady spot with fresh water.
Your feathered friends will love it!
7) Clay Animal Figurines
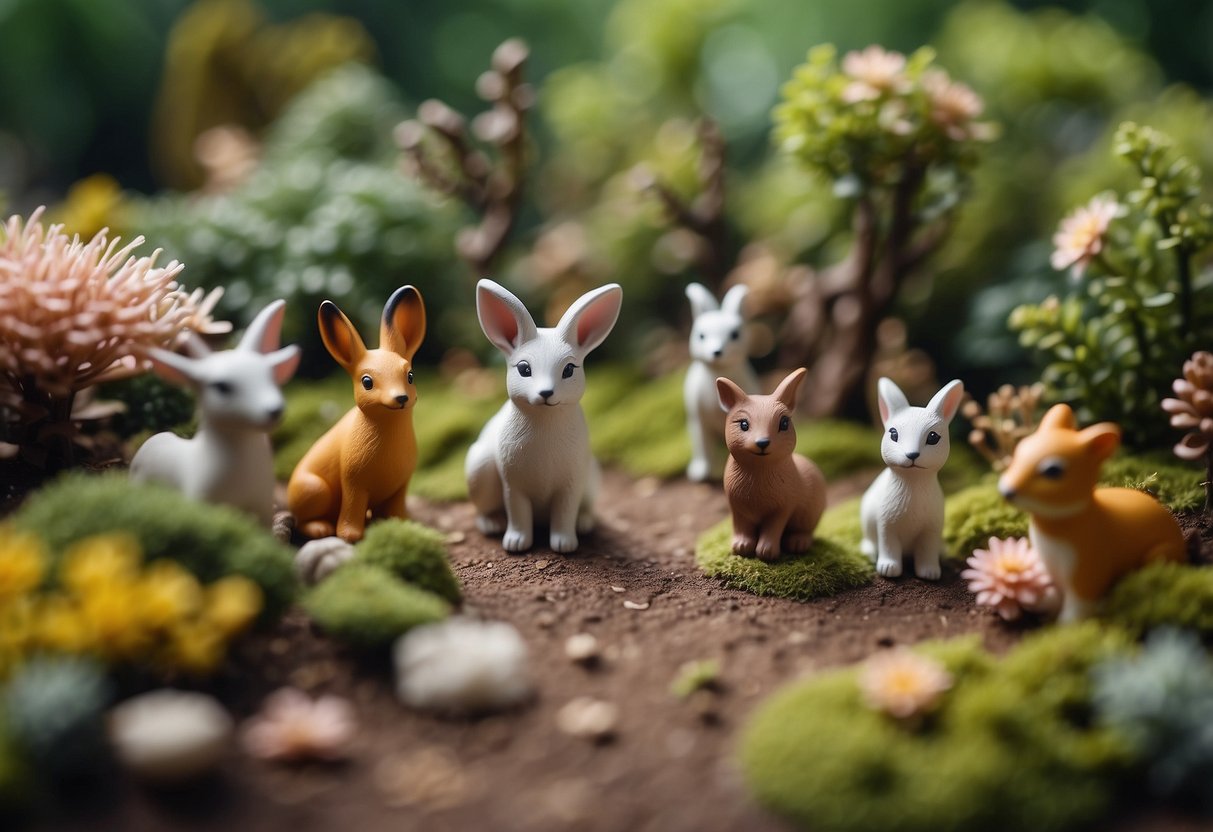
Creating clay animal figurines is a fun and easy way to add charm to your garden. These little creatures can be as simple or detailed as you like.
Start with basic shapes like balls, worms, and teardrops. From these, you can craft animals like pandas, owls, and kittens.
Use air dry or polymer clay. Both are great for crafting and can withstand outdoor conditions. Remember to paint and seal your finished pieces for added durability. For more ideas, check out these clay sculpture ideas for beginners.
8) Hanging Clay Planters
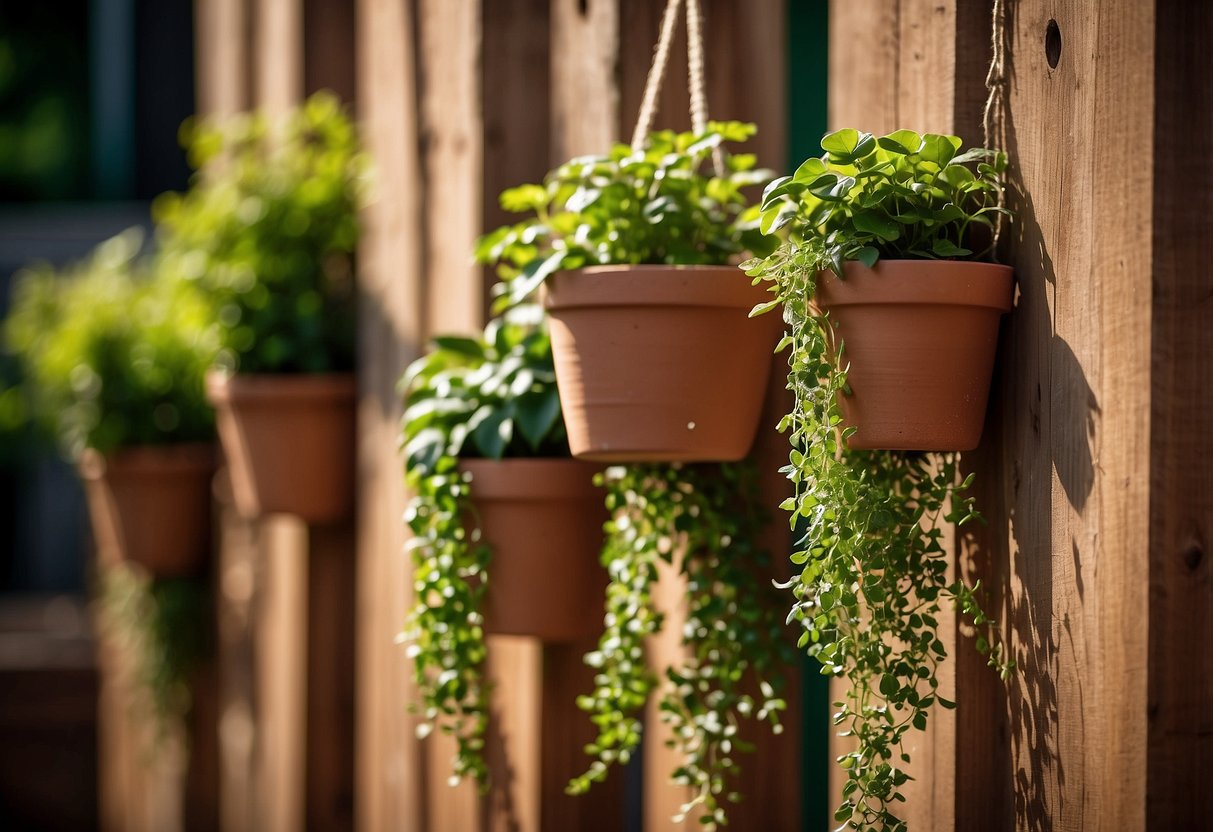
Hanging clay planters are a great way to add greenery to small spaces. You can hang them indoors or outdoors, depending on your preference. They don’t take up floor space, making them perfect for apartments or small gardens.
Try using different sizes of clay pots for a varied look. You can also create a vertical garden by stacking multiple pots on a trellis. This adds height and visual interest to your design.
Experiment with different plants. Succulents, ferns, and even small flowering plants work well in hanging clay planters.
9) Personalized Clay Garden Signs
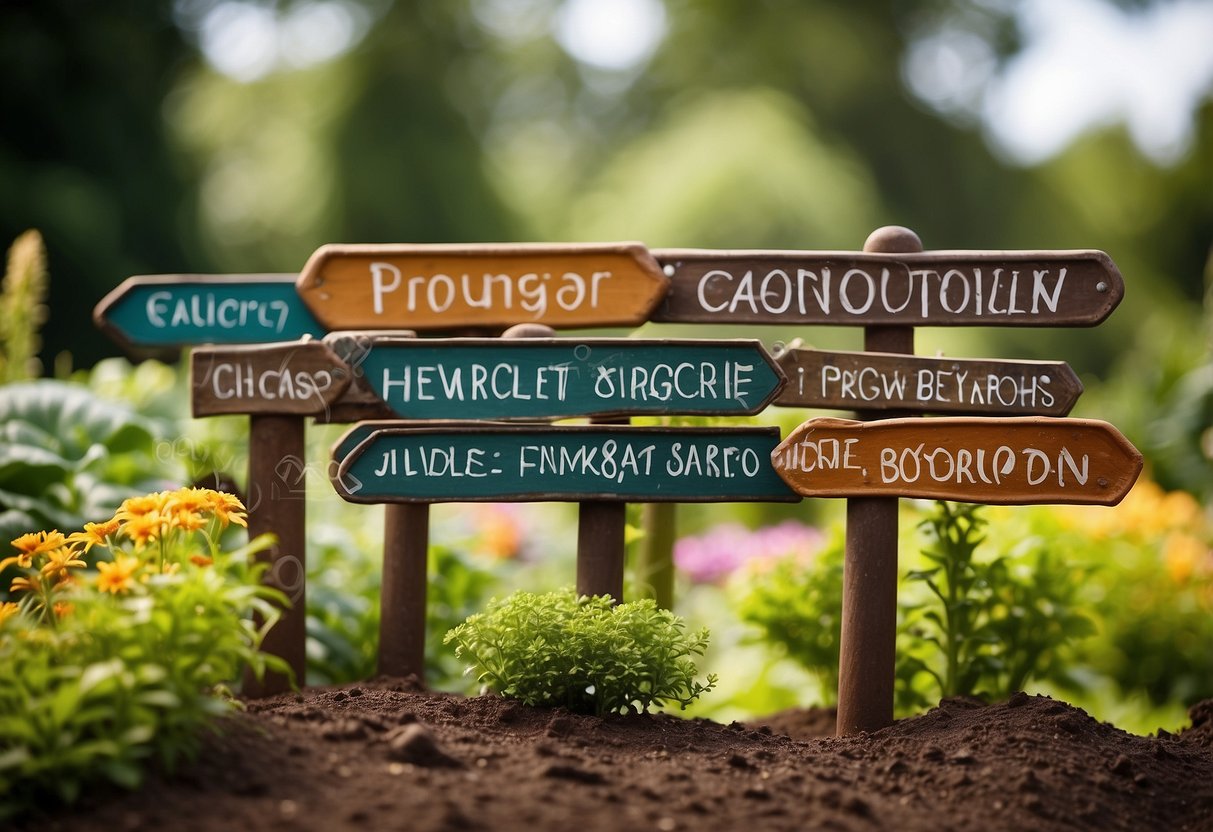
Making personalized clay garden signs is a fun and creative way to label your plants and herbs. You can mold the clay into shapes that match the plants they’re marking.
Use bright colors and simple designs to keep them cheerful and easy to read. Customize each sign with the plant’s name or other fun details.
You can find a step-by-step guide on making these signs at DIY Plant Markers.
10) Clay Flower Ornaments
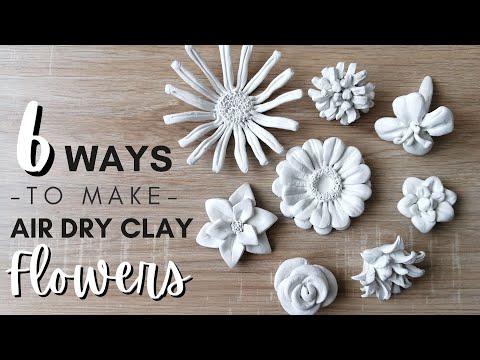
Clay flower ornaments can add a splash of color to your garden.
Start by choosing vibrant colors for your clay. Roll the clay into small balls and shape them into petals.
You can use tools like a toothpick or a tiny screwdriver to add details. These decorations will look fantastic placed among your plants. Make sure to bake or air dry them properly before use.
Designing Your Clay Garden

When designing your clay garden, think about the type of clay you’ll use and how you want to arrange your pieces. Making the right choices in these areas will ensure your garden looks beautiful and cohesive.
Choosing the Right Type of Clay
The type of clay you choose is crucial. Air dry clay is popular because it’s easy to work with and doesn’t need a kiln to set. It’s ideal for creating garden ornaments quickly and safely. Once dry, you can paint and decorate it with acrylic paint, glitter, or beads.
Polymer clay is another good option. It stays soft until baked in a regular oven. This type is durable and perfect for detailed work. It comes in many colors, which can minimize painting time.
Consider using garden clay for large pieces. It’s more robust and can withstand outdoor elements better. This makes it great for statues or larger garden features.
Planning Your Garden Layout
Start by sketching your garden. Think about where each clay piece will go and how they’ll look together. Creating balance is key to a visually appealing plan.
Design paths between your clay pieces to make your garden interactive. Grouping elements by theme—like ocean, forest, or space—can add a fun twist. For instance, you might want to place your clay fish near a water feature and forest animals among the plants.
Consider the scale of your pieces. Large figures draw attention, while smaller items can fill in gaps. Use this to guide your placement and ensure everything looks balanced.
Remember to leave some open spaces. Too many clay figures can make your garden feel cluttered. Enjoy the process and let your creativity flourish!
Techniques for Shaping Clay

Modeling clay requires specific techniques to create detailed shapes. These methods can be done by hand or with tools.
Hand-Building Techniques
Pinching: Pinch the clay between your thumb and fingers to form small shapes like bowls or cups. This method is simple and great for beginners.
Coiling: Make long ropes of clay and stack them to create walls for larger pieces like vases or planters. Smooth the coils together to make a solid form.
Slab Building: Roll out flat sheets of clay and cut them into shapes. Join the pieces to build structures like garden tiles or miniature garden houses.
Score and Slip: Scratch the surfaces you want to join and add a slurry of clay and water. This helps to bond the pieces securely.
Using Molds and Stamps
Molds: Press the clay into a plastic or silicone mold to get intricate shapes. This technique is useful for creating garden ornaments with detailed designs.
Stamps: Use stamps to press patterns and textures into the clay. You can make your own stamps using materials like rubber, wood, or even found objects from your garden.
Texture Rolling Pins: Roll a textured pin over the clay to imprint designs. These are great for making patterned garden tiles or decorations.
Press Molds: Use objects like leaves or shells to press into the clay, capturing natural textures perfect for garden-themed projects.
Caring for Clay Sculptures in Your Garden
Proper care for your clay sculptures ensures they remain a beautiful part of your garden. To protect them from the elements and fix any damage, follow these guidelines.
Sealing and Protecting Your Clay Pieces
Sealing your clay sculptures is key to preventing weather damage. A good sealant shields against moisture, which can cause clay to crack or crumble. Use a sealant specifically designed for outdoor use.
Step-by-step sealing process:
- Clean the sculpture with a damp cloth to remove dirt.
- Allow it to dry completely.
- Apply a sealant with a brush, ensuring even coverage.
- Let the sealant dry as per the manufacturer’s instructions.
For added protection, place your sculptures in shaded areas to avoid direct sunlight, which can fade colors and weaken the clay over time.
Repairing and Restoring Damaged Sculptures
Even with good care, clay sculptures can get damaged. Small cracks or chips are easy to fix. Use epoxy putty for clay repairs.
Steps for repair:
- Clean the damaged area.
- Knead the putty until it becomes soft.
- Apply the putty to the cracks or chips, smoothing it out with your fingers.
- Let it cure as instructed, usually for 24 hours.
For broken pieces, use a strong adhesive to reattach parts. Hold the pieces together until the adhesive sets. After repairing, you may need to repaint and reseal the sculpture.
By taking these steps, your garden clay sculptures can look good and last longer!


