

Tulip Garden Photo Ideas: Capture Beautiful Blooms
Capturing the beauty of tulip gardens can create lasting memories and vibrant images. With their bright colors and variety of shapes, tulips offer endless possibilities for stunning photographs. Whether you’re an experienced photographer or just someone who loves taking pictures, tulip gardens provide an excellent backdrop for unique and beautiful shots.

How can you make the most out of your tulip garden photo sessions? This article is here to inspire you with creative ideas and useful tips to capture the perfect pictures of these beautiful flowers. From posing among the blooms to finding the best lighting, you’ll discover how to make your tulip garden photos truly stand out.
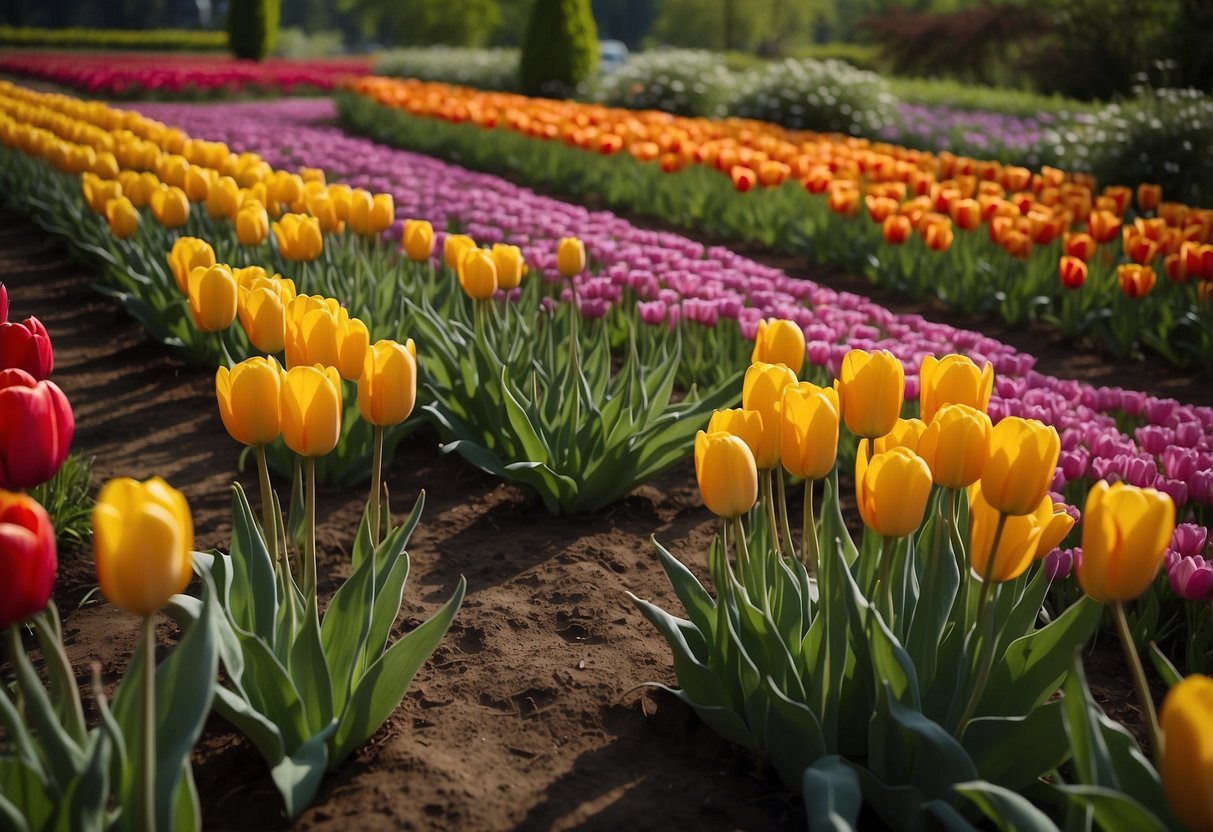
1) Colorful Tulip Borders

Enhance your garden with a stunning display of colorful tulip borders. Mix varieties like ‘Negrita,’ ‘Shirley,’ ‘Yonina,’ ‘Purple Dream,’ and ‘Dordogne’ for a vibrant look.
Plant them in the fall and enjoy the bright blooms in spring. This mix works great for beds, borders, or containers.
For more inspiration, check out these beautiful tulip border ideas. Your garden will be the talk of the neighborhood!
2) Tulips with Dew Drops
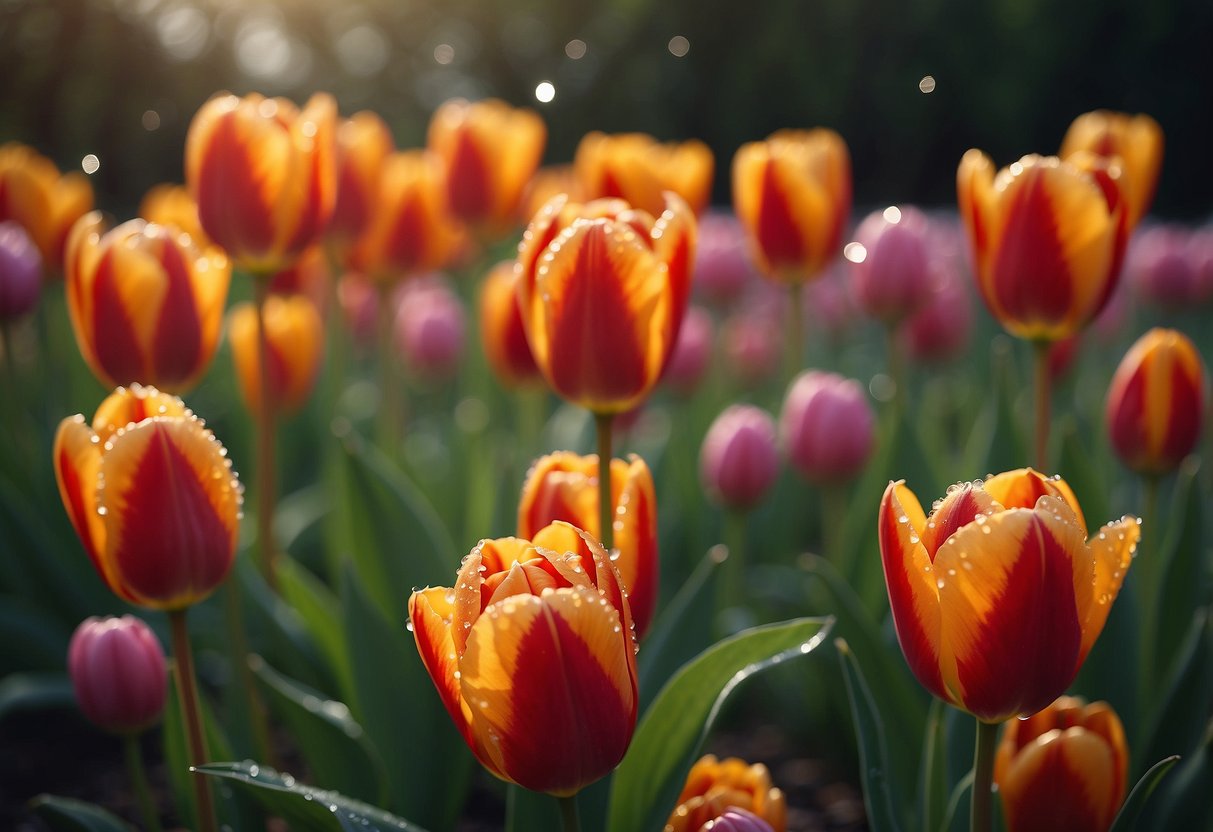
Capture the beauty of tulips with dew drops in the early morning. The glistening water droplets on the petals give a fresh and magical touch to your photos.
To make these shots pop, use a macro lens. It allows you to get close and reveal the tiny details.
Lighting is key. Soft morning light enhances the sparkle of the dew drops without harsh shadows.
3) Sunset Over Tulip Fields
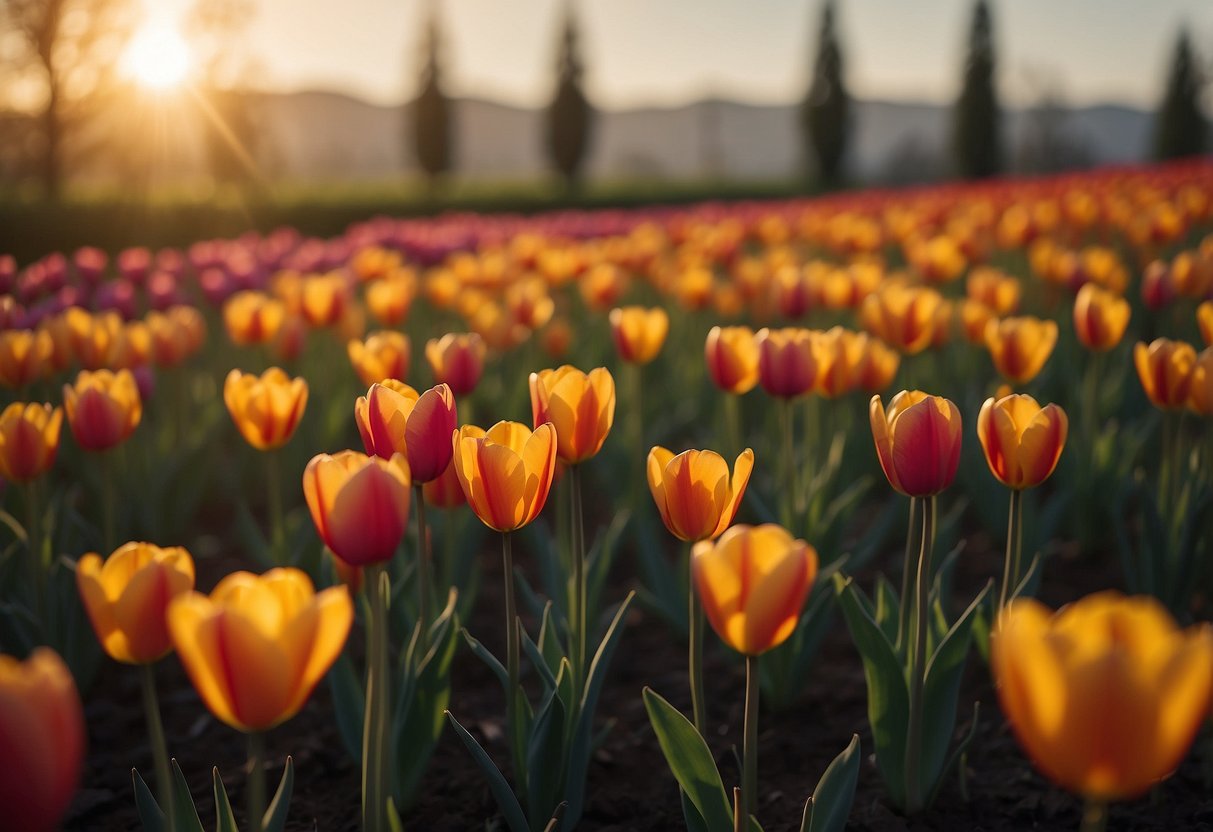
Imagine standing in a tulip field with the sun setting behind you. The colors of the tulips mixed with the golden light of the sunset create a magical scene.
For a great shot, position yourself so the sun is low in the sky. This will give a warm glow to your photo.
Sunsets are also great for creating silhouettes against the tulip fields. Experiment with different angles to capture unique shots. To see some examples, check out tulip fields at sunset.
4) Tulips in a Vase
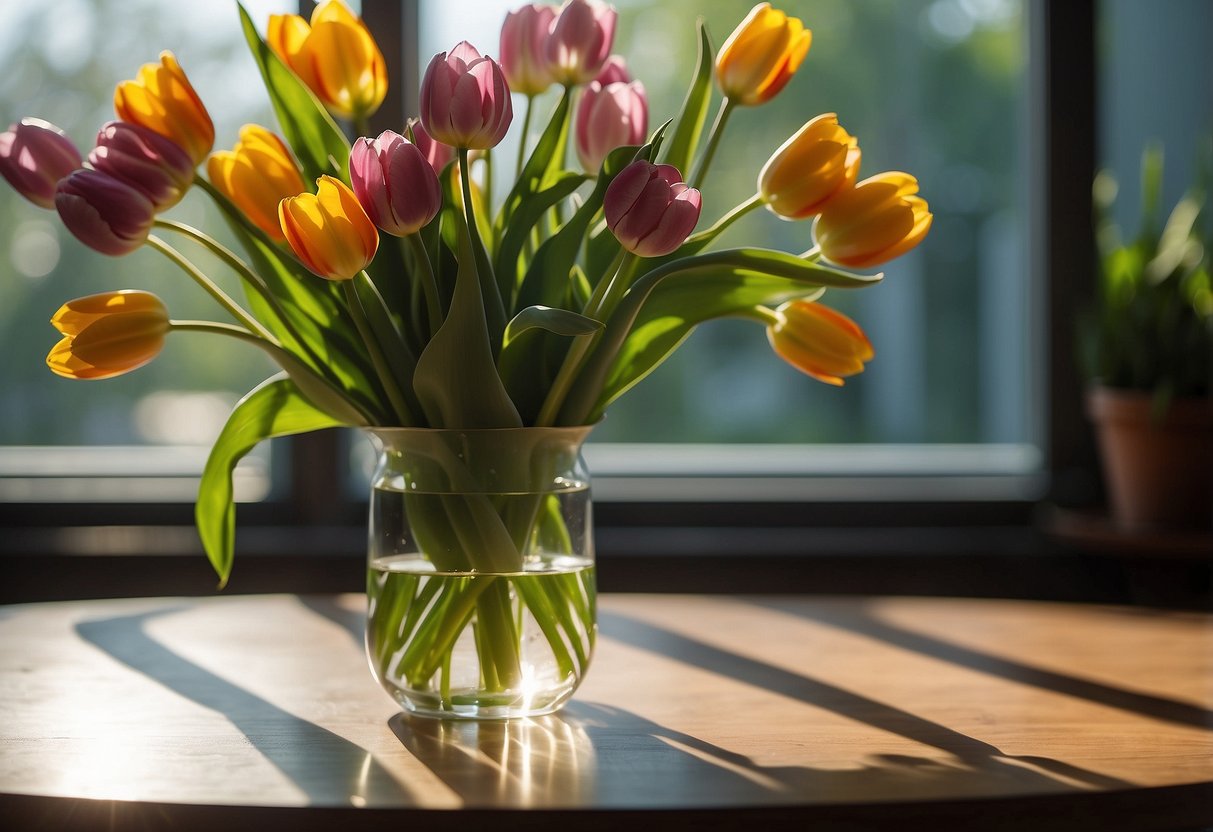
A vase filled with tulips can bring a burst of color to any room. You can use classic clear glass vases to let the stems show through or choose a colorful vase to complement the blooms.
Try mixing tulips with other flowers in a vase for a beautiful, stylish arrangement. White tulips paired with pink roses can make a lovely combination.
Changing the water regularly and trimming the stems will help your tulips last longer in the vase. Simple arrangements can be just as stunning as more elaborate ones.
5) Close-up of Tulip Petals
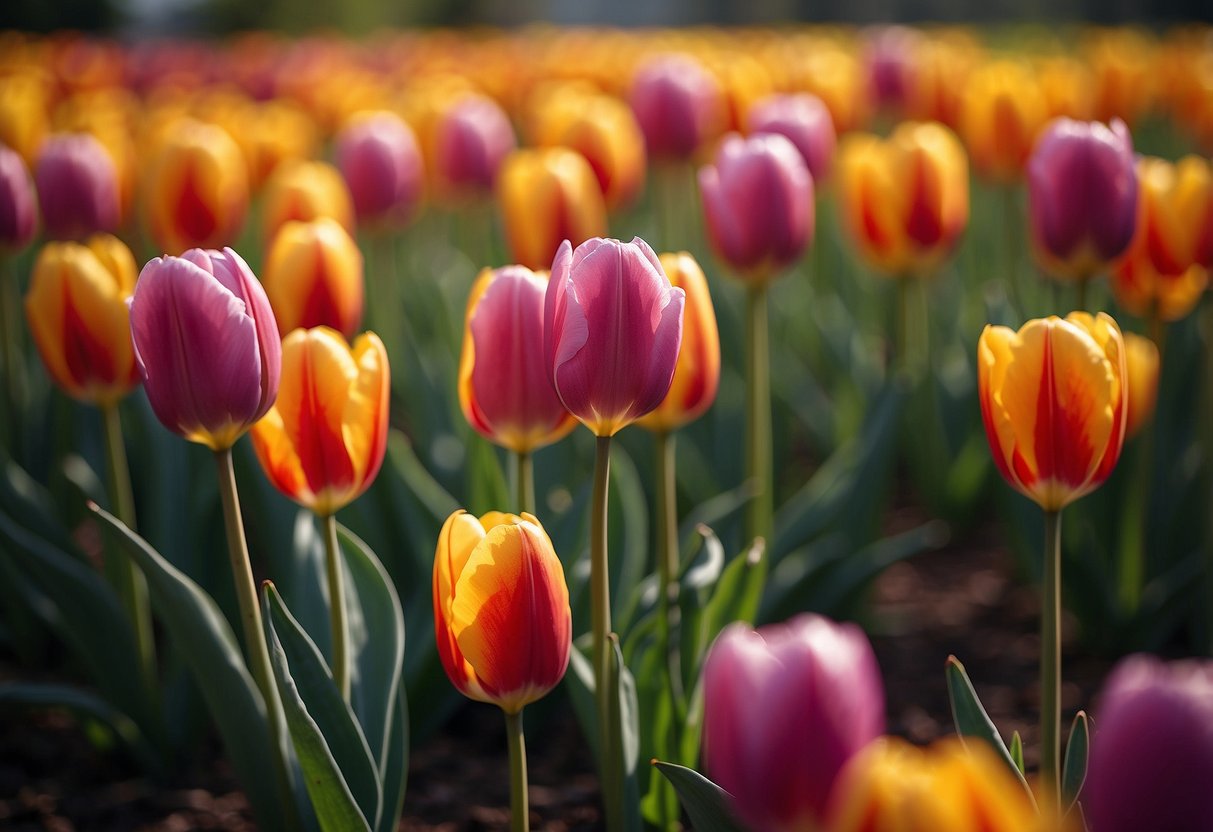
Getting a close-up of tulip petals can highlight their vibrant colors and intricate details. You might notice the delicate veins and subtle color gradients that make each petal unique.
Try to focus on the center of the tulip where the petals converge. This can create a striking visual effect.
Using a macro lens will help capture these details clearly. For some inspiration, check out these tulip close-up photos.
6) Blooming Tulip Pathways

You can create a stunning garden by designing blooming tulip pathways. Line the edges of your path with bright tulips to make a colorful walk. Plant bulbs in tight formations to ensure a dense, vibrant display.
Mix different tulip varieties for a unique look, or stick to one color for a striking effect. Blooming tulip pathways not only add beauty but also guide visitors through the garden.
7) Tulip and Windmill Combo
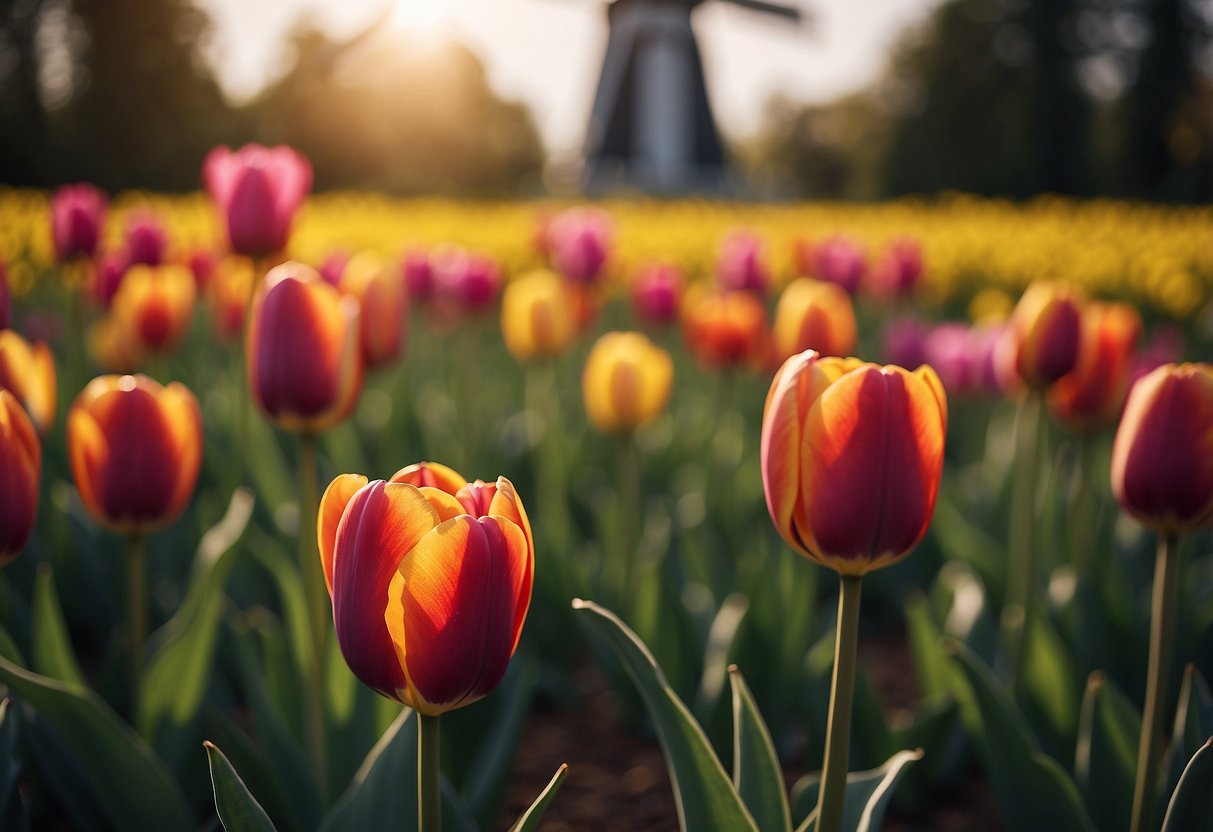
Pairing tulips with windmills creates a charming, picturesque scene. The classic windmill, spinning gently in the background, adds a touch of Dutch tradition to your photos.
For the best shots, position yourself to capture both the colorful tulips and the windmill in the same frame. This angle emphasizes the unique combination.
Experiment with different times of the day. Sunrise and sunset can provide beautiful lighting, highlighting the vibrant tulips and the windmill’s details. Visiting places like Keukenhof Gardens is perfect for this type of photography.
8) Butterflies and Tulips
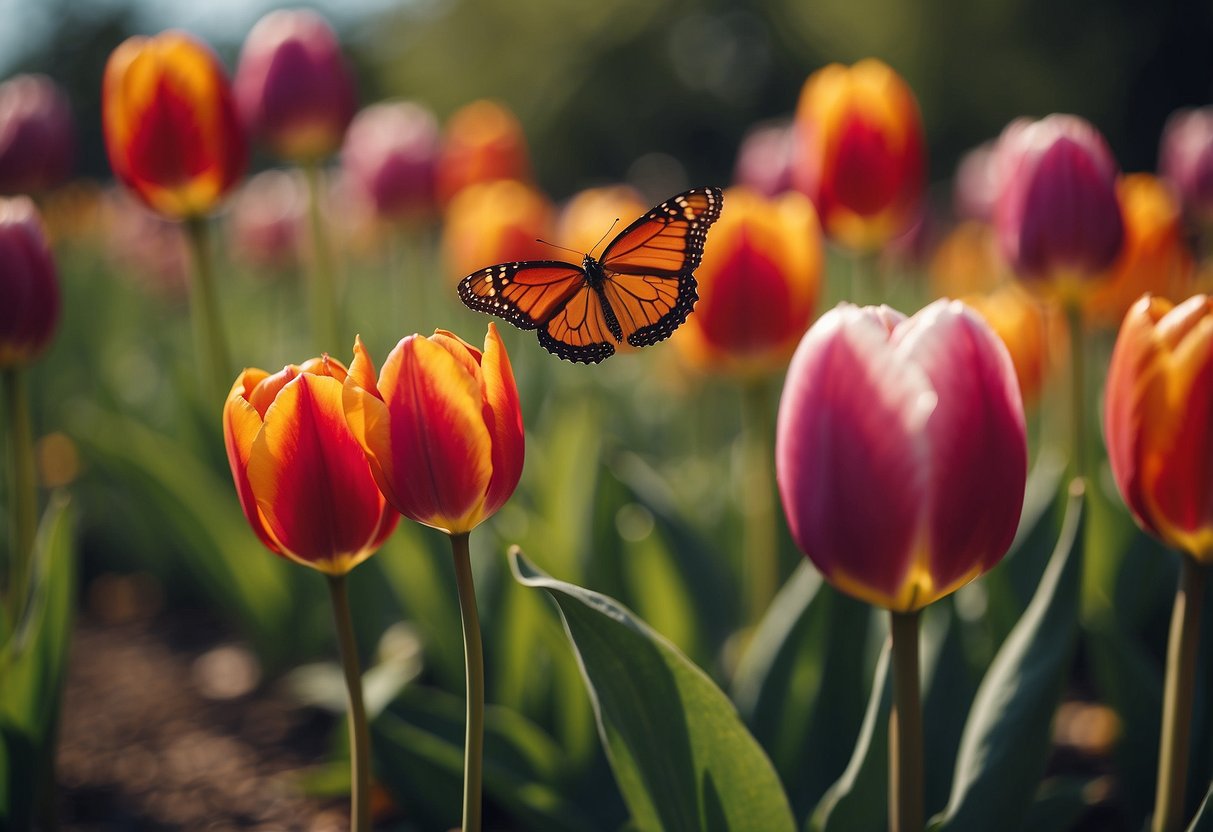
Butterflies fluttering around tulips can make for a magical photo. Capture the moment when a butterfly lands on the vibrant petals.
You can also take wide shots with butterflies hovering near the tulip garden. This adds movement and life to your pictures.
Use close-ups if you spot a butterfly on a tulip. Focus on the details of both the flower and the butterfly. Compliment the colors and textures in your photos.
9) Tulip Garden Reflections
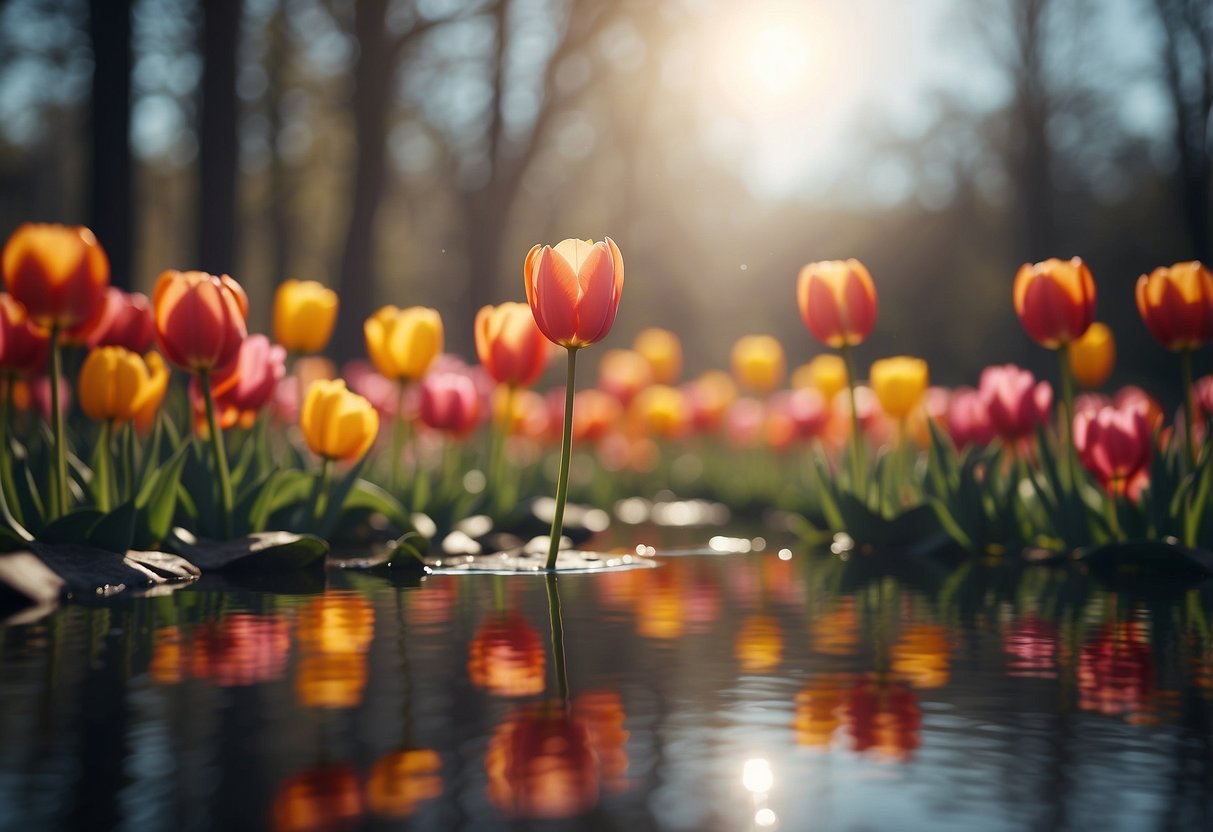
One stunning way to enhance your tulip garden is by adding a water feature. A small pond or a fountain can create beautiful reflections of your tulips.
The reflection in the water can make your garden look even bigger and more colorful. It adds a sense of tranquility and beauty to your space.
Consider positioning the water feature where it can catch the most light to maximize the visual effect. This simple addition can transform your garden into a breathtaking scene. Learn more about this idea here.
10) Tulip Bed from Above
Imagine looking down at a sea of colorful tulips from above. It’s like a living painting.
You can see patterns and swirls that you might miss from the ground. It’s a new way to enjoy the beauty of tulips.
Taking photos from above can also show off the layout of your tulip bed. This angle adds a unique perspective.
Planning Your Photo Session

Capturing the beauty of tulip gardens requires careful planning. You’ll want to visit at the right time and use the best tools for stunning photos.
Best Times to Visit
The best time to visit tulip gardens is during spring when the flowers are in full bloom. Typically, this is from late March to early May. Watching the weather forecast helps you pick sunny days, which make the colors pop.
Early mornings and late afternoons offer soft, natural light that creates beautiful shadows and highlights. Weekdays are often less crowded than weekends, giving you more space to take great shots without people in the background.
Check local tulip festivals and events ahead of time. Festivals can provide unique photo opportunities such as special displays and themed setups. Always verify opening hours and bloom schedules to avoid disappointment.
Choosing the Right Equipment
Using the right equipment is essential for a successful photo session. A DSLR or mirrorless camera offers more control over settings, but a good smartphone camera can also capture fantastic images if used effectively.
A tripod helps stabilize your camera, especially in low light conditions. It’s handy for framing up precise compositions and long-exposure shots. Bring extra memory cards and batteries so you don’t miss any moments.
For lens choices, a wide-angle lens captures the vastness of the tulip fields, while a macro lens lets you get detailed close-ups of individual blooms. Filters like a polarizer can reduce glare and make colors more vibrant.
Dress comfortably and consider wearing bright colors to create contrast if you plan to be in the photos.
Composition Tips

Capturing the beauty of tulips in your garden can be elevated through thoughtful composition. Attention to the rule of thirds and the integration of visual elements can make a striking difference.
Using the Rule of Thirds
The rule of thirds divides your frame into a 3×3 grid. Imagine two horizontal and two vertical lines that split the frame into nine equal parts. Positioning your tulips along these lines or at their intersections creates a balanced and engaging photo.
For example, try placing a prominent tulip where the lines cross. This draws the viewer’s eye to the tulip naturally. This method helps emphasize the tulip while still allowing room for other elements that add to the scene.
Also, consider the horizon. Placing the horizon along one of the horizontal lines can provide a sense of space and depth. This technique can help make your tulip garden shot more dynamic and appealing.
Incorporating Visual Elements
Adding visual elements such as paths, fences, or garden tools can enhance your tulip garden photos. These additions create context and add layers to your composition.
For instance, a winding path leading through the tulips can guide the viewer’s eye through the image. This makes the scene more interesting and tells a story.
Include elements like garden benches or water features. These can break up the uniformity of tulips and introduce a focal point.
Different textures, such as the rough wood of a fence or the smooth surface of a stone path, can contrast with the softness of tulip petals and make the photo more visually appealing.
Using these techniques thoughtfully can transform your tulip garden photos into captivating works of art.
Editing Your Photos

Editing tulip photos can be very rewarding. You’ll learn how to adjust brightness and contrast for a balanced look and enhance the natural colors to make your tulips pop.
Basic Adjustments
Start by opening your photo in an editing software like Adobe Lightroom or even a mobile app like Snapseed. The first thing you’ll want to adjust is the brightness. Tulip photos often benefit from a slight increase in brightness to highlight their vibrant colors.
Next, focus on contrast. Adjusting contrast can make the tulips stand out more from the background. Too much contrast can make the image look harsh, so be careful not to overdo it.
Sharpness is also crucial. Tulip petals have intricate details that you don’t want to lose. Increase sharpness only enough to make those details pop without making the image look unnatural.
Once you’ve dealt with brightness, contrast, and sharpness, consider adjusting the white balance. This can help correct any color casts and make sure the tulips look true to life.
Enhancing Colors
Tulips are known for their vibrant colors. When enhancing colors, the goal is to make them pop without losing their natural beauty. Start with the saturation slider. Increase it just enough to make the colors more vivid, but avoid making them look neon or artificial.
Hue adjustments can also help. Sometimes tulips can appear a bit off in their natural color in your photos. Small tweaks to the hue can correct these issues.
Pay attention to individual color adjustments. Most editing software lets you adjust specific colors. For tulips, focus on reds, yellows, and pinks. Increase their saturation and brightness slightly to make them stand out.
Lastly, consider using the vignetting tool. Adding a slight vignette can draw the viewer’s eye toward the center of the photo, making the tulips the focal point.
By carefully adjusting these elements, your tulip photos will look stunning and true to their natural beauty.


