

What is the Best Thing to Feed Camellias? Tips for Optimal Growth
Camellias are beautiful, vibrant flowers that can bring a touch of elegance to your garden. The key to their stunning blooms lies in how you care for and feed your camellia plants. The best thing to feed camellias is a balanced, slow-release fertilizer with a ratio of either 8-8-8 or 10-10-10.

When caring for your camellias, you want to ensure the soil is slightly acidic, with a pH around 6.0 to 6.5. This helps the plant absorb the nutrients it needs. Pull back the mulch before fertilizing to prevent runoff and ensure the nutrients reach the roots effectively.
For optimal growth, fertilize your camellias during the growing season from late winter to early summer. Using a specialized fertilizer for acid-loving plants, such as one formulated for azaleas or rhododendrons, can provide the right balance of nutrients, including sulfur and iron. This helps your plants produce strong buds and lush foliage, keeping your garden looking magnificent all season long.
Understanding Camellias’ Needs

Camellias are beautiful, flowering shrubs that thrive in specific soil conditions. They prefer slightly acidic soil and need well-draining soil to avoid root rot.
Soil Requirements for Camellias
Camellias love loamy soil that retains moisture but drains well. Sandy soil is not ideal because it doesn’t hold water well, and clay soil can cause water to pool around the roots. Mixing organic matter like compost or leaf mold into your soil can improve its texture and water retention.
Proper planting depth is vital. Plant camellias so the top of the root ball is at or just above soil level. Mulch helps retain moisture and keep the roots cool. Spread a layer of mulch around the base of the plant, but keep it a few inches away from the stem to avoid rot.
Ideal pH Levels for Healthy Growth
Camellias thrive in slightly acidic soil with a pH between 6.0 and 6.5. You can test your soil’s pH using a home soil pH test kit or by sending a sample to a local extension service.
If your soil is too alkaline, sulfur or aluminum sulfate can lower the pH. For soil that is too acidic, adding lime can increase the pH. Be cautious and adjust gradually to avoid shocking the plant. Always water camellias with rainwater or distilled water if your tap water is too alkaline.
Incorporating peat moss or pine bark into the soil also helps maintain the desired acidity. Consistent soil pH balance is crucial for nutrient absorption and overall plant health.
By maintaining the correct soil and pH levels, your camellias will flourish and reward you with vibrant blooms.
Best Practices for Watering Camellias
Watering camellias correctly is crucial for their health and growth. Ensure proper moisture management and consider the water quality to avoid issues.
Proper Moisture Management
Camellias thrive in soil that stays moist, but not soggy. The soil should be wet to a depth of 14 to 18 inches. This depth ensures that the roots get enough water. Overwatering can lead to root rot, so be cautious.
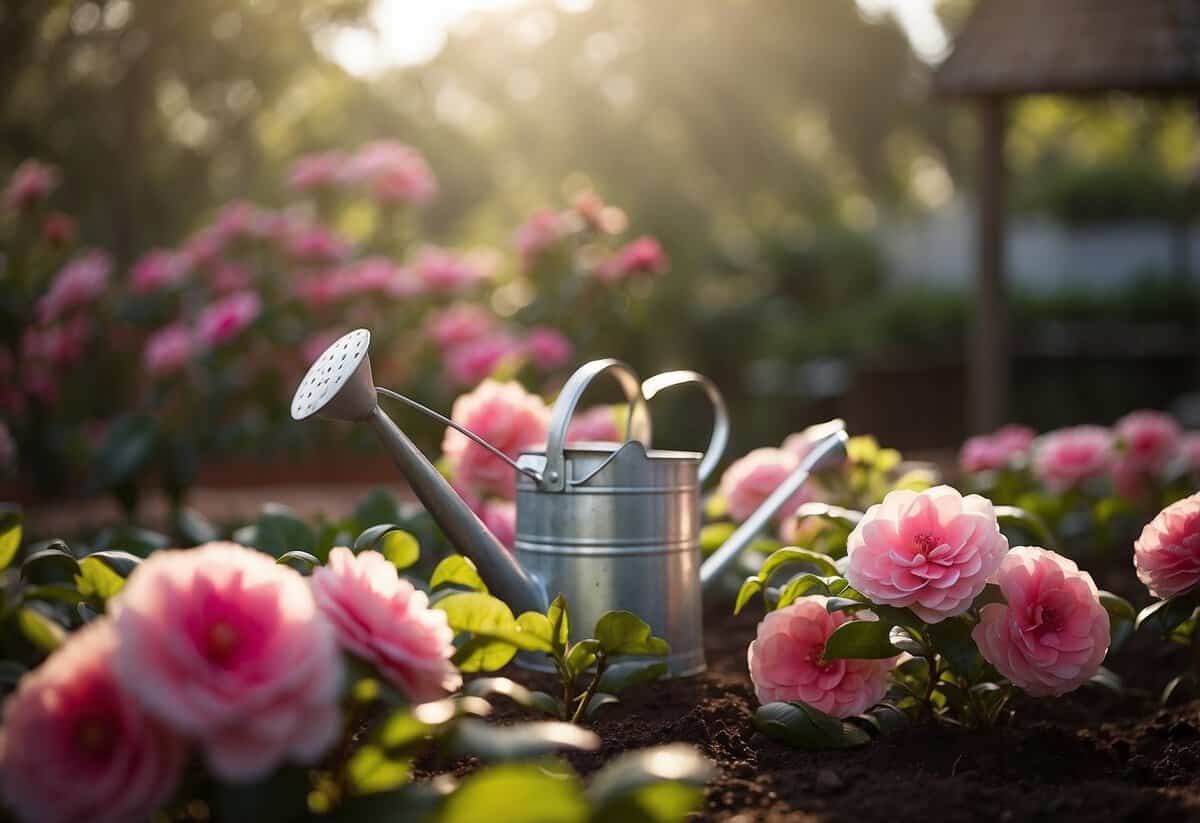
Watering in the morning is best. This timing allows the foliage to dry out before evening, reducing the risk of fungal diseases. Use a watering can or hose to water at the base of the plant, rather than spraying the leaves.
Mulch helps in maintaining soil moisture. Adding a 2- to 3-inch layer of mulch around your camellias reduces water evaporation and keeps the soil cool. Just be sure to keep the mulch away from the trunk to avoid rot.
Impacts of Water Quality on Camellias
The quality of the water you use can affect your camellias. Rainwater is often ideal because it’s free of many chemicals found in tap water. Collecting rainwater can be a great option if you live in an area with frequent rain.
Tap water may contain high levels of chlorine or fluoride, which can harm camellias over time. If using tap water, allow it to sit out for a day to let the chemicals dissipate. Filtering the water can also help.
Camellias prefer slightly acidic water. If your water is too alkaline, consider adding a bit of vinegar to adjust the pH. Always test your water’s pH to ensure it’s within the 6.0 to 6.5 range, suitable for camellias.
Following these practices will help your camellias stay healthy and vibrant.
Feeding and Fertilizing Camellias
For healthy camellias, you need the right type of fertilizer and a proper fertilizing schedule. These steps help ensure your camellias get the nutrients they need to thrive.
Choosing the Right Fertilizer
Camellias prefer acidic soil, so using an ericaceous fertilizer is essential. This type of fertilizer contains the right balance of nutrients for acid-loving plants. A formula with equal parts of nitrogen, phosphorus, and potassium, such as 10-10-10 or 8-8-8, is ideal.
Aside from the main nutrients, camellias also benefit from chelated iron and other micronutrients like manganese. These elements prevent nutrient deficiencies that can impair growth and blooming. Granular fertilizers designed for rhododendrons and azaleas also work well for camellias.
Fertilizing Schedule for Optimal Blooming
Timing your fertilization correctly helps camellias grow strong and bloom beautifully. The best time to fertilize is during the growing season, from late winter to early summer. During this period, camellias actively grow and absorb nutrients efficiently.
You can apply about half a pound to one pound of fertilizer around the root zone. Be sure to pull back any mulch before spreading the fertilizer to prevent runoff. Avoid fertilizing too late in the season, as this can shock the plant and cause damage.
Follow these steps for a healthy, thriving camellia garden.
Mulching and Soil Amendments
Mulching and using the right soil amendments can greatly benefit your camellias. They ensure proper moisture, improve soil structure, and provide essential nutrients. Below are some key details about the benefits of mulching and selecting suitable soil amendments.
Benefits of Mulching for Camellias
Applying mulch around your camellias helps retain soil moisture. This is crucial as camellias prefer consistent moisture levels. Without it, flower buds might not form properly. A good mulch also prevents weed growth, which can compete with your camellias for nutrients and water.
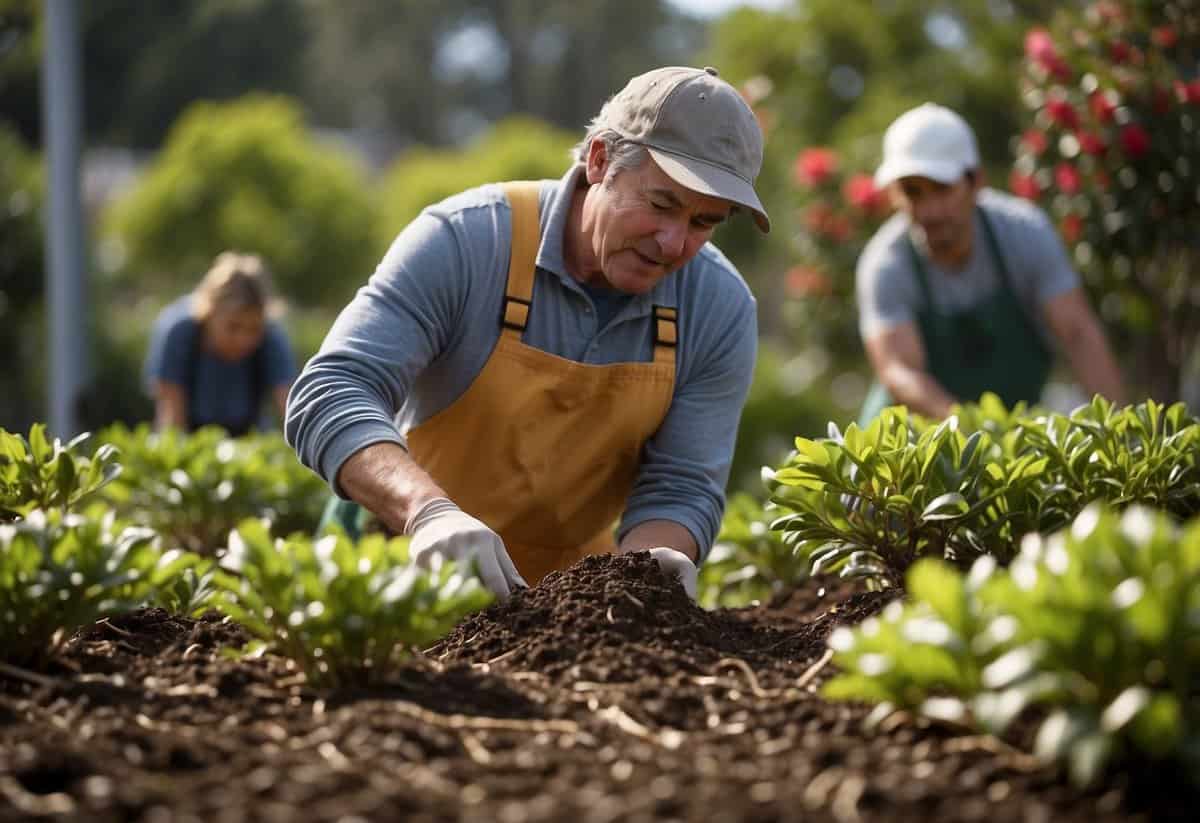
You can use pine needles, leaf mold, or well-rotted compost for mulching. Pine needles are particularly beneficial as they slightly acidify the soil, which camellias love. By adding a layer 2-3 inches thick, you’ll also help regulate soil temperature, protecting roots from extreme heat or cold.
Organic mulches break down over time, adding humus to the soil. This improves soil structure and root health. Be sure to keep mulch away from the trunk to prevent rot and pests.
Selecting Suitable Soil Amendments
Using the right soil amendments is key for camellias to thrive. They prefer slightly acidic soil, so using ericaceous compost can help maintain the ideal pH level. This type of compost is specifically designed for acid-loving plants like camellias.
Adding some compost or organic matter can improve soil drainage and aeration, preventing root rot. Mixing in well-rotted compost or leaf mold can also boost nutrient levels and soil structure.
To maintain long-term soil health, incorporate amendments like these annually. This ensures your soil stays rich in nutrients and suitable for camellia growth. Avoid using materials that make the soil too alkaline, as camellias won’t thrive in such conditions.
General Camellia Care Through Seasons

Caring for camellias throughout the seasons ensures healthy plants and beautiful blooms. Key practices include pruning and protecting your camellias in winter.
Pruning to Promote Health and Blooms
Pruning your camellias is important for their health and to encourage new growth. You should prune after they finish blooming, typically in the early spring. This helps shape the plant and removes any dead or weak branches.
Use clean, sharp pruning shears to make clean cuts. Remove branches that cross or rub each other, as these can cause damage and invite disease. Pruning also helps improve air circulation, which reduces the risk of fungal infections on the foliage and flower buds.
Be careful not to prune too late in the season, especially in late winter, as this can remove next year’s flower buds. Focusing on early spring ensures that your camellias can put their energy into producing beautiful flowers rather than repairing cuts.
Protecting Camellias in Winter
Winter protection is crucial for camellias, particularly in colder climates. Apply a layer of mulch around the base of the plants. This helps insulate the roots and maintains soil moisture. Use organic materials like bark or pine needles for best results.
Move potted camellias to a sheltered location, such as a patio or unheated greenhouse, to avoid frost damage. If you can’t move them, wrap the pots in burlap or bubble wrap for added insulation.
In areas with harsh winters, consider using a frost cloth to cover the plants during extreme cold spells. Ensure that the cover does not touch the foliage directly, as this can cause frostburn on the leaves.
Remember, protecting your camellias through the cold months ensures they are ready to burst into vibrant blooms when spring arrives.


