Worm Garden Tips: Boost Your Composting Efforts
Worm gardens are a fantastic way to improve your soil and help your plants grow stronger and healthier. By incorporating worms into your garden, you can naturally enhance nutrient levels and ensure better plant growth. You can create a thriving garden ecosystem with simple, practical tips that make worm farming easy and effective.
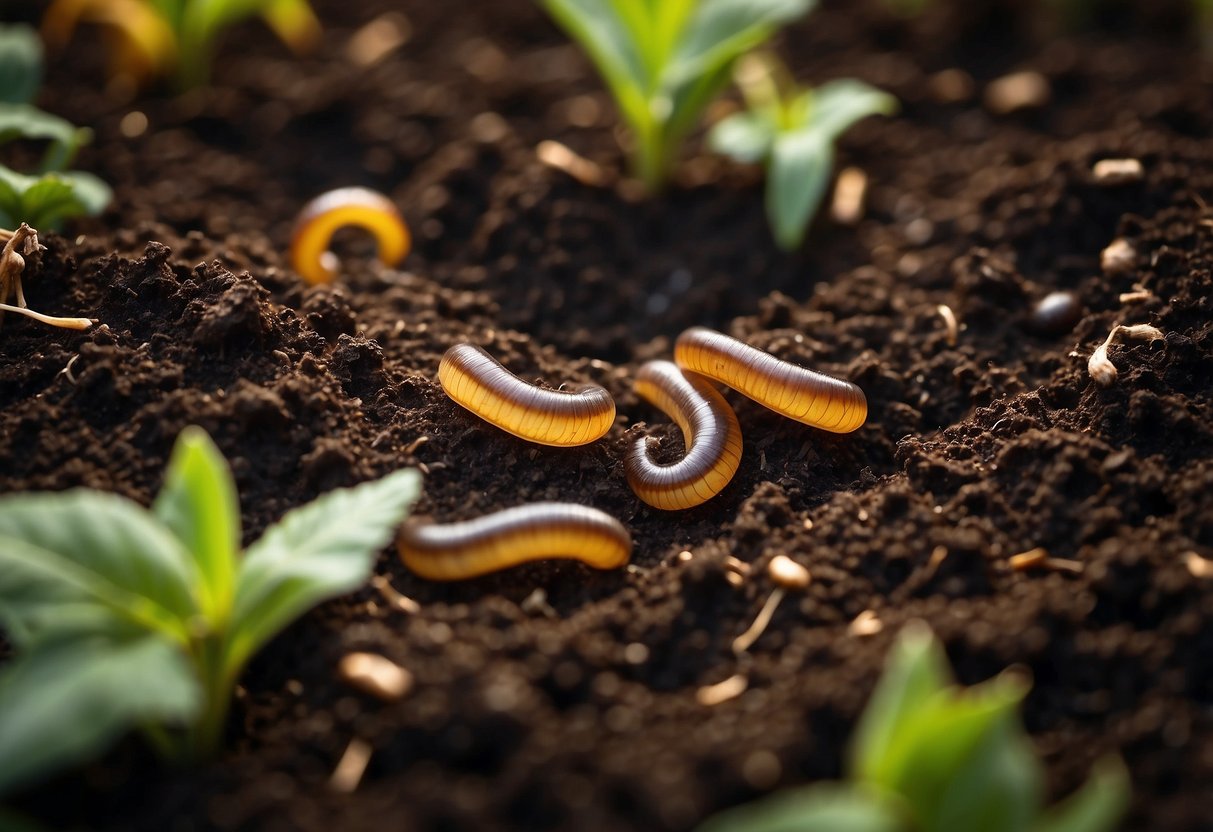
Getting started with worm farming isn’t complicated, and you don’t need a lot of space or special equipment. With just a little effort, you can turn kitchen scraps and garden waste into rich compost, reducing waste and promoting a more sustainable environment. Discover the joy of nurturing your plants with the help of these amazing little creatures.
1) Use Composting Worms

For the best results, use red wiggler worms. They are perfect for composting and can turn your kitchen scraps into rich soil.
Make sure your bin has drainage and ventilation holes. This helps keep the worms happy and healthy.
You can buy a composting bin or make your own with simple materials.
2) Maintain Proper Moisture Levels

It’s important to keep your worm bin at the right moisture level. Too much or too little water can harm your worms.
Check the moisture at least once a week. You can do this by feeling the bedding. It should be as damp as a wrung-out sponge.
If it’s too wet, add dry cardboard or paper. This helps soak up excess moisture. For more tips, visit tips to keep correct moisture.
3) Provide worm-friendly food scraps
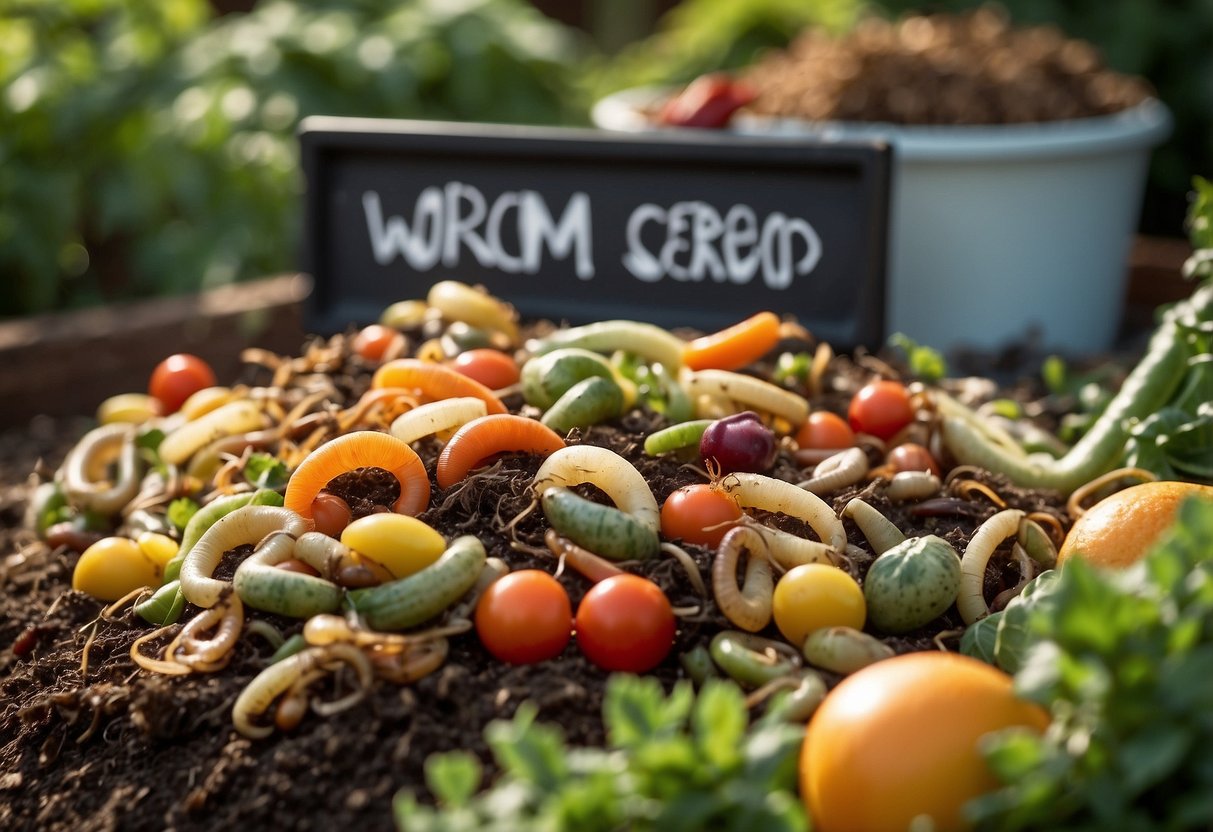
Your worms will thrive on various kitchen scraps. You can feed them fruit and vegetable peels, coffee grounds, and tea bags. These items break down easily and provide the nutrients worms need.
Avoid citrus fruits, meat, dairy, and oily foods. These can harm your worms and create unpleasant odors. Stick to simple, plant-based scraps to keep your worm bin healthy and happy.
Shred or chop food scraps into small pieces before adding them to the bin. This helps worms process the food faster and keeps your composting system efficient.
4) Keep Bedding Aerated
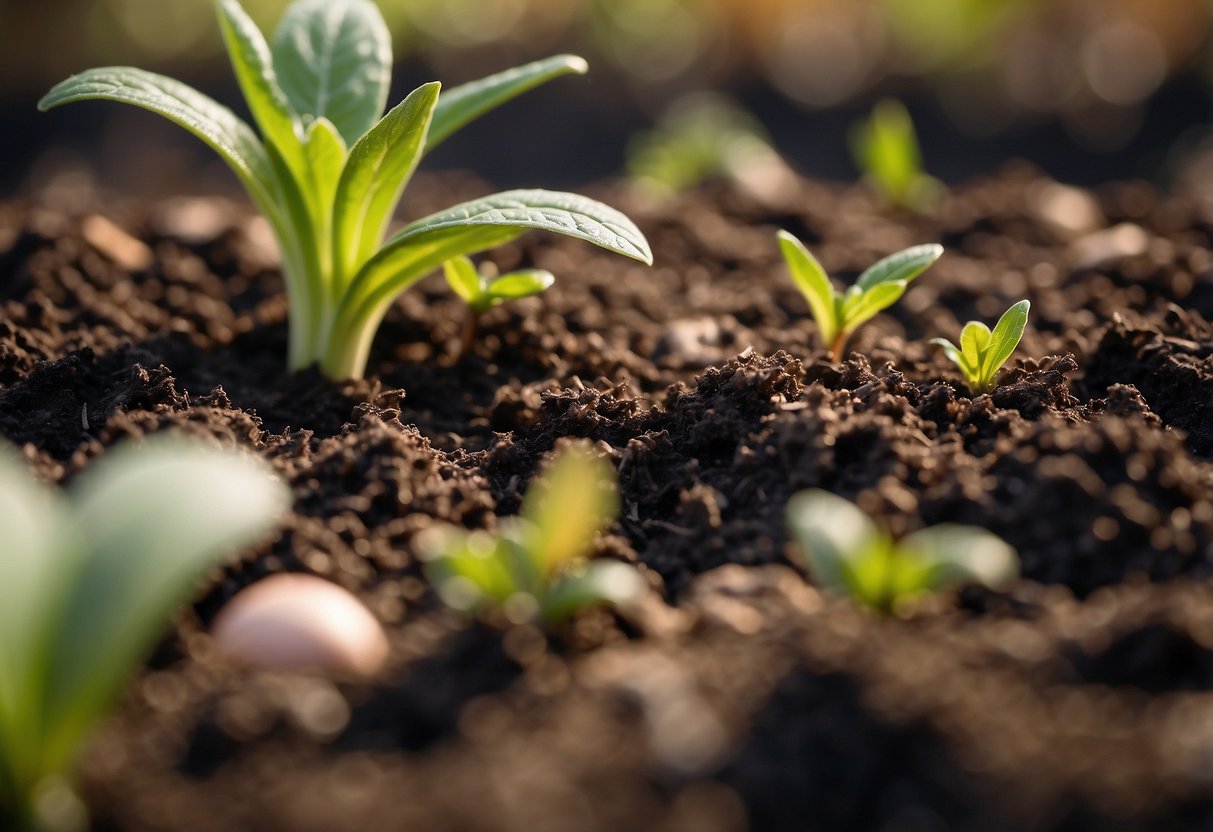
It’s important to keep your worm bedding aerated.
Good airflow helps maintain a healthy environment for your worms. You can do this by gently turning the bedding every few weeks.
Using materials that allow oxygen to flow, like shredded newspaper or cardboard, can help keep the bedding loose and breathable.
Proper aeration ensures your worms stay happy and productive in their garden home.
5) Avoid acidic foods
Acidic foods can harm your worm garden. Foods like citrus fruits, tomatoes, and vinegar can upset the pH balance in the soil.
When the soil becomes too acidic, your worms may avoid the food scraps. They prefer a neutral pH environment.
Maintaining a balanced diet for your worms helps keep them healthy and productive.
6) Use newspaper and cardboard as bedding
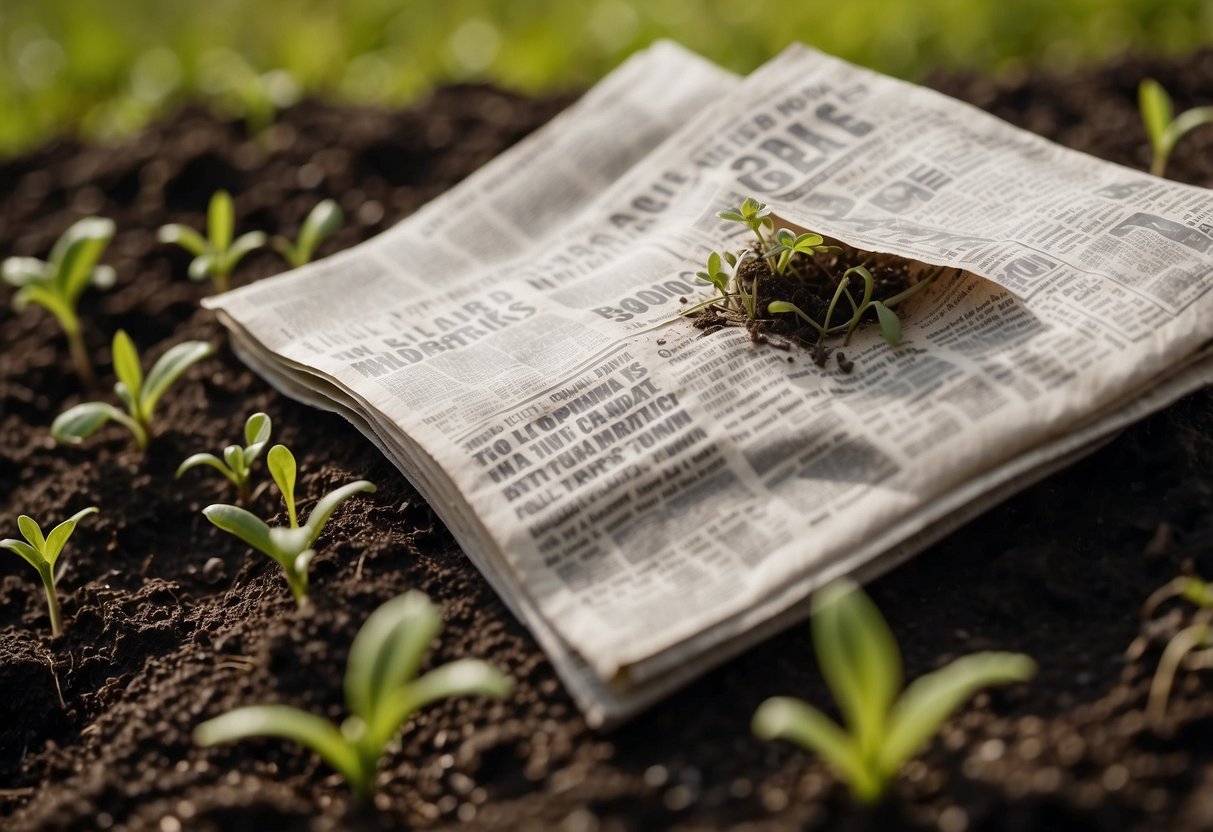
Shredded newspaper and cardboard make excellent worm bedding. They provide a good balance of moisture and air for your worms.
Moisten the newspaper or cardboard so it feels like a damp sponge. Avoid colored inks and glossy papers, as they can harm your worms.
Mix in other materials like coconut coir or old compost to enhance the bedding quality. You can find more tips on using newspaper and cardboard bedding at WormFarmGuru.
7) Harvest worm castings regularly

Harvesting worm castings is key to keeping your garden healthy. These nutrient-rich castings help your plants grow strong. You should harvest them every 3-4 months.
To start, stop feeding the worms for a few days. This lets them finish eating all the scraps. Next, use a rake to gather the castings into a pile.
Place the pile under a bright light. The worms will move away from the light, letting you collect the castings easily. Repeat until you have a nice, clean pile of castings. For more details, visit Epic Gardening’s guide.
8) Prevent pests with proper maintenance
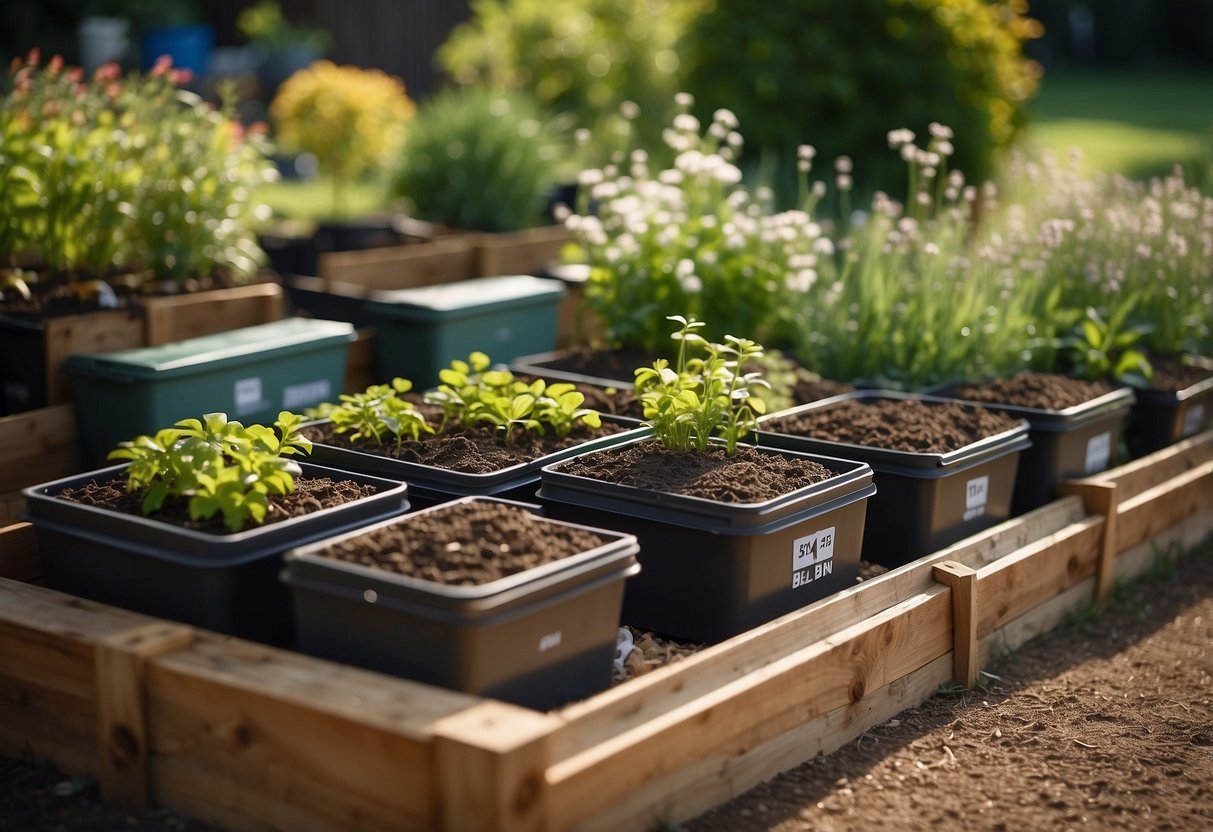
To keep pests away, it’s important to maintain your garden well. Start by cleaning up any leafy debris, dead plants, and decaying material. This reduces places for insects to hide and breed.
Regularly inspect your plants. Look for signs of damage or pests. Remove any pests you spot by hand.
Consider using row covers to protect your plants from bugs. They are a simple method to prevent pests from moving into your garden. Check plant health and water needs often.
By doing these tasks, you help keep your garden pest-free and healthy.
9) Monitor temperature levels

Keeping your worm bin at the right temperature is key. Worms thrive best between 65-80°F (18-26°C) according to the Winter Worm Bin Survival Guide.
Worms are most active and productive within this range. If you need to raise the temperature, use a heat lamp or spotlight. You can learn more about this on the worm bin temperature guide.
Be careful not to overheat. Keep a thermometer in the bin to monitor the temperature regularly. This helps ensure your worms stay happy and healthy.
10) Expand worm bins as necessary
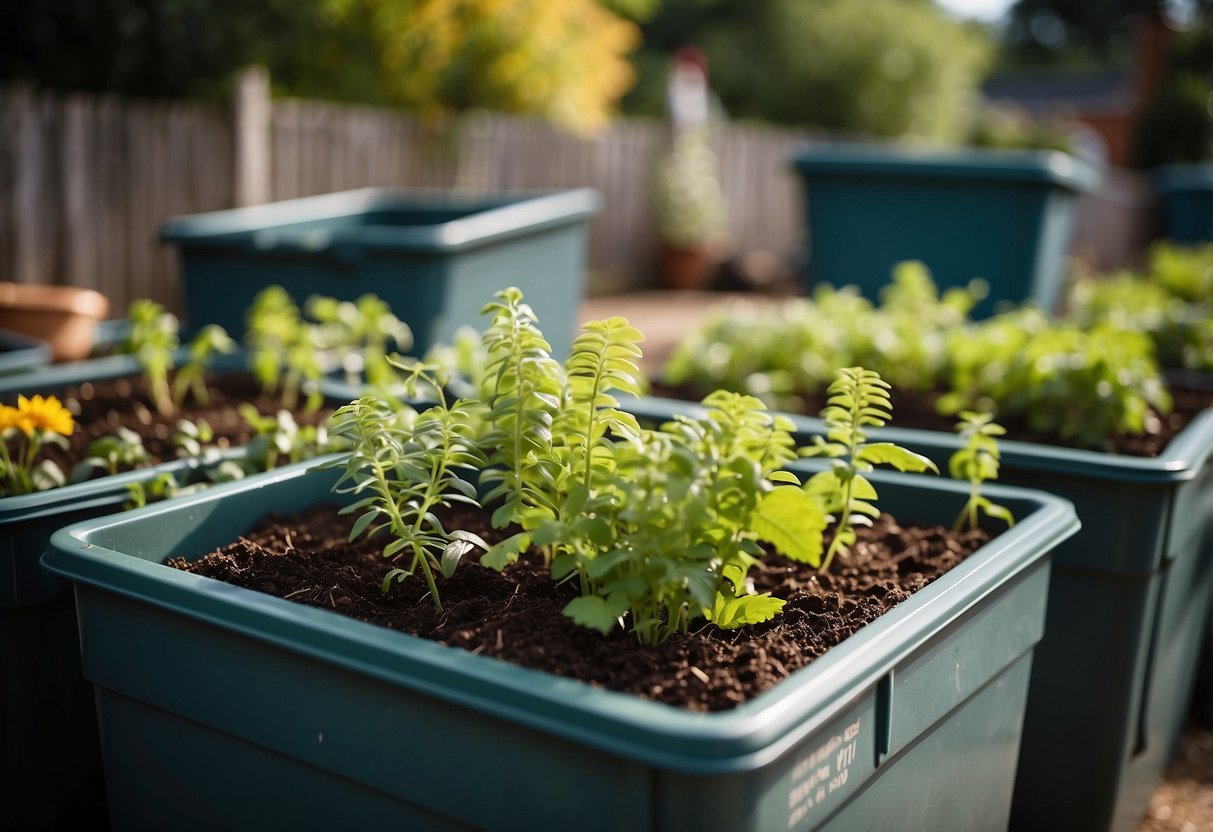
You might notice your worms are running out of space or the composting process is slowing down. When that happens, it’s time to expand.
Get a larger bin or add another one next to the first. This gives your worms more room to thrive and produce compost faster. Check out more tips on outdoor worm composting for larger setups.
Adding more worms can also help. Just make sure to balance the food scraps and bedding to keep your worms healthy and productive.
Benefits of Worm Gardens

Using worms in your garden offers numerous advantages. You will notice improved soil fertility and reduced waste, which both contribute to healthier plant growth.
Improved Soil Fertility
Worm castings, also known as vermicompost, are a natural fertilizer. They contain high levels of nitrogen, phosphorus, potassium, and other micronutrients essential for plant growth. These nutrients are more readily available to plants compared to synthetic fertilizers.
Worms also aerate the soil as they move through it. This creates channels that allow air and water to reach plant roots more easily. Better aeration improves root health and leads to stronger plants. As worms digest organic matter, they break it down into smaller particles, making it easier for plants to absorb the nutrients.
Adding 1-5 worms per square foot of garden space, as suggested by Brothers Worm Farm, can make a significant impact on your soil’s health. As they multiply, they continue to improve the soil structure.
Reduced Waste
Worms can help you manage garden waste efficiently. By creating a worm composting bin, you can turn kitchen scraps and yard waste into valuable vermicompost. This method reduces the amount of organic waste that ends up in landfills.
Worm composting is an eco-friendly practice. You can recycle food scraps, such as fruit peels, vegetable trimmings, and coffee grounds. The worms consume this waste and convert it into rich compost that you can use in your garden.
According to GardenBeast, starting your own worm farm is simple and cost-effective. It turns waste into a useful resource, helping to maintain a sustainable environment. By reducing waste and enriching your soil, you also reduce your dependency on chemical fertilizers.
Setting Up Your Worm Garden

Starting a worm garden involves choosing the right worms, finding a suitable container, and preparing appropriate bedding for your worms.
Choosing the Right Worms
Choosing the right worms is important for a successful worm garden. The most popular choice is the red wiggler. These worms are great because they eat plenty of organic waste and reproduce quickly. Another option is the European nightcrawler, which also works well for composting.
Important: Avoid using earthworms from your backyard. They might not adapt well to the conditions of a worm garden. You can buy composting worms online or from local gardening stores. Make sure to order enough; generally, 500-1,000 worms are a good start for a small bin.
Selecting a Container
The container you choose for your worm garden should have certain features. Look for bins that are opaque, as worms prefer dark environments. The container should be breathable to allow airflow, which is crucial for the worms.
Size: A typical bin size for beginners is 10 to 20 gallons. If you are using a plastic storage bin, make sure to drill several small holes in the lid and sides for ventilation.
Place: Find a cool, shaded spot to set up your container. A temperature range between 55-77°F is ideal for your worms so they can stay active and healthy.
Preparing the Bedding
Bedding is where your worms will live and work, so it should be comfortable for them. Start with a layer of moist bedding that is about 3-4 inches deep. Shredded newspaper, cardboard, and coconut coir are excellent choices.
Moisture Level: Aim for bedding that feels like a damp sponge. You can achieve this by spraying water on the bedding material until it’s just right.
Add some garden soil to help the worms digest their food. Then place your worms gently onto the bedding and give them a few days to settle in. You can start feeding them small amounts of kitchen scraps after they look comfortable.
To increase your chances of success, check the bedding regularly, and make sure it stays moist, but not soggy.


