

Painting a Garden Wall Tips: Fresh Ideas to Brighten Your Outdoor Space
Painting a garden wall can transform your outdoor space, making it more inviting and stylish. Whether you’re aiming for a bold statement or a subtle enhancement, the right paint and technique can add charm and character to your garden.

Whether you’re a seasoned DIY enthusiast or a complete beginner, painting a garden wall is a manageable and rewarding project. It not only improves the look of your garden but also provides protection to the walls from weather damage.
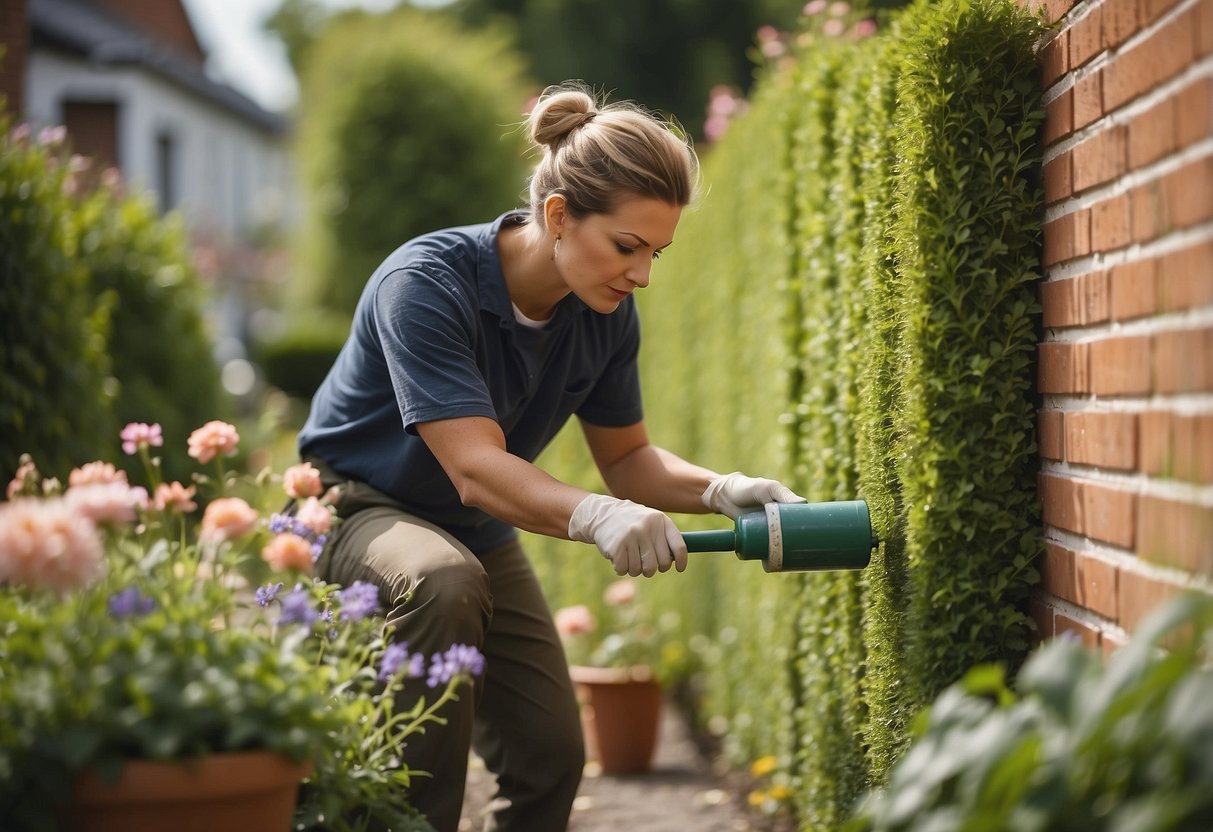
1) Clean the Surface Thoroughly

Before painting your garden wall, you need to clean it well.
Mix warm water with a bit of mild detergent. Use a soft cloth or sponge to wipe down the wall.
For stubborn stains, try a mixture of water and vinegar or baking soda. Rinse with clean water and let the wall dry completely.
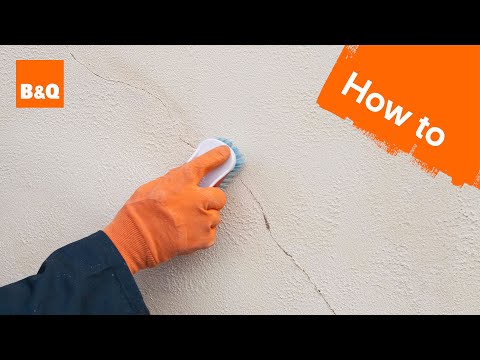
Repair any cracks or holes with spackling compound. A smooth, clean surface helps paint stick better.
2) Choose a Weather-Resistant Paint
Using weather-resistant paint is important for your garden wall. This type of paint helps protect your wall from rain, sunlight, and temperature changes.
Look for paints labeled as weather-resistant, especially acrylic paints, which are durable and water-based. These paints are easier to clean and are eco-friendly.
Applying multiple coats can also help. A few layers of paint will provide better protection and keep your wall looking fresh for longer.
For more tips, check out this guide on paint for outdoor murals.
3) Use a Primer for Better Adhesion
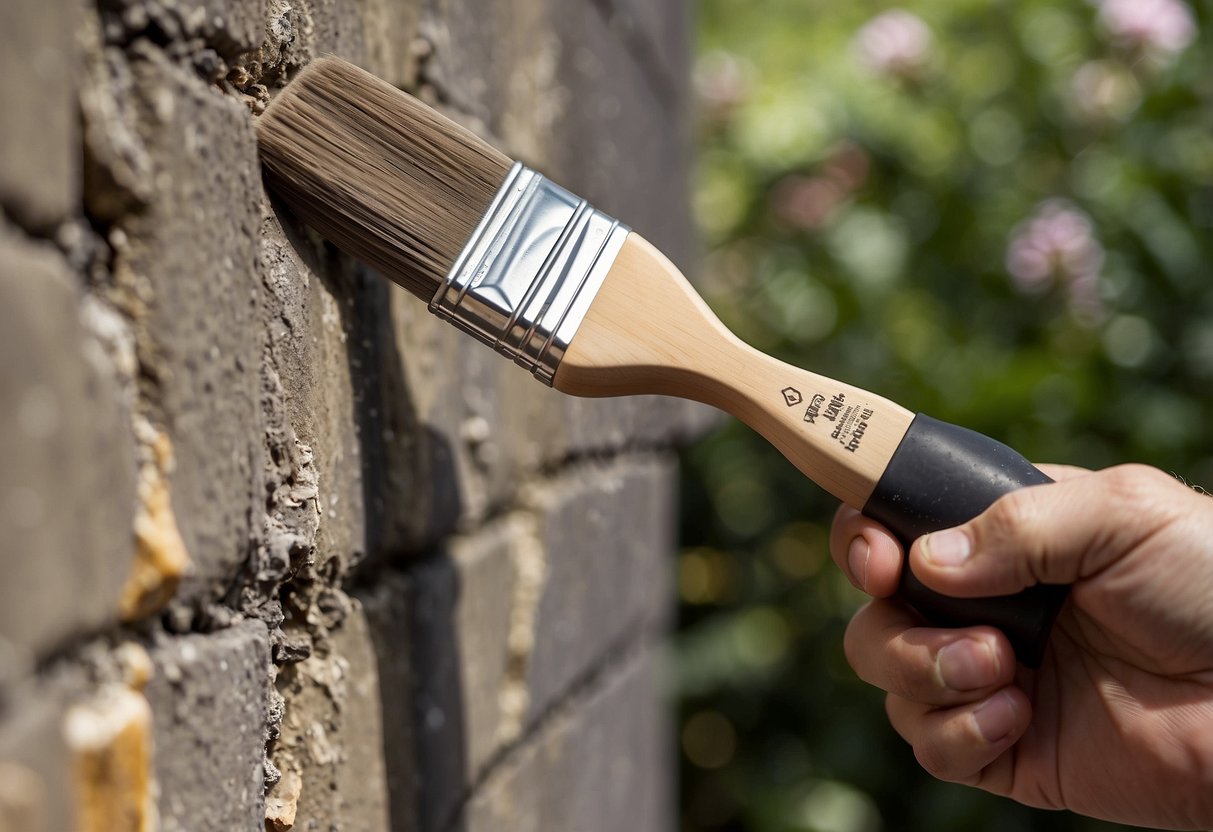
Before you paint your garden wall, start with a primer. Primer helps the paint stick better to the wall, making it last longer.
First, clean the wall. Dirt and grease can stop the primer from sticking. Use a mild detergent to wash it down.
Then, choose the right primer. A latex primer works well on porous surfaces like brick or wood. Apply the primer evenly with a brush or roller.
Let the primer dry completely before you start painting. This step will give you a smooth and long-lasting finish.
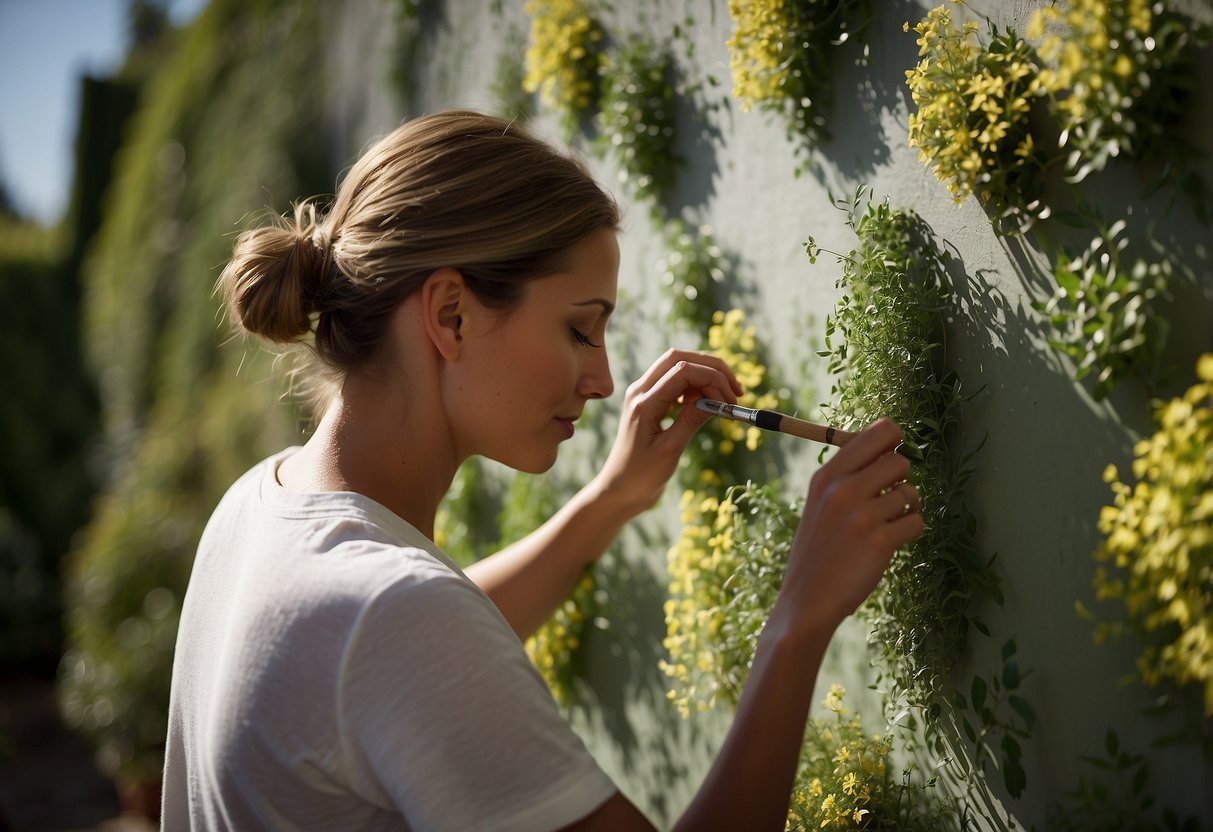
4) Consider a Mural for a Unique Touch
A mural can add a vibrant and unique touch to your garden wall. You can get creative with stencils if you’re not confident in your freehand skills. Another approach is to choose a theme for your mural and work with an artist.
Pick paint types that can handle outdoor conditions, like acrylic or latex. Before you start painting, make sure your wall is clean and smooth for the best results.
For more ideas and guides, check out this comprehensive guide on painting garden murals.
5) Use Stencils for Consistency
Using stencils can make your garden wall painting much easier and more consistent. Start by securing the stencil to the wall with painter’s tape in the bottom left corner. Make sure it lies flat and has no bubbles or gaps.
Apply paint using a small artist’s brush or a Royal Stencil Brush with soft bristles. This helps cover more area with each brush load. For best results, use light to medium pressure while painting over the stencil.
Before removing the stencil, ensure your surface and stencil are completely dry to avoid any paint bleeding underneath. Properly securing and drying your stencil will give you a clean, professional look every time you move it.
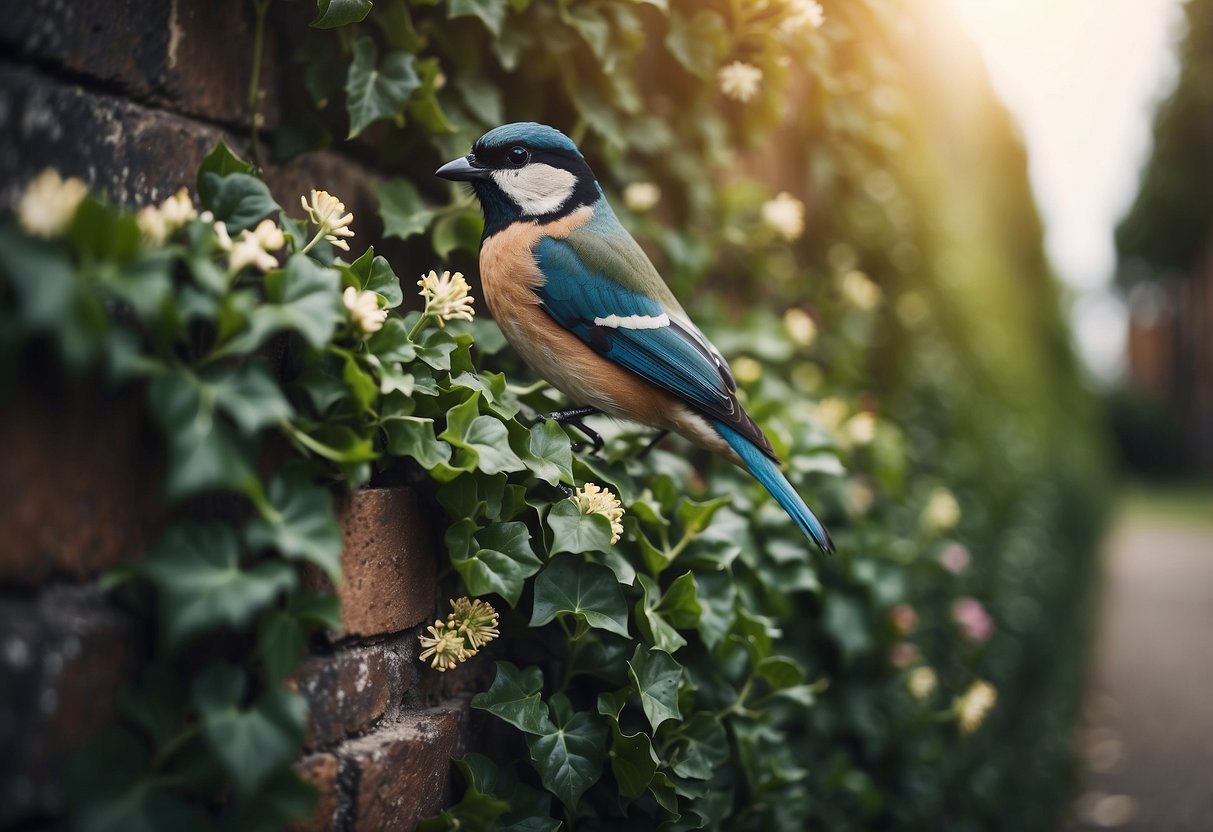
6) Incorporate Garden Themes

You can make your garden wall stand out by using themes. Think about what inspires you.
For example, a nautical theme could include blue shades and anchor decorations. If you prefer a tropical look, add bright colors and palm motifs.
Using a theme helps create a cohesive and inviting outdoor space. Explore more ideas on garden wall paint to find the perfect theme for your garden.
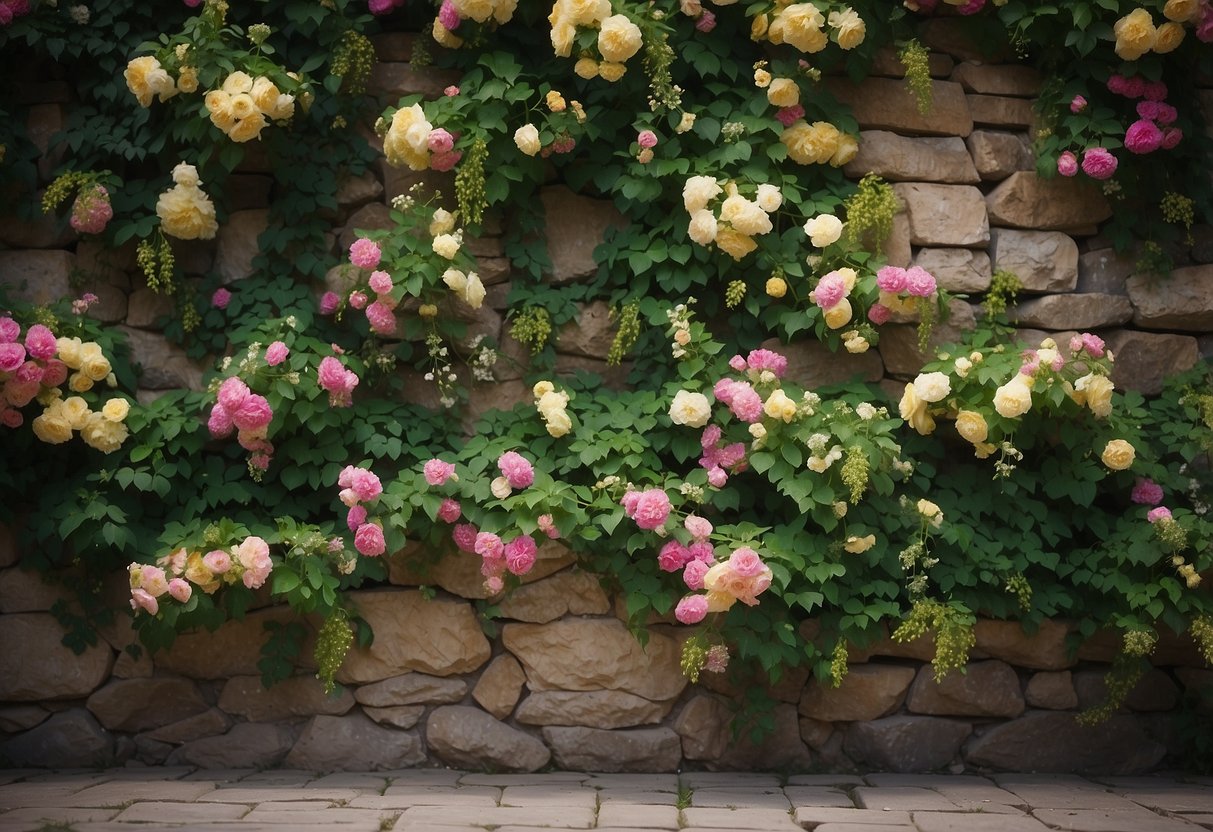
7) Choose Natural Colours
Using natural colors for your garden wall can create a harmonious and calming environment. Shades inspired by nature, like soft greens, earthy browns, and gentle blues, blend well with the garden’s natural elements.
Consider colors like green ivy and eucalyptus blue-green, which can evoke a sense of peace. These hues not only make your wall look beautiful but also complement the surrounding plants and flowers.
Remember to test a small patch first to ensure the color looks good in your specific light conditions. This simple step can help you avoid any surprises later.
8) Protect Plants from Paint
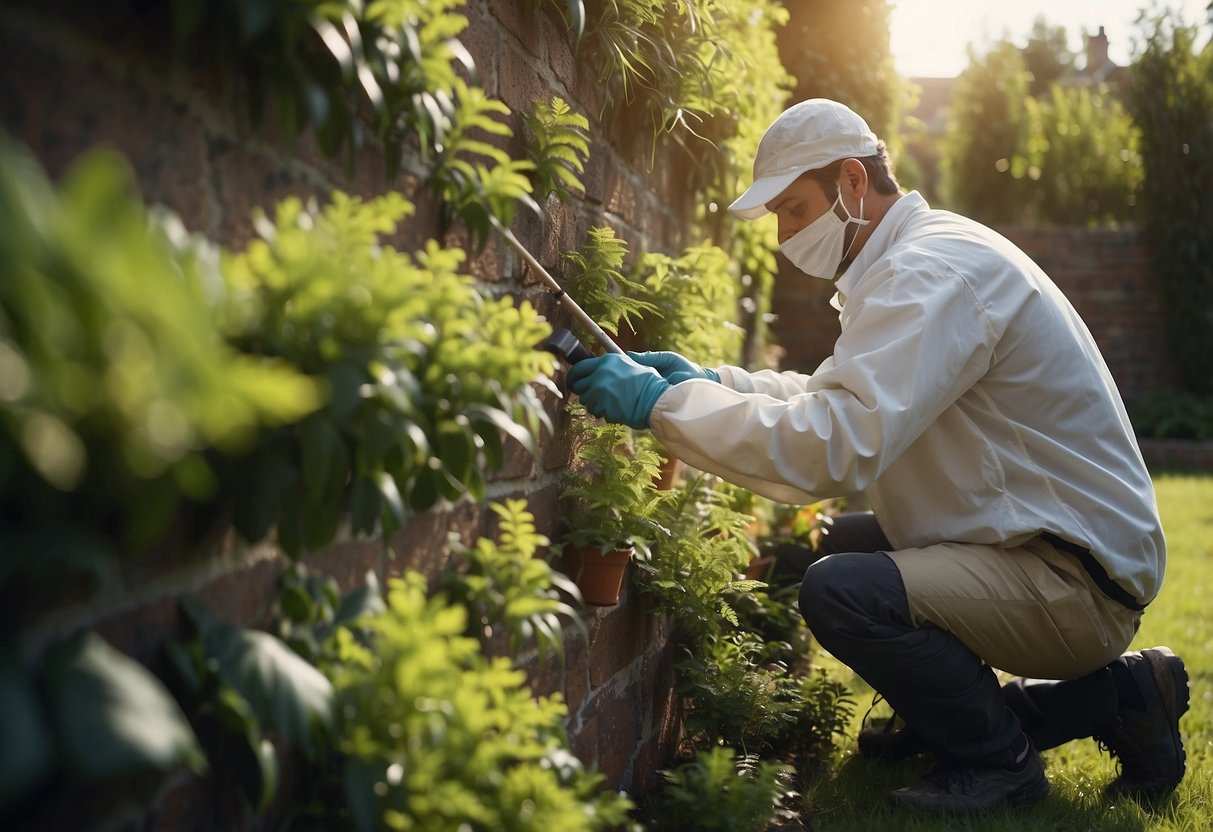
Before starting the painting project, cover your plants with a tarp. Secure the tarp with paracord to make sure it stays in place.
Using plastic sheets can also be helpful. Wrap them around the base of trees and taller plants. Make sure to start from the bottom and work your way up.
Water the ground before covering the plants to prevent dehydration. This will keep them healthy throughout the painting process.
9) Use a Roller for Large Areas
Using a roller is great for covering large areas quickly. It spreads the paint evenly and gives a smooth finish.
Dip the roller into the paint and let it soak up the color. Roll off any extra paint on the roller tray.
Start at the bottom of the wall and roll upwards. Keep a steady hand to avoid uneven patches.
Avoid pressing too hard; let the roller do the work. This helps prevent paint buildup at the edges.
For fewer splatters, use good quality thick paint. Protect the area around with dust sheets or covers.
Always check for drips and smooth them out as you work.
A roller can make the job quicker and easier, especially on flat surfaces.
If the wall has texture, a more thickly woven roller cover can work better.
10) Add Decorative Borders
Adding decorative borders to your garden wall can enhance its look. Borders can be made from different materials like stones, tiles, or seashells.
For a rustic feel, consider using cobblestone pavers. They add a timeless charm to your garden.
If you’re aiming for a coastal vibe, using seashells can create a unique and beautiful contrast with your plants. Experiment with different styles to find what suits your garden best.
Preparing The Garden Wall

To get the best results when painting your garden wall, it’s crucial to select the right paint and make sure the wall surface is clean and primed.
Selecting The Right Paint
Choosing the right paint for your garden wall is essential. You’ll want to pick paint that is designed for outdoor use. These types of paints are formulated to withstand weather elements like rain, sun, and wind. Masonry paint is a popular choice because it provides excellent durability and protection against the elements.
Some other options you might consider include acrylic latex paint or elastomeric paint. Acrylic latex paint is flexible and resistant to peeling and cracking, making it great for exterior surfaces. Elastomeric paint offers even more flexibility and can seal small cracks, providing extra protection.
When picking a color, think about how it will complement your garden’s design. Accent colors can add emphasis or contrast, while more neutral tones can help other features of your garden stand out.
Cleaning And Priming The Surface
Before you start painting, you need to clean and prime the surface of the garden wall. First, remove any dirt, moss, or algae. Use a wire brush or pressure washer to scrub the wall thoroughly. This step is critical because a clean surface ensures better paint adhesion and a smoother finish.
Next, check for any cracks or holes. Fill them with suitable filler and allow it to dry. Once the wall is clean and dry, apply a primer. A masonry primer is highly recommended because it helps the paint adhere better and provides a more uniform surface.
Make sure the wall is completely dry before applying the primer. This can take a few hours up to a day, depending on the weather conditions. Applying the primer correctly sets the foundation for a successful paint job, ensuring that the paint lasts longer and looks great.
Techniques For Painting
Choosing the right method for painting your garden wall can make a big difference. Learn whether brushing or spraying is best, and how to apply multiple coats for a smooth finish.
Brushing Vs. Spraying
When painting a garden wall, you have two main options: brushing or spraying. Brushing is simple, requires basic tools, and gives you more control. It’s great for detailed work and smaller areas. A good brush lets you get into corners and along edges easily. You can make sure paint goes on thickly, which helps with coverage.
Spraying covers large areas quickly and can give a smooth, even finish. It’s ideal for big projects where you want to save time. You need a paint sprayer, which can be rented if you don’t own one. Spraying takes practice to avoid drips and overspray, but it can reach awkward spots that brushes can miss.
Pros of Brushing:
- Great for detail
- Easy to control
- Less chance of overspray
Pros of Spraying:
- Faster for large areas
- Smooth, even finish
- Reaches hard-to-paint spots
Applying Multiple Coats
Applying multiple coats of paint ensures better protection and a more vibrant color. Start by cleaning your wall thoroughly. Let it dry before you begin painting. The first coat acts as a base and may look uneven.
After the first coat is dry, lightly sand the wall to smooth out any bumps. Clean off the dust before applying the second coat. The second coat helps to even out color and adds durability. For the best results, you might need a third coat, especially with lighter colors or rough walls.
Tips for Multiple Coats:
- Wait for Drying: Let each coat dry completely before adding another.
- Sand Between Coats: Lightly sand for a smoother finish.
- Thin Coats: Apply thin layers to avoid drips and runs.
Using these techniques will make your garden wall look great and last longer.
Maintaining Your Painted Garden Wall

Keeping your garden wall in good shape involves protecting it from weather conditions and doing timely touch-ups. Both are crucial to ensure the paint stays vibrant and the wall remains undamaged.
Protecting From Weather
Weather can be tough on a painted garden wall. Rain, sun, and wind can all cause wear and tear over time. To protect your wall, consider using a high-quality, weather-resistant paint that is designed to last. Such paints can handle extreme temperatures and resist fading from UV exposure.
When painting, apply a primer first to help the paint adhere better and provide an extra layer of protection. It’s also smart to add a sealant after painting to lock in the color and ward off moisture.
Inspect your wall regularly for any signs of damage, such as cracks or peeling paint. Addressing these issues early can prevent larger problems down the road.
Touch-Up Tips
Touch-ups are an easy way to keep your garden wall looking fresh. Have some of the original paint stored for this purpose. When you spot a chipped or faded area, clean it first to remove dirt and dust.
Use a small brush for detailed areas to ensure that the new paint blends well with the existing coat. Applying too thick a layer can make the touch-up noticeable, so aim for thin, even coats.
Regular touch-ups help maintain the appearance and durability of your garden wall. By addressing small issues promptly, you can keep your wall looking like new for longer.


