

Tips on Painting Garden Fence: Easy Steps for a Beautiful Finish
Painting your garden fence can be a rewarding task that not only enhances the appearance of your yard but also prolongs the life of the fence itself. Whether you’re aiming for a fresh new look or simply maintaining what you have, a well-painted fence can make a significant difference. The right techniques and tools can help you achieve a smooth, long-lasting finish.

Preparing and painting a fence may seem straightforward, but there are some important considerations to keep in mind. From choosing the best paint to knowing the proper application methods, each step is crucial for success. Following these steps will ensure your fence looks great and stands the test of time.
1) Clean and Sand the Surface
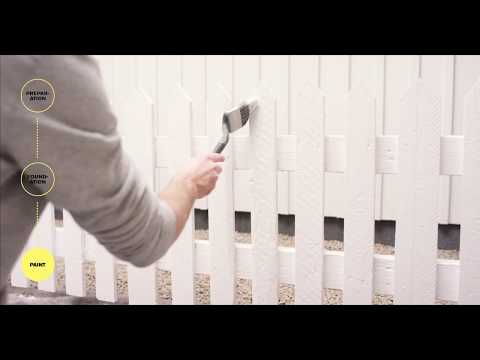
Start by cleaning the fence. Use a scrub brush and soapy water to remove dirt and debris. Make sure to rinse thoroughly and let it dry completely.
Next, sand the surface. Use medium-grit sandpaper to smooth out rough areas or peeling paint. This will help the new paint stick better and provide a smoother finish.
2) Choose a Suitable Primer
Picking the right primer is key when painting your garden fence. For wood fences, an oil-based primer works best. It offers great protection against weather.
Make sure the primer you choose is designed for outdoor use. This helps the paint last longer and keeps your fence looking fresh.
A good primer also helps prevent the paint from peeling or chipping. So, take your time and choose the right one for your fence.
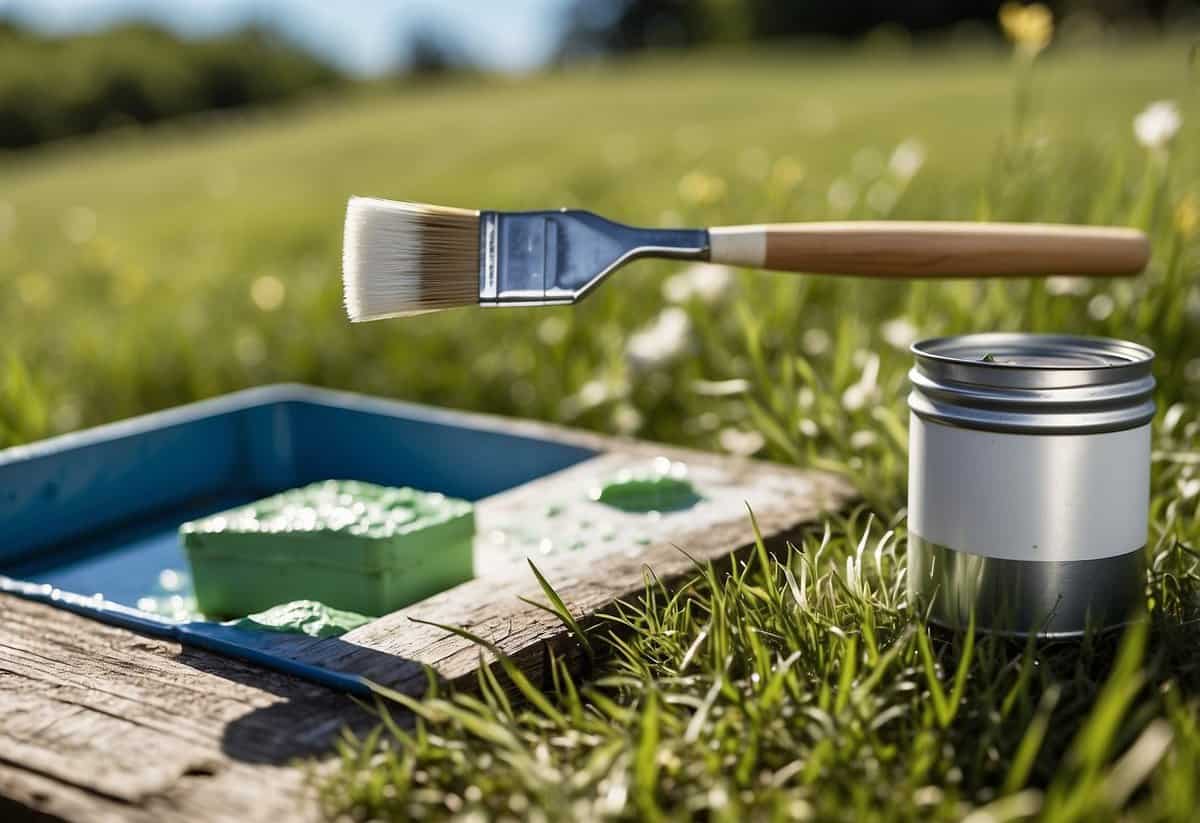
3) Pick the Right Paint for Outdoors

Choosing the right paint for your outdoor fence is crucial. Opt for weather-resistant, exterior-grade paint. This type of paint stands up well against rain, sun, and temperature changes.
If your fence is metal, use a primer like Ultra Spec HP D.T.M Acrylic Metal Primer for better adhesion and rust prevention. For wooden fences, pick a paint that’s formulated for wood and outdoor use to ensure durability.
Always consider weather conditions. Paint when temperatures are between 50°F and 75°F with low humidity for optimal results.
4) Use a Paint Sprayer

Using a paint sprayer is quick and easy for painting garden fences. It helps you cover large areas smoothly and evenly.
Make sure to prepare your fence and fill the sprayer with the right paint. Stand at a consistent distance from the fence to avoid drips.
You can see quick results with less effort compared to using a brush. This can save you time and give your fence a fresh, professional look. Be sure to mask and protect any areas you don’t want painted before you start.
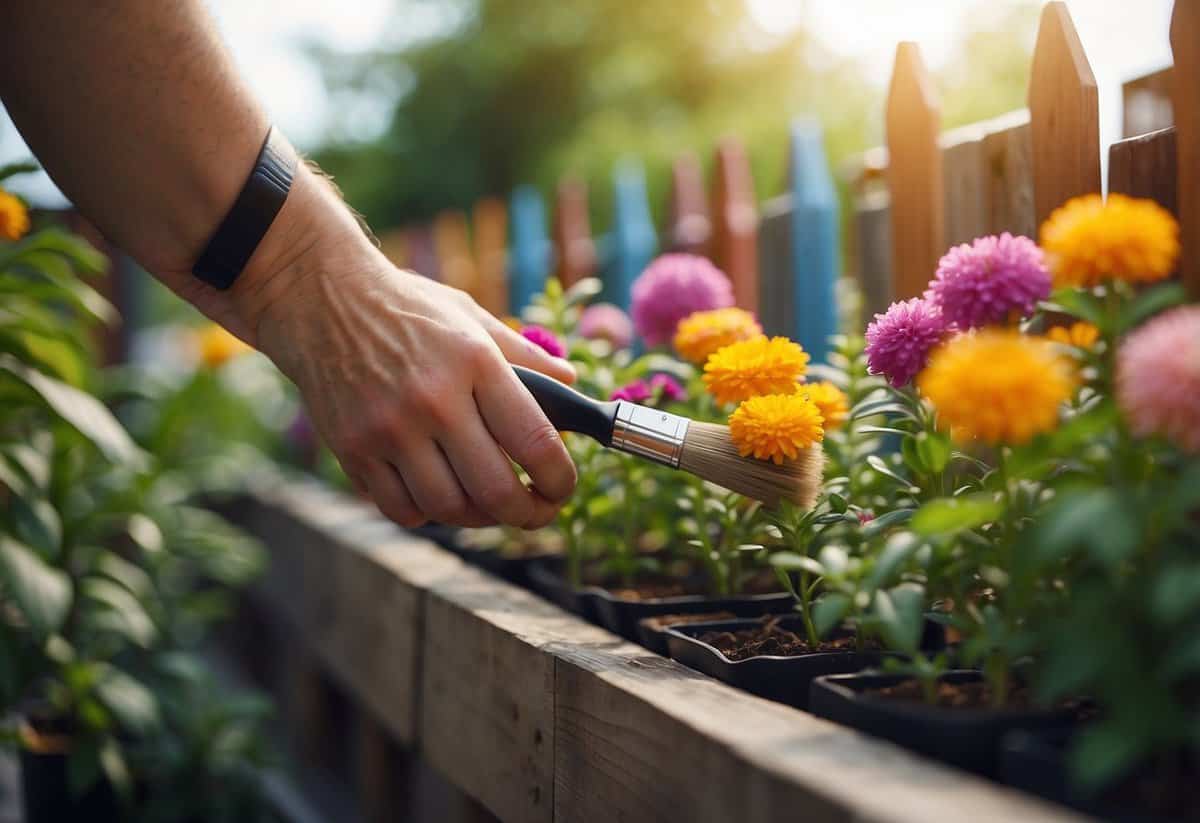
5) Protect Nearby Plants
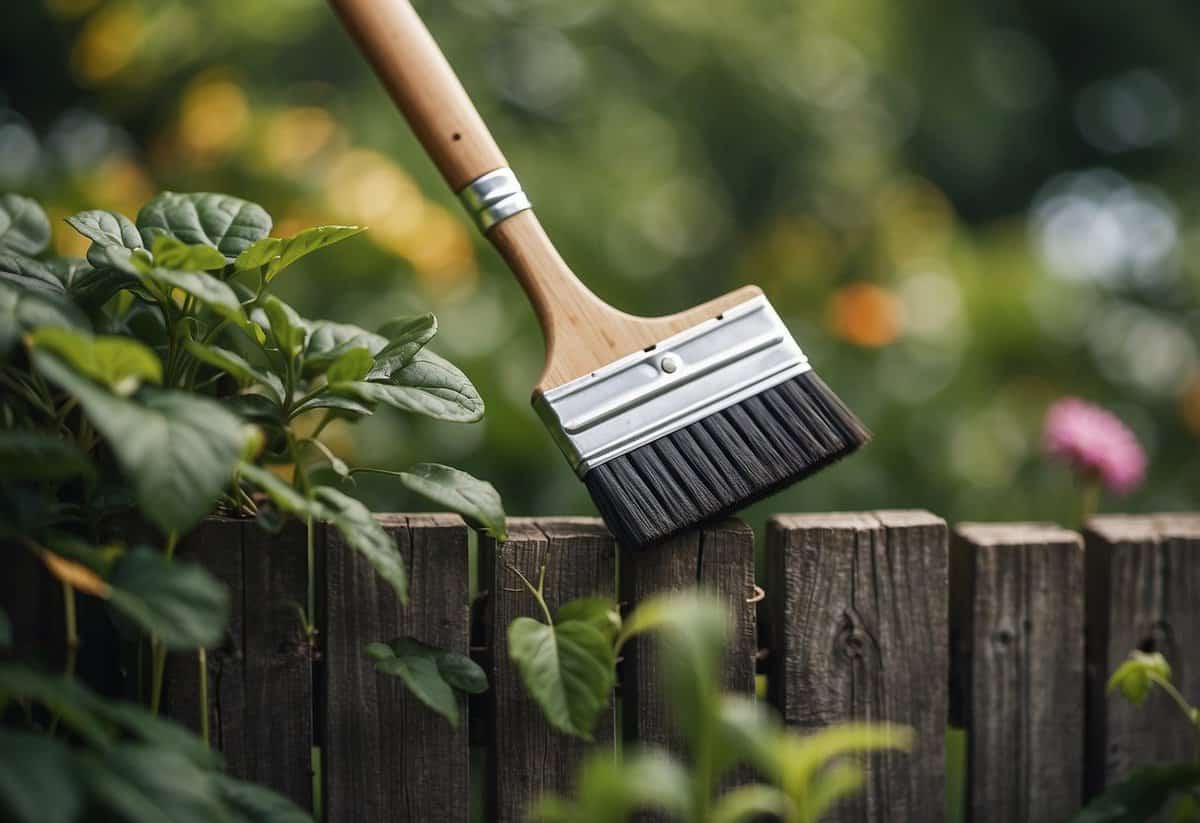
Before you start painting, cover nearby plants with a tarp. This keeps paint splatters off leaves and flowers.
Move any potted plants away from the fence area. This gives you more space to work and prevents any accidental damage.
Consider using stakes and paracord to hold the tarp in place. This creates a shield that won’t easily move while you paint. For detailed steps, check out how to paint behind bushes.
6) Apply Thin, Even Coats
When painting your garden fence, using thin, even coats of paint is key. Thicker layers can lead to drips and uneven coverage.
Apply the paint from top to bottom with smooth, long strokes. Make sure each coat dries fully before adding another.
This method ensures a durable finish and protects your fence better.
Paint in the Right Weather
Choose a dry day with mild temperatures to paint your garden fence. Avoid painting when it’s rainy or too humid because it can prevent the paint from drying properly.
Look for a day with little to no wind. Wind can blow debris onto the wet paint, spoiling your hard work. Aim for temperatures between 50°F and 85°F for the best results.
8) Seal the Paint

After the final coat of paint dries, apply a clear sealant to protect your work.
Choose a sealant designed for outdoor wood. This helps create a barrier against moisture and UV rays.
Apply the sealant evenly with a brush or sprayer. Make sure to cover all areas, especially joints and edges. This will keep your fence looking fresh for years to come.
9) Use a Protective Sheet

When painting your garden fence, it’s important to lay down a protective sheet. This will keep paint from dripping onto the ground and making a mess.
Make sure to cover any plants or bushes near the fence to keep them safe from paint splatters.
You can use old sheets, plastic tarps, or specialized drop cloths to protect your garden area.
10) Cover Hinges and Latches

It’s important to cover hinges and latches before you start painting your garden fence. Use painter’s tape to wrap these metal parts.
This prevents paint from getting on them, which can cause issues later. If you miss any spots, wipe them off with a damp cloth right away.
Once the paint is dry, remove the tape carefully. This keeps your hinges and latches clean and functional.
For more details, visit this ultimate guide.
Preparation Tips
Before painting your garden fence, it’s essential to prepare the surface properly. This includes thorough cleaning and sanding, and ensuring you have the right type of paint for your fence.
Cleaning and Sanding
Cleaning the fence removes dirt, cobwebs, and loose debris. Start by brushing the fence with a stiff brush. This helps to clear off dust and minor grime.
For tougher dirt, use a pressure washer. This can remove hard-to-scrub spots. Allow the fence to dry completely before moving to the next step.
Then, sand the surface to smooth out rough patches and peel off old paint. Use medium-grit sandpaper for this. Sanding helps the new paint adhere better to the wood. If the surface is particularly rough, start with coarse-grit sandpaper, then finish with medium-grit.
Choosing the Right Paint
Selecting the right paint is crucial for durability and appearance. Outdoor paints are designed to withstand weather conditions and resist peeling.
Acrylic paints are good for wood fences. They provide a tough, durable finish and are easy to clean. Look for exterior-grade paint for added protection.
Consider using paints with UV protection. These paints prevent the color from fading in the sun. Before buying, check the paint’s label to ensure it suits your fence material and meets all your requirements.
For faster application, you can use a paint sprayer. Spray paint ensures even coverage and saves time. However, thin the paint slightly with water if it’s too thick for your sprayer.
Painting Techniques

When painting a garden fence, it’s important to choose the right tools and methods for the best results. You’ll need to decide between using a brush or spray painting, apply primer properly, and consider painting in layers to ensure a smooth finish.
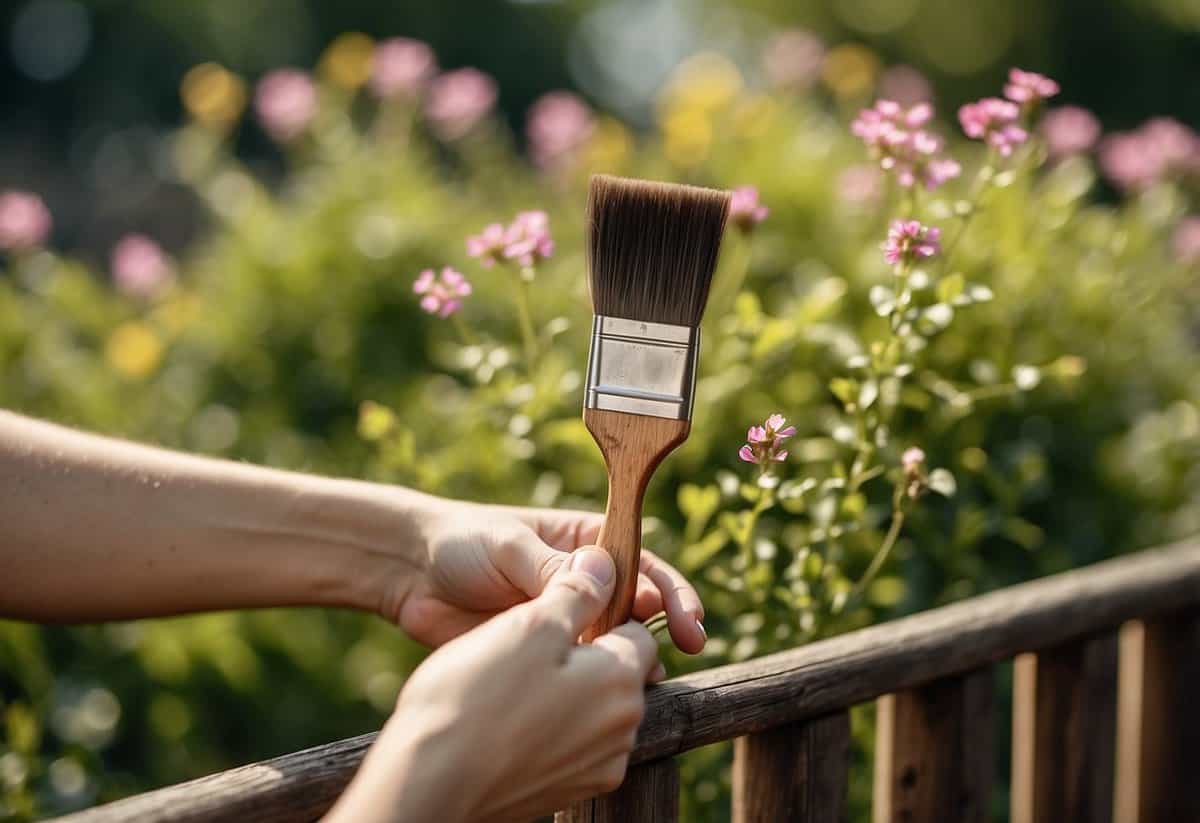
Using a Brush vs. Spray Painting
Using a brush allows you to get into all the grooves and cracks of the fence. Brushes give you better control, especially on fences that have uneven surfaces. They also help you use paint more efficiently and avoid drips.
On the other hand, spray painting covers large areas quickly. It offers a more even coat and can reach into hard-to-paint corners. However, you must be careful of overspray. You may need to cover nearby plants or furniture to avoid getting paint on them.
A brush might be more time-consuming, but it can be more precise. Spray painting is faster but requires more preparation and care to avoid messes.
Applying Primer
Primer is essential for preparing your fence before painting. It helps the paint adhere better and provides a smooth surface for painting. Clean the fence thoroughly before applying primer. Remove dirt, cobwebs, and loose debris with a brush or pressure washer, as advised here.
Use even strokes to apply the primer, following the wood grain. Vertical fences require up-and-down strokes, while horizontal fences need side-to-side strokes. Allow the primer to dry completely, which usually takes a few hours. Applying primer ensures your paint will last longer and look better.
Painting in Layers
Painting in layers provides a durable and rich color. Start with a thin first coat. This helps the paint stick better and reduces the chance of dripping. Let each coat dry thoroughly before applying the next.
Apply at least two to three coats for the best coverage. Use even, smooth strokes to avoid streaks and uneven spots. Painting in thin layers also prevents the paint from becoming too thick and cracking over time.
By taking your time and applying multiple layers, you will end up with a fence that looks fresh and lasts longer.


