

What Month Is Best to Plant Hydrangeas? Tips for Beautiful Blooms
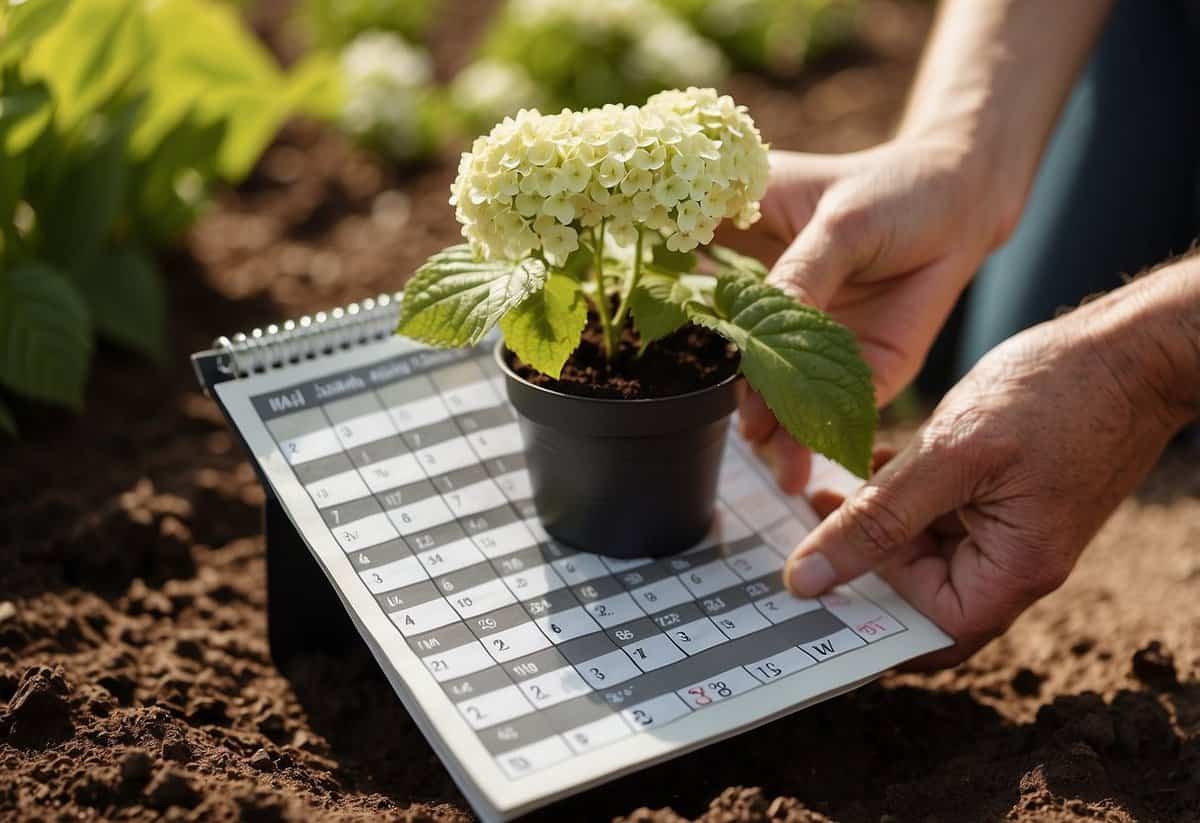
If you’re wondering when to plant hydrangeas in your garden, you’re in the right place. The best time to plant hydrangeas is in the fall. This season gives your shrubs the time they need to establish roots before the cold sets in. It’s also a period of mild weather, preventing the heat stress that could come from planting in the summer.

Spring is the second-best option for planting hydrangeas. Planting in early spring, after the last frost, provides enough time for the roots to settle in before the summer heat kicks in. Make sure you avoid extreme temperatures; both hot and cold can stress the plant, making establishment difficult.
By choosing the right month, your hydrangeas will thrive, brightening your garden with their stunning blooms. Be ready to dig in during the right season and watch your hydrangeas flourish!
Optimal Planting Seasons for Hydrangeas

Hydrangeas thrive best when planted in the right season. Picking the proper time ensures strong root establishment and vibrant blooms. Here’s a look at whether spring, fall, or other seasons fit best.
Spring Planting Advantages
Planting hydrangeas in early spring can be a good choice if you want the plants to establish roots before the heat of summer. By planting after the last frost, usually in March or April, you give the hydrangeas a full growing season to settle in. This timing offers a balance between moist soil and warm weather, ideal for young hydrangeas to grow.
Early spring planting means you don’t risk the roots freezing, which could happen in late winter. Moreover, spring rains help keep the soil consistently moist, benefiting the new plants. However, you must water the plants regularly as temperatures rise to prevent the soil from drying out. Make sure to plant them in a spot with morning sun and afternoon shade for best results.
Fall Planting Benefits
Planting hydrangeas in the fall, typically from October to early November, has several perks. The ground is still warm enough for roots to grow yet cool enough to avoid stressing the plants. Fall planting allows hydrangeas to focus solely on root development without the added stress of supporting new growth or blooms.
During fall, you usually deal with fewer pests and less disease pressure, making it easier to care for your plants. Additionally, fall planting gives shrubs a chance to develop a strong root system over winter, leading to a healthier plant by spring. Just remember to water them until the ground freezes to ensure good establishment.
Considerations for Summer and Winter
Summer is generally not ideal for planting hydrangeas due to the extreme heat. High temperatures can stress the plants, making it difficult for them to establish roots. If summer planting is your only option, choose a cloudy day and water deeply to keep the soil cool and moist.
Winter planting is also not recommended. The cold, hard ground makes it tough for the roots to grow and establish. Additionally, frost can damage the plants before they have a chance to settle in. Planting in winter increases the risk of plant failure, so it’s best to avoid this season when possible. Focus on spring or fall for the best outcomes.
Preparing the Planting Area
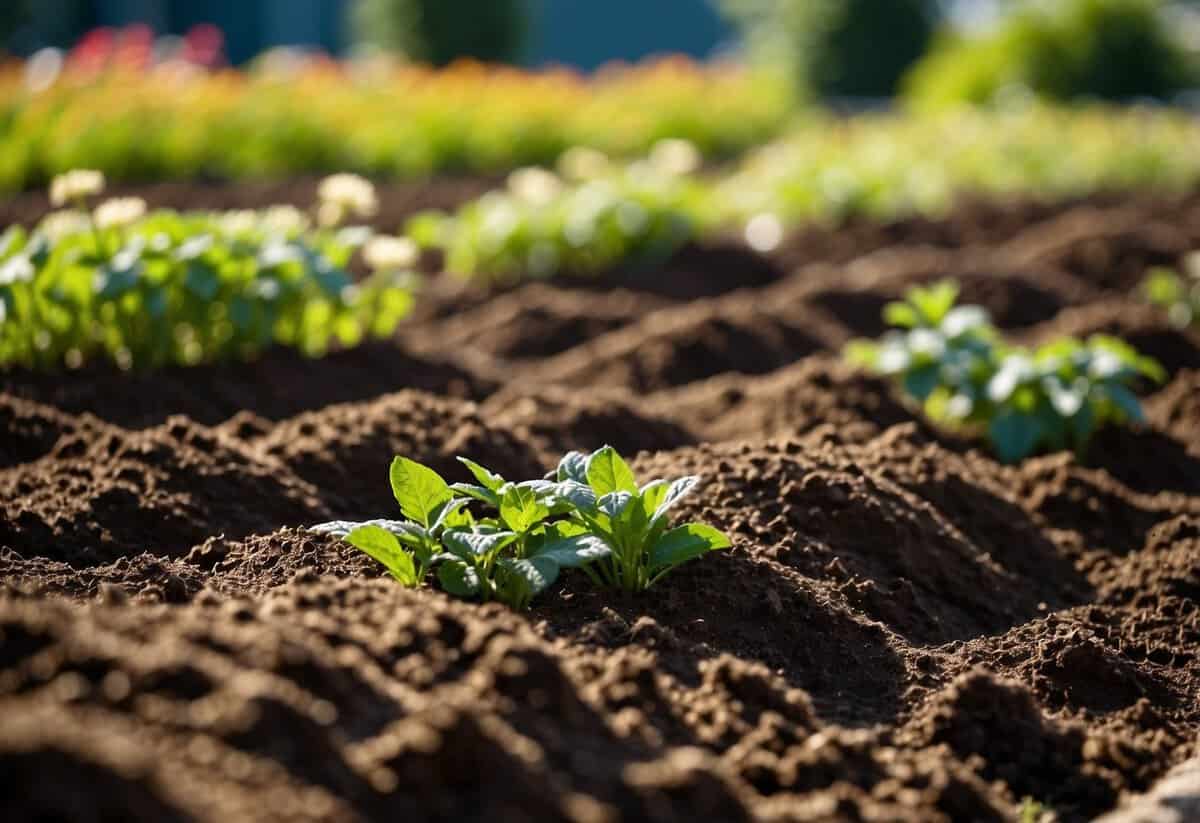
Get ready to plant your hydrangeas with these key steps: preparing the soil and picking the perfect spot for your new shrubs.
Soil Preparation
Ensure the soil is well-prepared for planting hydrangeas. They thrive in soil that is rich in organic matter and well-draining.
Start by testing the soil’s pH. Hydrangeas prefer slightly acidic soil with a pH between 5.5 and 6.5. You can adjust the pH by adding elements like lime to raise it or sulfur to lower it.
Enrich the soil by mixing in compost or aged manure. These organic materials improve soil structure and nutrient content, helping the plants grow strong. Adding a layer of mulch around the base of the plants can retain moisture and regulate soil temperature.
Choosing the Right Location
Hydrangeas need an area that receives the right balance of sunlight and shade. Most varieties do best with morning sun and afternoon shade.
Pick a spot that offers shelter from strong winds to prevent damage to the delicate blooms and branches.
Avoid planting in locations with extreme temperature fluctuations. A spot that gets mild temperatures during the growing season will help the plants establish well.
Creating a garden space following these guidelines ensures that your hydrangeas have the best possible environment to thrive and flourish.
Hydrangea Care and Maintenance
Proper care ensures healthy growth and beautiful blooms. Key aspects include consistent watering, appropriate fertilizing and mulching, and regular pruning to prevent diseases.
Watering and Moisture Management
Hydrangeas need plenty of water, especially during dry periods. Provide a deep watering after planting and continue to water at least once or twice a week. Check the soil regularly; it should be moist but not soggy. Avoid overhead watering to reduce the risk of diseases like leaf spot and powdery mildew.
Mulching helps retain soil moisture. Use materials like straw, wood chips, or compost around the base of the hydrangea. Maintain a thick layer, about 2-3 inches deep, to prevent weeds and keep the soil consistently damp.
Fertilizing and Mulching
Fertilize hydrangeas to promote strong growth and vibrant blooms. Use a balanced, slow-release fertilizer in early spring and again in late summer. Be cautious not to over-fertilize, as it can lead to fewer blooms and more leafy growth.
Mulching not only helps with moisture but also provides nutrients to the soil as it breaks down. Organic mulch like compost or aged manure is ideal. Replenish the mulch layer annually to maintain its effectiveness.
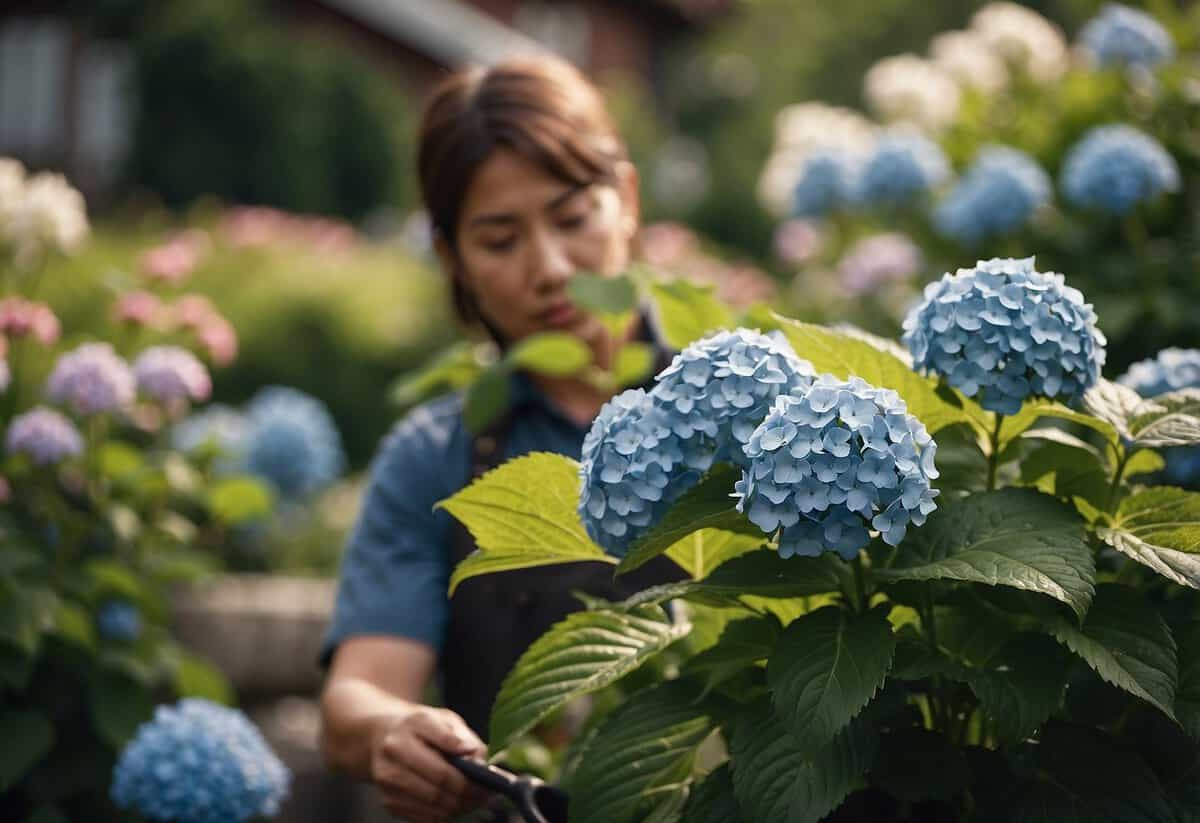
Pruning and Disease Prevention
Pruning hydrangeas is vital for controlling their shape and encouraging new growth. Prune dead or weak branches in late winter or early spring. For hydrangeas that bloom on old wood, avoid heavy pruning to ensure you don’t cut off potential flower buds.
Regular inspections help in early identification of diseases and pests. Look for signs of common issues such as leaf spot, powdery mildew, or aphids. Remove and dispose of infected leaves promptly. Use insecticidal soap or horticultural oil as necessary to manage pests. Prune affected parts to prevent the spread of disease.
Selecting Hydrangea Varieties
Choosing the right hydrangea variety for your garden is important to ensure the plant thrives in its environment. Different types offer unique characteristics and are suited to various light and soil conditions.
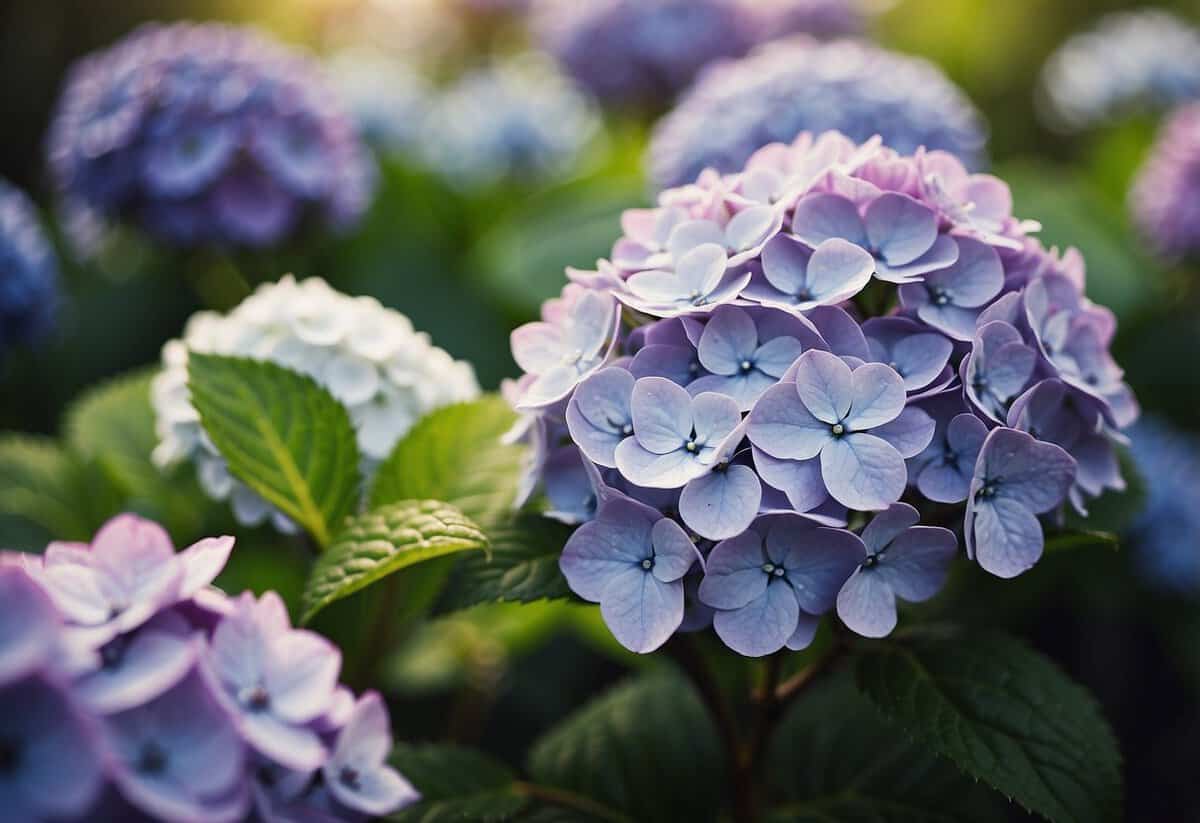
Mophead and Lacecap Varieties
Mophead and lacecap hydrangeas are popular choices for gardens. Mophead hydrangeas (Hydrangea macrophylla) have large, globe-shaped flower clusters that come in blue, pink, or white. They’re ideal if you want a bold splash of color.
Lacecap hydrangeas (Hydrangea serrata) have flat flower heads surrounded by larger petals, offering a more delicate appearance. They are perfect for adding a touch of elegance to your garden. Both types prefer partial shade and well-drained soil. They bloom better with consistent moisture and benefit from a layer of mulch.
Panicle and Smooth Hydrangeas
Panicle hydrangeas (Hydrangea paniculata) are known for their cone-shaped flower clusters, which can be white, pink, or green. These hydrangeas are hardy and can tolerate full sun and less ideal soil conditions, such as clay.
Smooth hydrangeas (Hydrangea arborescens), like the popular ‘Annabelle’ variety, have round, white blossoms that turn green as they age. Smooth hydrangeas are very adaptable and can grow in both sun and shade, though they prefer partial shade. They are also tolerant of a variety of soils.
Climbing and Oakleaf Species
Climbing hydrangeas (Hydrangea petiolaris) are excellent for covering walls, trellises, and fences. They produce lacy, white flower clusters and have attractive, peeling bark that adds interest even in winter. They prefer partial to full shade and thrive in rich, well-drained soil.
Oakleaf hydrangeas (Hydrangea quercifolia) are loved for their large, lobed leaves that resemble those of an oak tree. Their flowers range from white to pink and are held in tall, cone-shaped clusters. Oakleaf hydrangeas are well-suited to shady areas and provide beautiful fall foliage color, turning red, orange, and purple. They prefer well-drained soil and are quite drought-tolerant once established.
Selecting the right hydrangea variety ensures your garden stays vibrant, versatile, and easy to maintain.
Planting Hydrangeas
Planting hydrangeas requires knowing the right methods and conditions to ensure your shrubs thrive. You can plant them directly in the ground or in containers, depending on your garden space.
Planting in the Ground
When planting hydrangeas in the ground, dig a hole as deep as the root ball and twice as wide. This gives the roots enough space to spread. Place the plant in the hole with the base level to the top of the soil. Fill the hole halfway with soil, then water generously. Once the water is absorbed, fill in the rest of the hole and water again.
Make sure to plant your hydrangeas in a spot with morning sun and afternoon shade. Too much direct sunlight can stress the plants. Loosen the roots gently before planting to help them settle better. Hydrangeas thrive in well-drained soil, so avoid areas that get waterlogged.
Growing Hydrangeas in Containers
For hydrangeas in containers, choose a pot with good drainage holes. A potted hydrangea needs a mix of organic multi-purpose compost and John Innes No. 3 compost for optimal growth. Fill the pot halfway, set the plant in, and fill the rest without covering the stem base too deeply.
Keep the pot in a sheltered spot with semi-shade. This ensures the plants get enough light but are protected from the harsh afternoon sun. Regular watering is crucial—keep the compost moist but not waterlogged. You can use a pencil as a dibber to make planting holes for cuttings, ensuring they have a good start.
Transplant your hydrangeas to larger pots as they grow to avoid root crowding. This helps the plants stay healthy and produce beautiful blooms. Frequent watering and the right soil mix are key to thriving potted hydrangeas.


