

Empty Cans DIY Garden Ideas: Creative and Eco-Friendly Tips
Gardening with empty cans is a creative and eco-friendly way to beautify your space. It’s amazing how you can transform what might seem like waste into something useful and charming for your garden. You can turn empty cans into planters, garden markers, and even decorative pieces that add a unique touch to your outdoor area.

Using empty cans for gardening projects is not only sustainable but also light on your wallet. The versatility of these simple materials allows you to experiment with different designs and uses, making your garden more personalized and vibrant. Plus, it’s a fun activity that you can enjoy with family and friends.
1) Tin Can Lanterns

Creating tin can lanterns is a fun and simple project. You can start by gathering empty tin cans of any size. Wash and dry them thoroughly.
Next, choose a design for the holes. You can use a printed template or draw your own shape. Use a hammer and nail to punch the design into the can.
Once done, spray paint the cans. Allow them to dry completely before placing small candles inside. These lanterns can brighten up your garden and are perfect for evening events or cozy nights outdoors. You can find more instructions here.
2) Hanging Herb Gardens

You can turn empty cans into wonderful hanging herb gardens. This is a great way to save space and have fresh herbs at hand.
Simply clean some used soup cans, paint them if you want, and poke a few drainage holes at the bottom. Attach strings or wires to hang them in your kitchen or balcony.
Consider growing herbs like basil, parsley, or cilantro. They thrive well in small containers and add fantastic flavors to your meals. For more ideas, check out these hanging herb garden ideas.
3) Self-Watering Planters
Empty cans can be turned into self-watering planters with just a few steps.
Start by cutting a hole in the bottom for a wick. The wick allows water to seep into the soil slowly.
Fill the can with potting mix, and then add water to the bottom.
These planters help keep your plants hydrated even if you forget to water them regularly.
For more inspiration, check out these DIY Self-Watering Planter ideas and easy container gardening options.
4) Bird Feeders
You can create a bird feeder from an empty tin can. First, make sure the can is clean and dry.
Paint the outside of the tin can to give it a fun look. You can use any color you like.
Once the paint is dry, attach a wooden spoon or stick to the inside of the can for the birds to perch on.
Fill the can with bird seed and hang it outside where birds can easily find it. Enjoy watching your feathered friends visit.
For more ideas, check out this tin can bird feeder.
5) Creative Storage Containers
Empty tin cans are perfect for making creative storage containers. You can use them to keep your gardening tools organized.
Decorate cans using paint, fabric, or washi tape to match your garden’s theme. Attach them to a wooden board for easy wall storage.
These cans can also hold seeds, markers, twine, or small hand tools. For a more polished look, label each can with chalkboard paint and chalk.
Using upcycled cans is not only practical but also eco-friendly. Plus, it adds a charming, rustic touch to your garden.
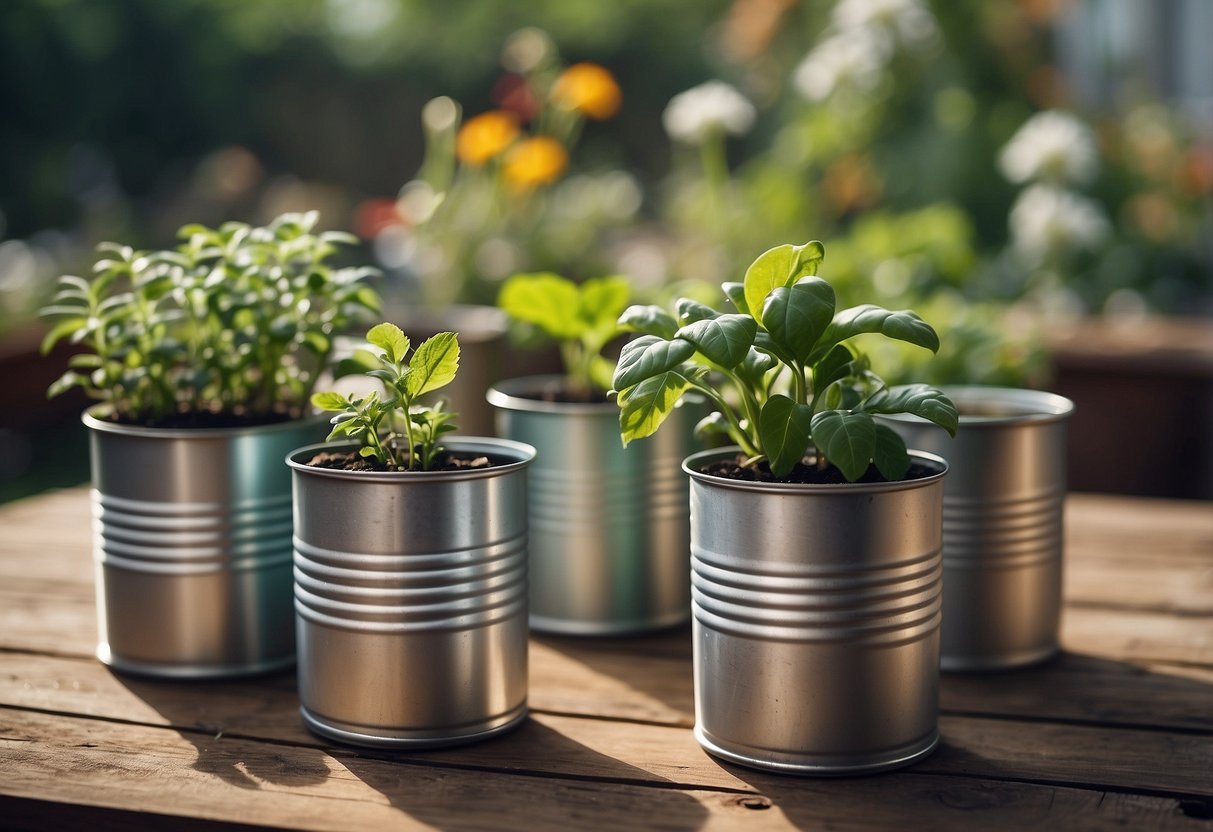
6) Upcycled Planters

Using empty cans as upcycled planters is a fun and eco-friendly way to decorate your garden. You can transform old cans into beautiful, unique planters with just a bit of paint and creativity.
Consider making tin can planters with bright colors or patterns. Hang them on a fence or place them on your patio.
You could even turn tin cans into decorative owls for a playful touch, perfect for a child’s garden area.
7) Outdoor Candle Holders
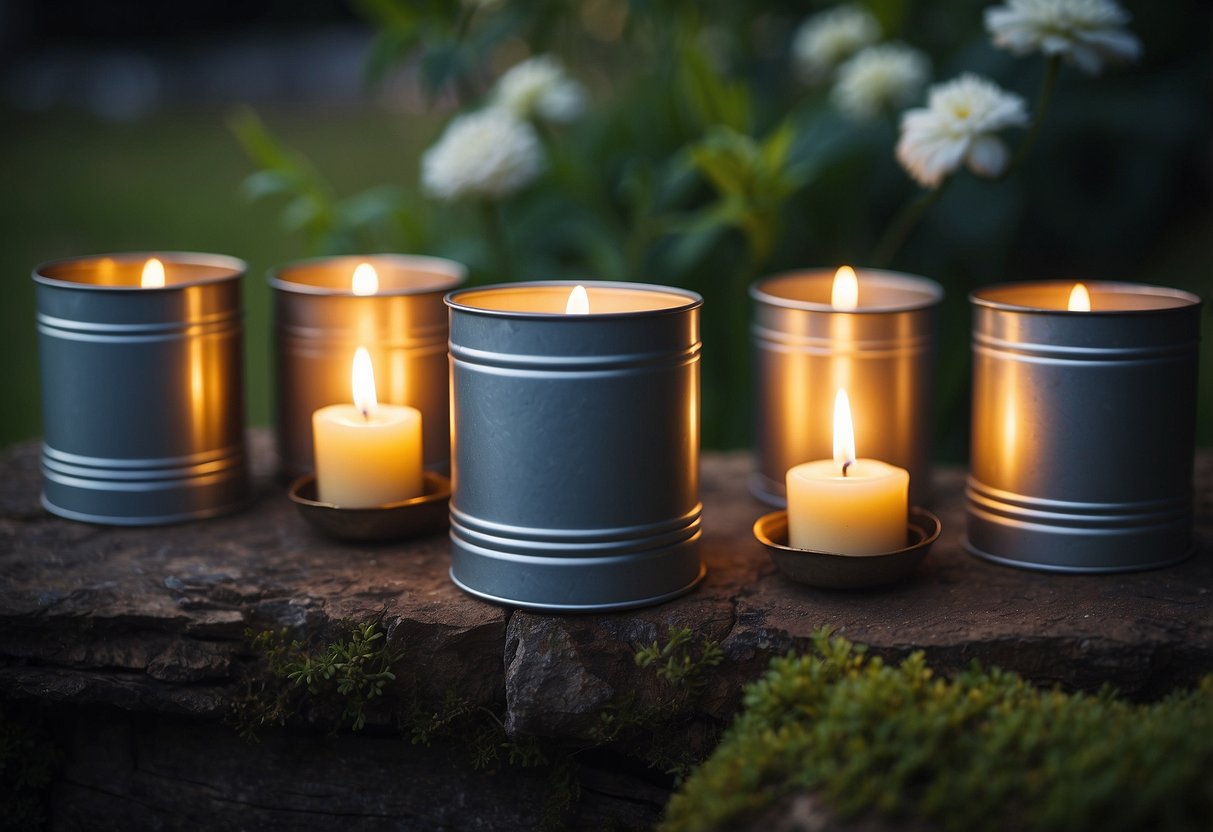
Turning empty tin cans into outdoor candle holders is a simple yet creative way to light up your garden.
First, clean the cans and remove the labels. Then, poke holes in different patterns using a hammer and nail.
Paint the cans in your favorite colors and add a candle inside. Hang or place them around your garden for a cozy, lit-up space.
Find inspiration for this project at Amazing Tin Can Crafts.
8) Garden Markers
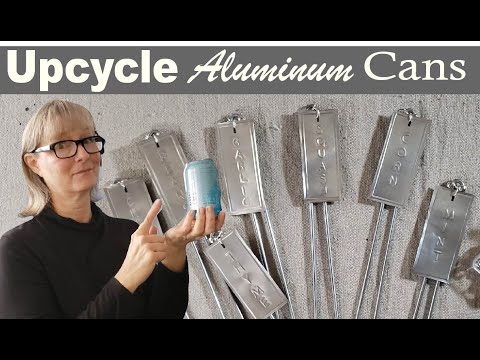
You can make creative garden markers using empty tin cans. It’s a fun and simple DIY project.
Use a tin can lid to label your plants. Paint the lid and write the plant’s name on it.
Another idea involves bending a skewer and attaching the tin can top to it as a signpost. Use pliers and a drill for this step.
These markers help identify plants and add a personal touch to your garden. Check out more ideas at Balcony Garden Web.
9) Wind Chimes

You can easily turn empty cans into charming wind chimes for your garden. First, clean the cans and remove the labels. Paint them in bright colors or patterns.
Next, use a hammer and nail to make a hole in the bottom of each can. Thread twine through the holes and tie knots to secure them.
Hang the cans from a sturdy branch or a hook. When the wind blows, the cans will create a pleasant sound. This is a fun project that adds both visual and auditory interest to your garden.
10) Fairy Garden Houses
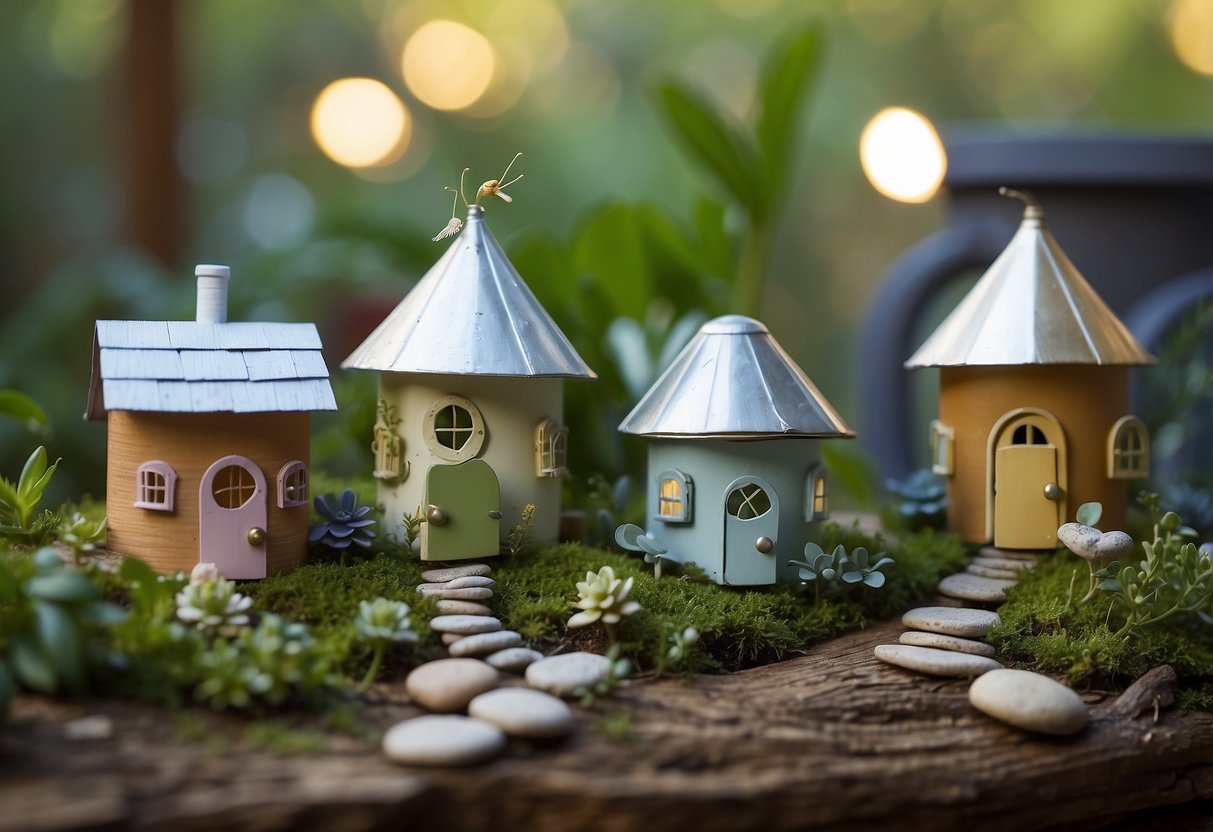
You can turn empty cans into charming fairy garden houses with a little creativity.
Start by cleaning the cans thoroughly. Paint them in bright colors and add tiny windows and doors.
To create roofs, use natural materials like leaves or twigs. You can also use small pieces of fabric or paper.
Place these fairy houses among your plants. Add miniature accessories like pebble paths or tiny benches to complete the look. For more inspiration, check out these DIY Fairy Garden Ideas and Tiny Treasures.
Benefits Of Using Empty Cans In The Garden

Using empty cans in your garden not only helps the environment by reducing waste but also saves you money. This section explores how recycling cans can be an eco-friendly solution and a cost-effective way to garden.
Eco-Friendly Solutions
Recycling empty tin cans for your garden projects is an excellent way to reduce waste. Every day, households throw away numerous cans, which end up in landfills. By reusing these cans, you give them a new purpose and help decrease environmental pollution.
Plus, tin cans are durable. They can withstand weather changes, making them perfect for outdoor use. Whether you use them as planters, garden lights, or decorative elements, you ensure less waste and more sustainability.
Moreover, reusing cans also means you need fewer new materials for your garden projects. This helps lower the demand for new products and promotes a more sustainable lifestyle.
Cost-Effective Gardening
Using empty cans is a budget-friendly way to enhance your garden. Since these cans are usually household waste, they are free and readily available for use. Turning trash into treasure can save you from buying expensive garden decorations or planters.
Empty tin cans are versatile and can be used for various purposes. For instance, they make excellent planters for herbs and small plants. You can also create unique garden lighting solutions by transforming cans into lanterns.
Additionally, decorating and customizing these cans can be a fun and inexpensive DIY project for you and your family. This not only adds a personal touch to your garden but also makes gardening more enjoyable without breaking the bank.
Creative Ways To Incorporate Empty Cans

Using empty cans in your garden can be both creative and practical. You can transform them into delightful vertical planters or decorative lighting to add charm to your outdoor space.
Vertical Planters
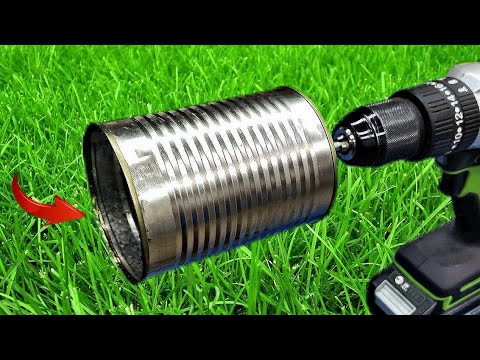
Vertical planters made from empty cans are perfect if you have limited space. Start by cleaning the cans thoroughly and removing any labels. Drill drainage holes at the bottom to prevent waterlogging. Attach the cans to a wooden frame or a sturdy fence using hooks or screws.
Fill them with soil and plant herbs, small flowers, or even succulents. This setup not only saves space but also brings a splash of color to dull walls. If you want, paint the cans in different colors for a more vibrant look. This method is ideal for creating a vertical herb garden right outside your kitchen door.
Decorative Lighting
Empty cans can also be turned into beautiful decorative lighting for your garden. Begin by drawing patterns or shapes on the cans’ surfaces. Using a hammer and nail, carefully punch holes following the drawn patterns.
Once you have created the designs, paint the cans in your desired colors. Place small candles or LED lights inside the cans and hang them from tree branches or place them along pathways.
These DIY lanterns create a warm and cozy atmosphere in the evening. They are perfect for garden parties or just relaxing outdoors after sunset. You can also use magical lanterns for holidays and special occasions by customizing the designs to fit the theme.
Tips For Preparing Empty Cans For Gardening
When using empty cans for gardening, it’s essential to clean and sanitize them properly. It’s also crucial to ensure each can has good drainage to prevent waterlogging.
Cleaning And Sanitizing
First, remove any labels from the cans. Soak them in warm, soapy water to loosen the adhesive. Use a scrubber to get rid of any stubborn spots. Once the labels are off, rinse the cans thoroughly to remove soap residue.
Next, sanitize the cans to eliminate germs. Fill them with a mixture of one part bleach to nine parts water. Let them soak for about 10 minutes, then rinse well. This step helps avoid any potential contamination that could harm your plants.
Tip: If you prefer a natural alternative to bleach, use white vinegar. Fill the cans with equal parts vinegar and water, let them sit for an hour, then rinse.
Ensuring Proper Drainage
Drainage is key to preventing root rot. Using a hammer and nail, punch several holes in the bottom of the can. This allows excess water to escape, ensuring your plants don’t get too soggy.
For added drainage, place small pebbles or gravel at the bottom of the can before adding soil. This helps water flow more effectively and keeps the roots from sitting in water.
Tip: If you’re worried about soil escaping through the holes, cover them with a piece of mesh or a coffee filter. This keeps the soil in while letting water out easily.
By following these steps, you’ll have well-prepared cans ready for planting.


