

When Should Most Annuals Be Transplanted Outdoors: Tips for a Thriving Garden
Are you eager to get your garden blooming with vibrant annuals? Timing is crucial when it comes to transplanting these flowers outdoors. Most annuals should be transplanted after the last frost date in your area to avoid any damage from unexpected cold snaps.

Before you move the plants outside, it’s important to let them adjust to the new environment. This process, known as hardening off, involves exposing your plants gradually to outdoor conditions like wind and sun over a week or so. It helps your annuals build strength and resilience.
Gardening is such a rewarding hobby, and understanding the right time to transplant can make a huge difference. Whether you have petunias or other kinds of annuals, choosing the best time ensures your garden is lush and full of life. The key is paying attention to the weather and your local conditions to give your plants the best start possible.
Understanding Annuals and Their Lifecycle

Annuals and perennials play different roles in your garden. Understanding their growth patterns helps you decide when and how to plant them. True leaves and cotyledons are important indicators of plant development and health.
The Difference Between Annuals and Perennials
Annuals and perennials have distinct lifecycles. Annual plants complete their entire life—from germination to seed production—within one year. They provide vibrant blooms quickly but need to be replanted each season. Common annuals include marigolds and petunias.
Perennial plants, on the other hand, live for multiple years. They return each spring without needing to be replanted. Examples include peonies and hostas. Perennials might take longer to establish but offer lasting beauty. Knowing these differences allows you to plan your garden for both immediate and long-term color.
Identifying True Leaves and Cotyledons
When a seed germinates, the first leaves that appear are called cotyledons. They are part of the seed embryo and help kickstart the plant’s growth. Cotyledons often look different from the plant’s later leaves.
True leaves come next and resemble the mature plant’s foliage. They indicate that the plant is developing properly. It’s essential to recognize these to ensure your plants are healthy and ready for transplantation. Watching for true leaves assures you that your plants are progressing from their initial growth phase into a stronger stage. This can guide you in determining the right time and conditions for transplanting into your garden.
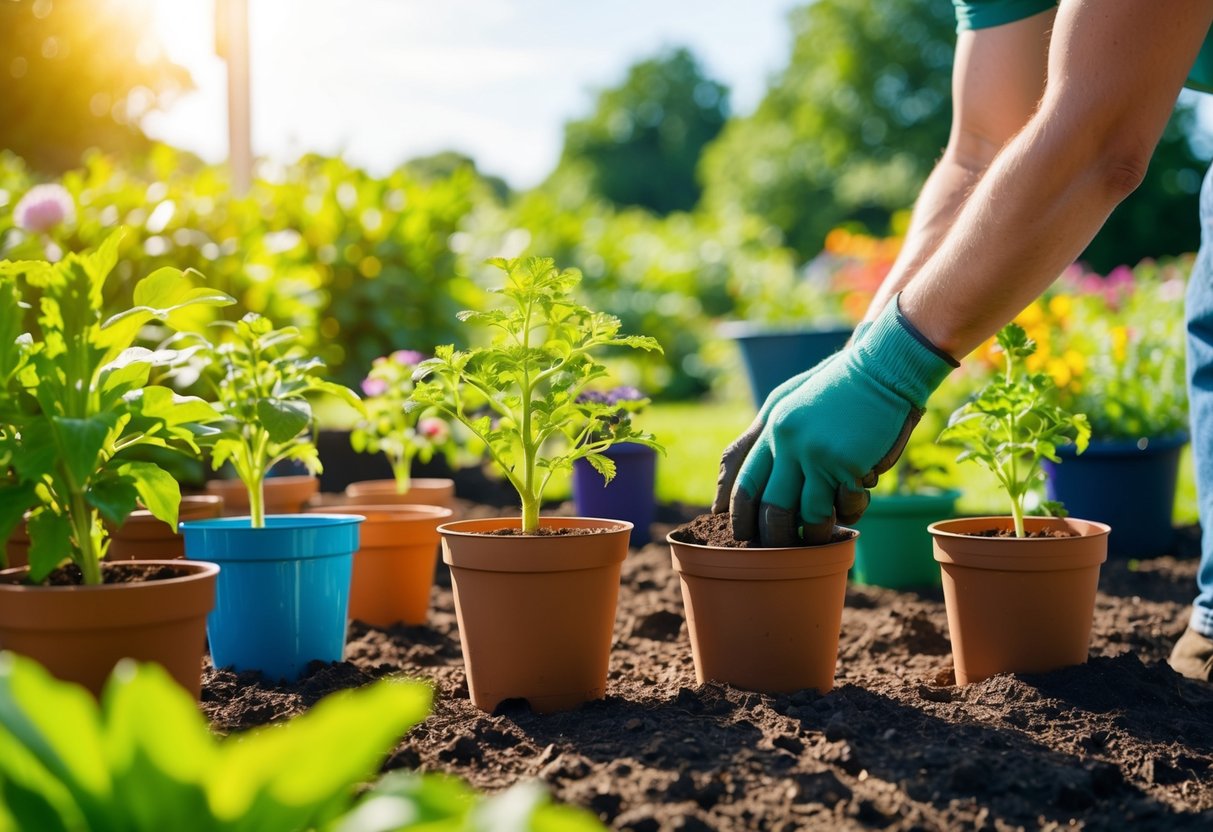
Preparing for Transplanting
Getting ready to transplant your annuals is important to ensure their healthy growth outdoors. Focus on timing with the last frost date and preparing the soil with organic matter to give your plants the best start possible.
Timing Your Transplant with the Last Frost Date
When you plan to transplant your annuals, it’s crucial to consider the last frost date in your area. This date marks when you can expect the final frost, and it varies depending on your location. Check local gardening resources to find the average last frost date for your region.
Transplanting after this date helps protect your plants from unexpected cold weather. If you plant too soon, a sudden frost could harm your tender seedlings. To be extra safe, add a week or two to the average last frost date to your timing. This ensures that your young plants have a smooth transition to outdoor conditions.
Soil Preparation and Organic Matter
Before moving your annuals outdoors, soil preparation is key. You’ll want to create a welcoming environment for your plants.
Start by choosing a spot with well-drained soil. This keeps roots from becoming waterlogged.
Adding organic matter like compost can greatly improve soil quality. Compost enriches the soil with nutrients and enhances its structure. Spread a layer of compost on the planting area, and mix it into the top few inches of soil.
This practice not only provides nourishment but also helps retain moisture. Good soil preparation allows your annuals to establish strong roots and grow healthy throughout the season.
Executing the Transplant
Transplanting annuals involves two key steps: preparing them for outdoor conditions and employing the right planting techniques. These steps ensure healthy growth and vibrant blooms throughout the season.
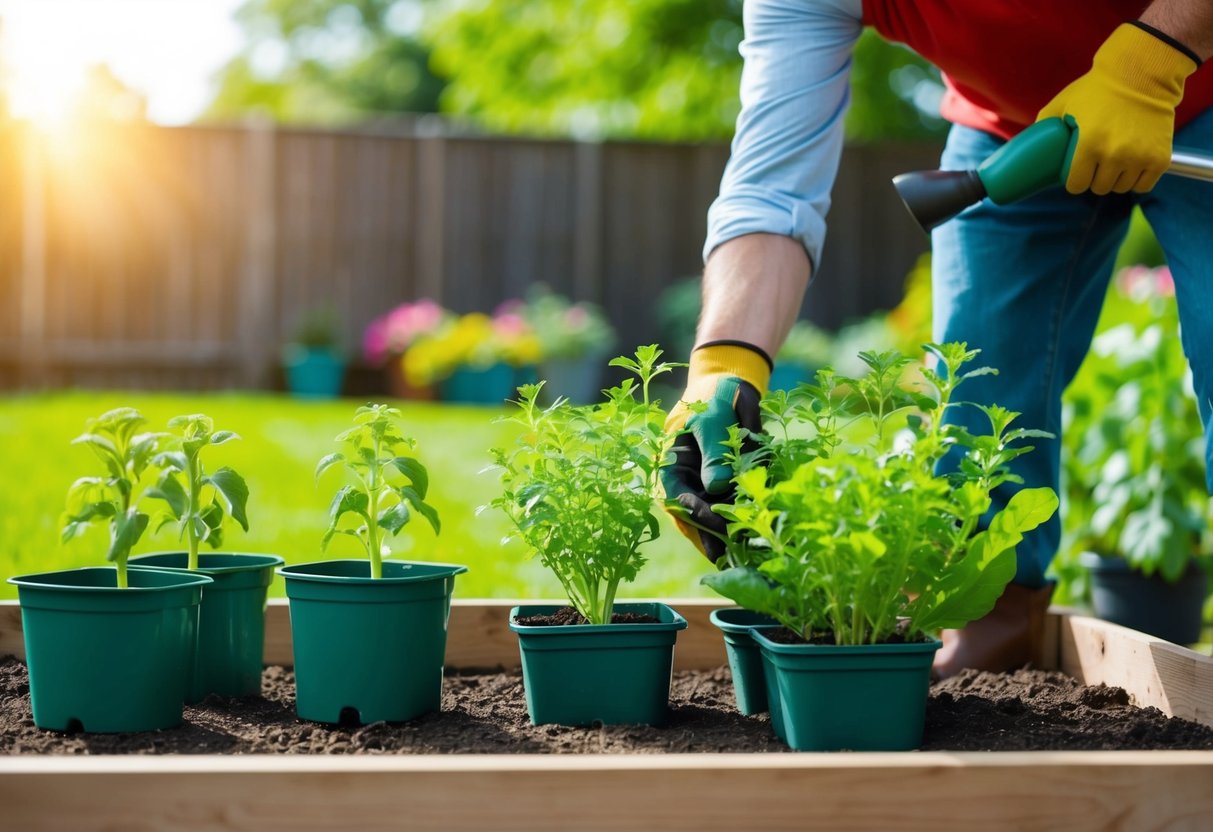
The Hardening Off Process
Before moving your annuals outdoors, start with hardening off. This means gradually introducing your plants to outdoor conditions over a week or two.
Begin by placing them in a sheltered area with indirect sunlight, protecting them from harsh wind and strong sun. Gradually increase their exposure to direct sunlight and wind each day.
This helps the plants adjust to temperature changes and develop stronger resistance to outdoor conditions. Remember to bring them indoors if frost is expected, as tender plants cannot handle freezing temperatures until fully adjusted.
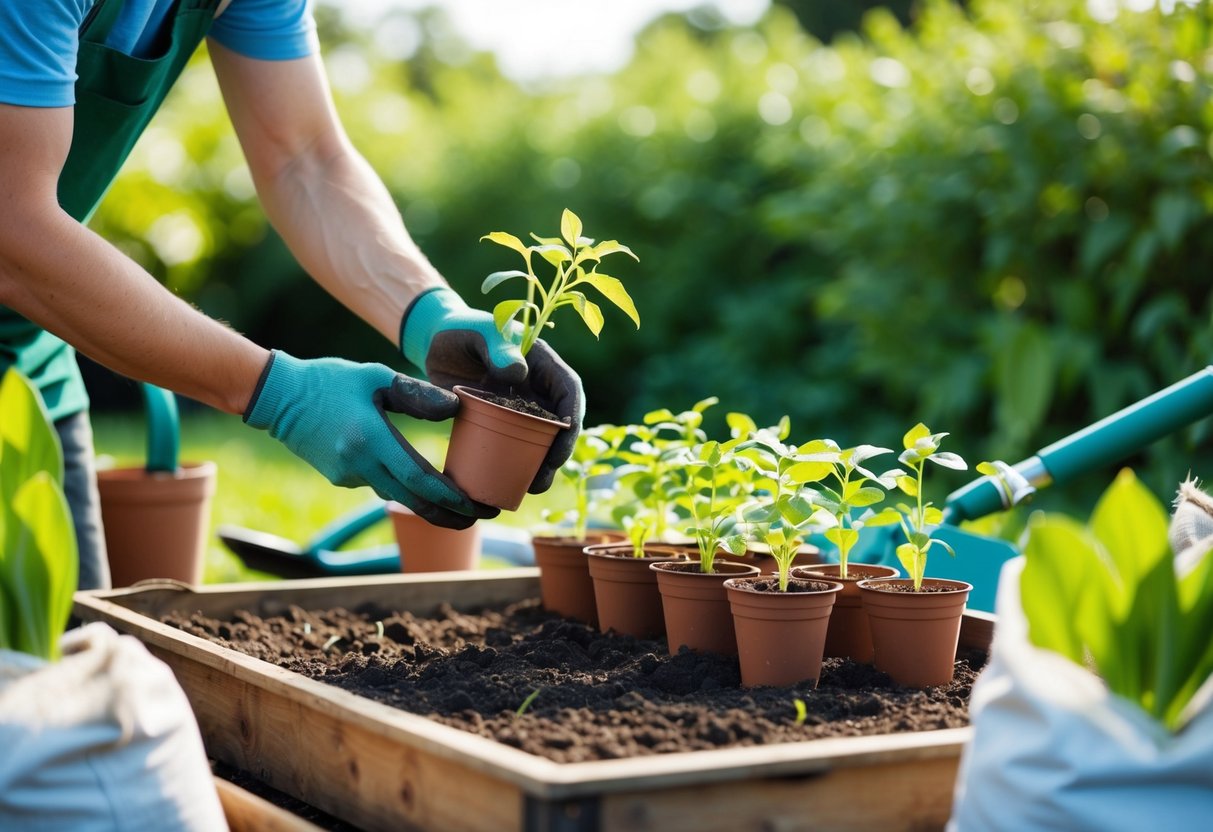
Proper Techniques for Transplanting Annuals
When transplanting annuals, consider depth and spacing for optimal growth. Plant at the correct depth; the top of the rootball should be level with the soil. Avoid burying them too deep, as this can lead to root rot.
Next, ensure proper spacing between plants. Each variety may have different space needs, so check their requirements.
Adequate spacing avoids overcrowding, allowing plants to grow well and have enough nutrients and sunlight.
After planting, water thoroughly to help the roots settle. Consistent watering is key during the initial weeks. Adding a fertilizer or bloom booster a couple of weeks after transplanting can support root development and enhance blooms.
Post-Transplant Care
Once you’ve moved your annuals outdoors, the right care helps them thrive. Keeping a close eye on watering needs and growth ensures your plants adjust well to their new environment.
Regular Watering and Moisture Control
Transplant shock can be tough on plants, so your plants need extra attention. Providing them with regular watering is crucial during this stage.
Water plants deeply and consistently, especially in the first few weeks. A watering can is helpful for controlled distribution.
Watch out for soil moisture levels to avoid overwatering, which can lead to root rot. Check the soil by touching it; it should be moist but not soggy. Consider a soil moisture meter for precise measurements.
Adequate water and proper moisture control help build strong roots and promote fuller growth.
Monitoring Growth and Fertilization
After transplanting, keep a close eye on growth. If plants look leggy or aren’t thriving, it might be time for some nutrients.
Start adding fertilizer about two weeks after moving them outdoors to support their growth. Choose a balanced product or a bloom booster for best results.
When fertilizing, follow package instructions to avoid overfeeding, which can harm growth.
Pruning early also encourages stronger plants. Trim any spindly or leggy growth to ensure your plants stay bushy. Regular checks will help you adapt care as needed, ensuring a healthy and vibrant garden.
Types of Annuals and Special Considerations

Understanding the types of annuals you want to plant is crucial for a successful garden. These plants differ in their ability to handle cold weather, and choosing the right type can impact your gardening success.
Hardy Versus Tender Annuals
Annual plants come in two types: hardy and tender. Hardy annuals are tough and can endure cooler temperatures. They often survive light frosts, making them suitable for early planting. Examples include calendulas and certain types of petunias. You can plant them before the last frost date in your area for early spring blooms.
Tender annuals, like zinnias and salvia, are more sensitive to cold. These need to be planted after all danger of frost has passed. They thrive in warm weather and need full sunlight to grow well. To ensure success, wait until it’s consistently warm before transplanting these into the garden.
Selecting Annuals for Your Garden Climate
When selecting annuals, you should think about your local climate. In cooler areas with late frost dates, hardy or half-hardy varieties like geraniums are better options. They can handle the cooler nights without damage.
In warmer climates, you might have more choices. Garden centers often offer a variety of annuals that are suited for different conditions. Some annuals can even be directly sown outside, while others are best started indoors or bought as young plants. Look for plants that promise a long bloom period and can self-sow for an extended garden display.


