

What Month Is Best to Plant Hydrangeas? A Seasonal Guide
Are you dreaming of a garden bursting with the stunning blooms of hydrangeas? These beautiful shrubs can add a burst of color to your landscape, but timing is everything when it comes to planting them. You should plant hydrangeas during the fall or early spring. This gives the shrubs the ideal conditions they need to establish strong roots.

While hydrangeas aren’t too picky, they do appreciate mild weather. By avoiding extreme temperatures, you help them settle in comfortably without added stress. If you’re planting in pots, consider doing so in April or May. Be sure to use a pot with good drainage and a suitable compost mix to keep your plants healthy.
With careful consideration of when to plant, your hydrangeas will thrive and become a standout feature in your garden. Whether you’re a seasoned gardener or a beginner, knowing the right time to plant is key to ensuring those beautiful flowers will grace your garden for seasons to come.
Understanding Hydrangeas

Hydrangeas are popular due to their beautiful flowers and variety of types. They can thrive in different climates depending on the species. Here’s a closer look at the types of hydrangeas and where they grow best.
Types of Hydrangeas
Hydrangeas come in several types, each with unique features. The bigleaf hydrangea (Hydrangea macrophylla) is known for its large blooms and blue or pink flowers, depending on soil pH. The panicle hydrangea (Hydrangea paniculata) is a hardy type with cone-shaped flowers. If you prefer a more woodland feel, the oakleaf hydrangea (Hydrangea quercifolia) offers stunning leaves and long-lasting blooms. Smooth hydrangeas (Hydrangea arborescens) are hardy too, often blooming in white. For mountainous areas, mountain hydrangeas (Hydrangea serrata) offer a compact size and pretty lacecap flowers. Each type brings something distinct to gardens.
Hydrangea Growing Zones
Hydrangeas have specific climate needs, so knowing your USDA hardiness zone is crucial. Bigleaf hydrangeas flourish in zones 5 to 9, thriving in temperate regions. Panicle hydrangeas adapt well in zones 3 to 8, tolerating colder conditions. Oakleaf hydrangeas, suitable for zones 5 to 9, prefer well-drained soil. Smooth hydrangeas thrive in a wide range from zones 3 to 9. Mountain hydrangeas find their sweet spot in zones 6 to 9, enjoying milder climates. Before planting, check that your local climate matches the hydrangea type you choose for the best results.
Optimal Planting Time

For planting hydrangeas, timing is key. You should focus on how spring planting benefits your hydrangeas and how your regional climate influences the process.
Spring Planting Advantages
Spring is a popular time to plant hydrangeas. The temperature is mild, allowing your plants to establish themselves before the summer heat. Spring planting gives your hydrangeas enough time to grow deeper roots, helping them absorb water and nutrients effectively.
Your hydrangeas will need consistent water, especially during the early stage. Plant during spring to ensure you can manage watering needs easily.
If you live in Zone 5, spring can prevent frost damage since the threat of cold has passed by then.
Considering Regional Climate
Different regions mean different planting conditions. For example, Zone 8 has milder winters and a longer growing season. In this zone, fall might be the ideal time for planting to avoid the intense summer heat.
You’ll need to keep these local weather patterns in mind. This will prepare your hydrangeas for growth.
Avoid planting when extreme weather is expected, as it can stress the plants. Make sure your decision fits your local climate, whether you’re in Zone 5 or further south. These factors can determine the success of your hydrangeas, so plan accordingly!
Soil Preparation and Planting
When planting hydrangeas, it’s essential to prepare the soil correctly. Factors like soil composition, pH, and planting techniques can impact the health of your plants. Whether you’re planting new hydrangeas or transplanting, these steps can guide you.
Soil Composition and pH
Hydrangeas thrive in well-drained soil rich in organic matter. Before planting, conduct a soil test to check the pH level. Depending on the pH, the color of some hydrangea varieties can change. \
- Acidic soil (pH below 6.5) turns flowers blue. \
- Alkaline soil (pH above 6.5) results in pink blooms. \
If needed, adjust the pH by adding lime to increase it or sulfur to lower it. This ensures that your hydrangeas receive the necessary nutrients and maintain vibrant colors.
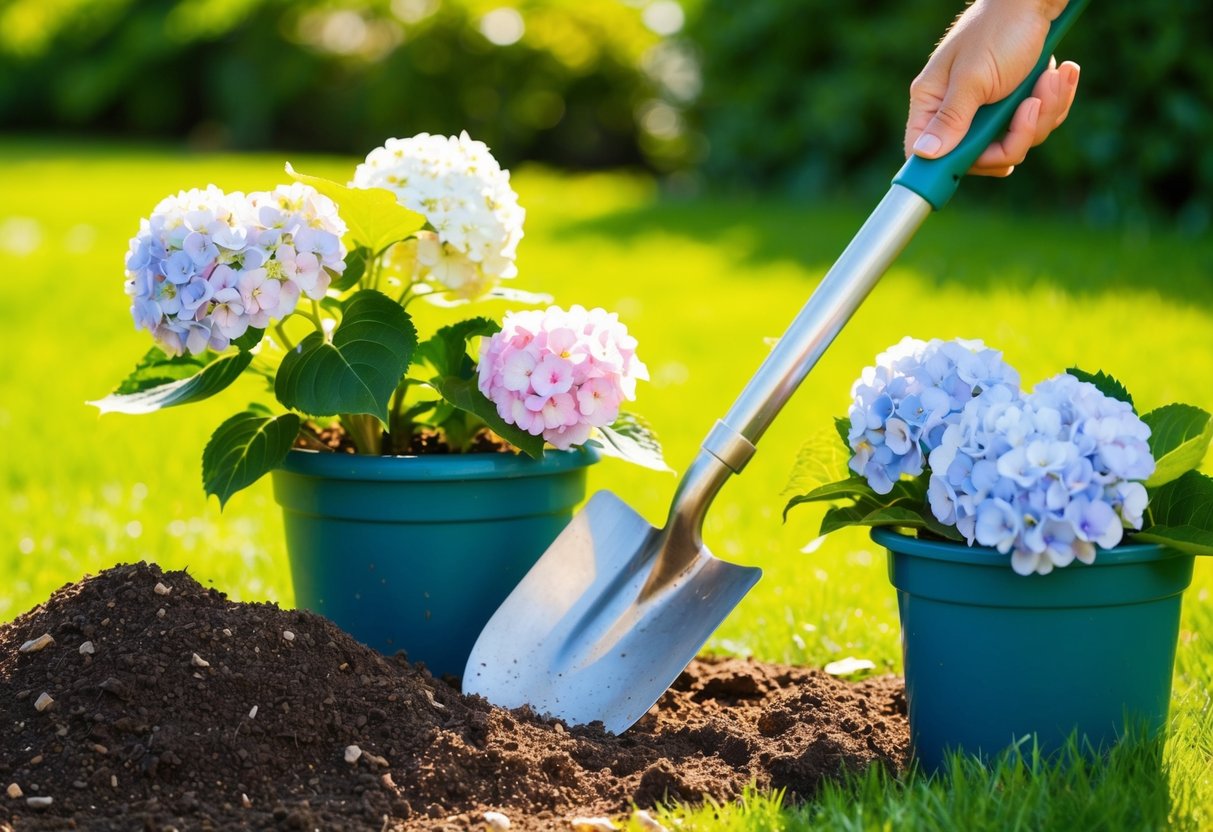
Planting Potted Hydrangeas
When planting potted hydrangeas, choose a sunny or partially shaded spot. It’s best to plant during spring or fall for optimal root development.
Start by digging a hole twice as wide as the pot but not deeper. Remove the potted plant carefully, loosening the roots slightly if they are tightly bound. Place the plant in the hole, ensuring it’s at the same depth as in the pot.
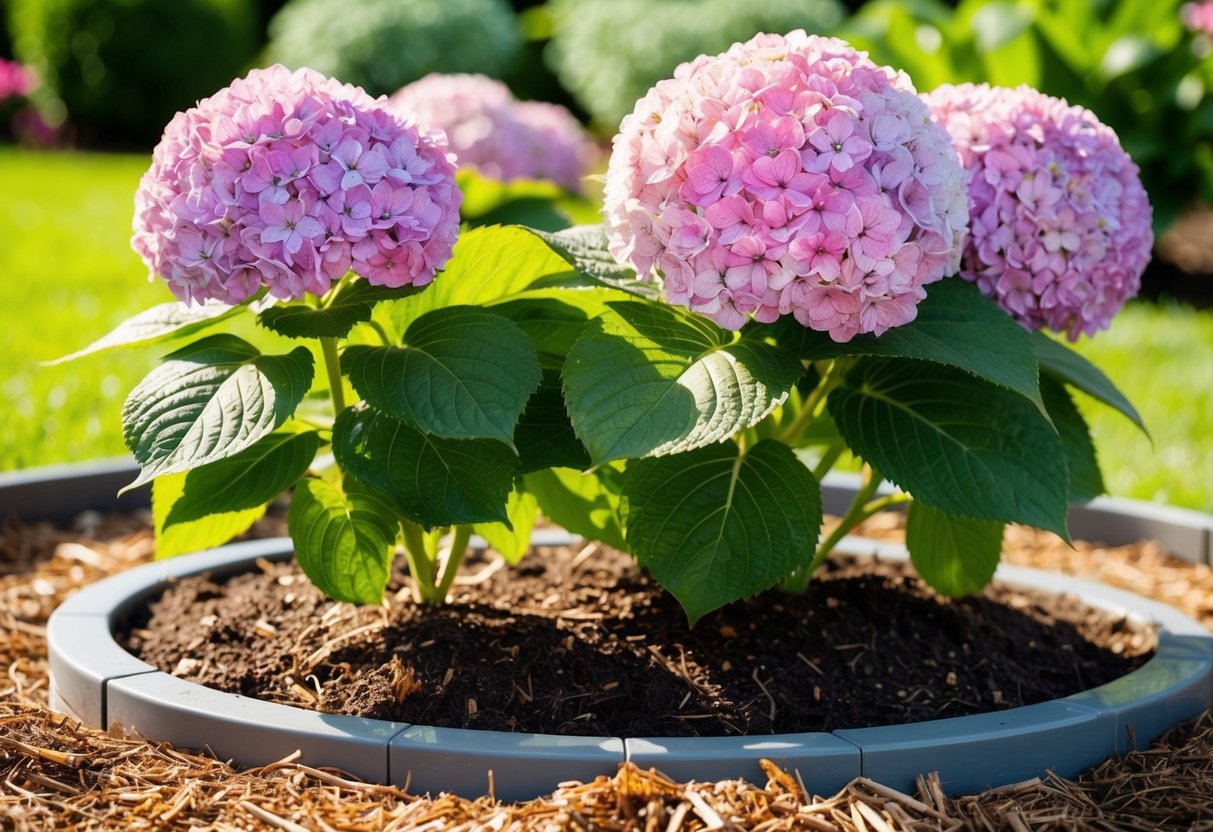
Fill in around the plant with soil, pressing gently to eliminate air pockets. Water thoroughly to help settle the soil and support root growth. Mulching around the base helps retain moisture and control weeds.
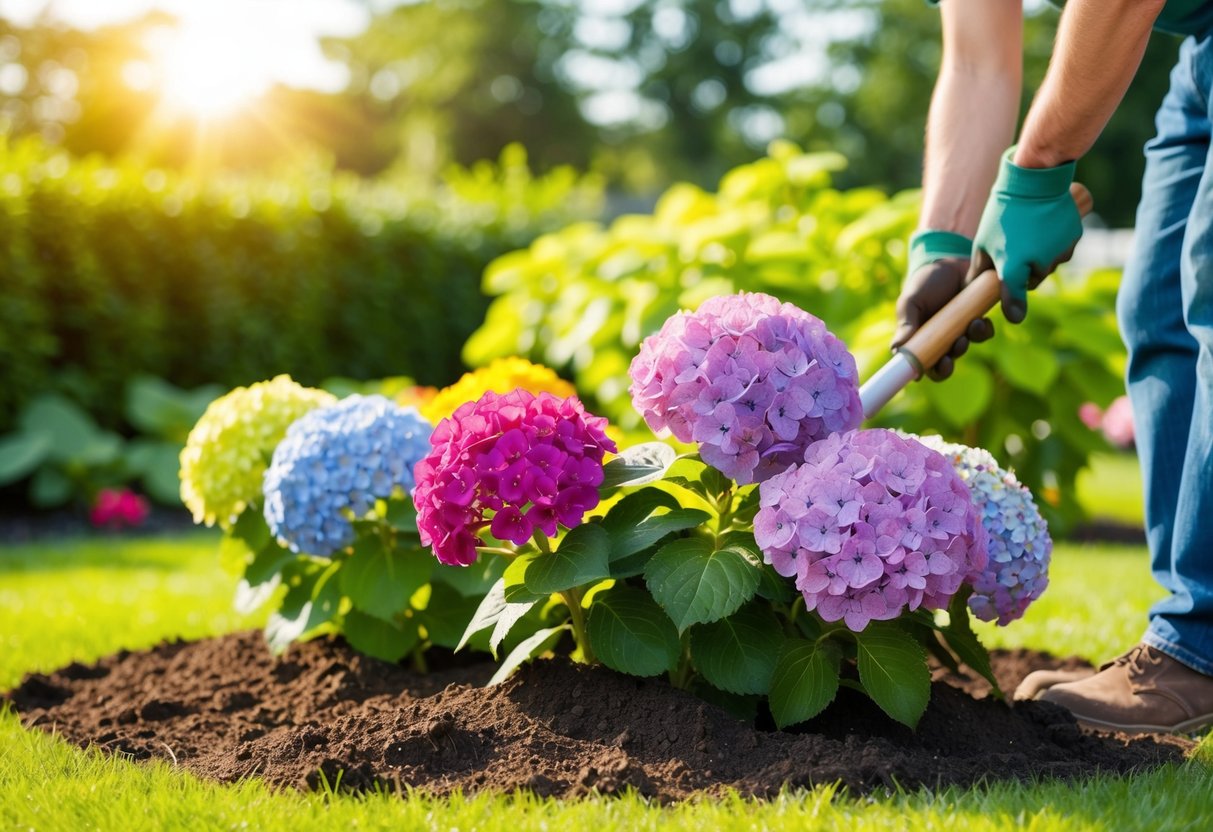
Transplanting Hydrangeas
Transplanting can be stressful for hydrangeas, so timing is crucial. Fall and early spring are ideal for minimizing transplant shock. Choose a day when the weather is mild to reduce stress on the plant.
Begin by watering the hydrangea well in its current location. Carefully dig around the root ball, maintaining as much of it as possible. When moving the plant, wrap the root ball in burlap if needed to keep it intact.
At the new site, dig a hole large enough to fit the root ball. Position the hydrangea at the same depth it was previously growing. Fill in with soil and water thoroughly to help it settle in its new home.
Caring for Hydrangeas after Planting
Caring for your hydrangea plants after planting is essential to ensure vibrant growth and beautiful blooms. Key tasks include regular watering and the careful use of mulch, as well as timely pruning and general maintenance. These practices support a strong root system and healthy development of your plants.
Watering and Mulching
Hydrangeas love moisture, so it’s important to keep the soil consistently damp. After planting, give your hydrangeas a deep watering once or twice a week. Make sure the water soaks through to the root system but avoid making the soil soggy. This keeps your hydrangea plant healthy and vibrant.
For additional moisture retention and weed prevention, apply a layer of organic mulch around the base of your plants. A 2-inch thick layer of mulch, such as wood chips or bark, helps to maintain the right soil moisture while adding nutrients as it breaks down. Keep the mulch away from the base of the stem to prevent rot. This technique makes growing hydrangeas more effective and supports overall plant health.
Pruning and Maintenance
Pruning hydrangeas plays a crucial role in their maintenance. It’s best to prune after blooming and before new growth begins. Remove dead or diseased branches, and trim back leggy growth to encourage a fuller shape. This helps maintain a neat and attractive appearance in your flower bed ideas.
In addition to pruning, check your hydrangea plants regularly for pests and diseases. Address any issues promptly to prevent damage. A little attention goes a long way in ensuring that your hydrangeas thrive. Keeping up with consistent care will lead to beautiful blooms and robust plants year after year.
Expanding Your Hydrangea Collection
Growing your hydrangea collection can be both rewarding and simple. You can expand your garden by using cuttings and strategies for propagation, ensuring vibrant new plants for your space.
Cuttings and Propagation
Propagating hydrangeas from cuttings is an easy way to grow new plants.
Start by choosing a healthy, non-flowering stem from your hydrangea. It should be around 4 to 6 inches long and have 3 to 4 sets of leaves. Remove the bottom leaves, leaving a couple at the top.
Dip the cut end in rooting hormone to encourage growth. Then, plant the stem in a pot with well-draining soil.
Keep the soil moist and place the pot in a spot with indirect sunlight.
Consider propagating climbing hydrangea, which can bring vertical interest to your garden. Use the same technique, and soon you’ll enjoy a lush display of these beautiful blooms.
Keep the pots covered with a plastic bag to maintain humidity, which helps root development.
After a few weeks, check for roots by gently tugging the cutting. Once established, your new hydrangea is ready to plant in your garden.


